Page 1
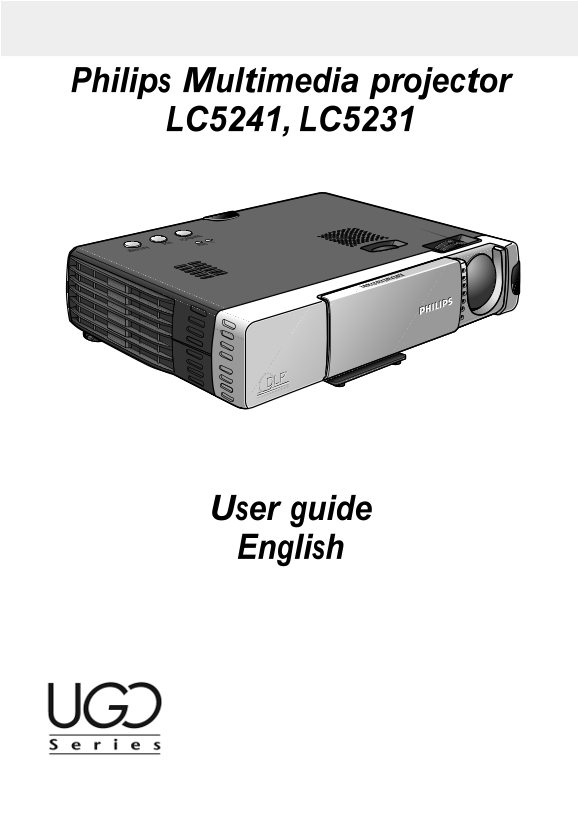
Philips Multimedia projector LC5241, LC5231 Standby/On Input Status Auto image User guide English
Page 2
0. Controls and connections Status Standby/On Input Auto image Standby/On Input Status Auto image fig. 1 Status Auto image Input Standby/Ony Video in S Video in Data / YCb Cr Mouse Audio in Audio in M...
Page 3
0. Controls and connections Mouse Standby Video Data Cancel Mouse Standby Video Data Cancel Auto image D-Freeze A/V Mute D-Zoom Volume D-Keystone fig. 3
Page 4
1. Introduction 2. Things You Should Know Table of contents Note: This equipment has been tested to comply with the limits 0. Controls and connections.....................................................
Page 5
3. Important Safeguards 12. As a safety feature, this projector is equipped with power cord with a 3-pin grounded plug (for USA-versions only) or a Please read all of these instructions 2-pin grounded...
Page 6
4. Projector Features 1. UGO X-lite Impact; LC5241 The local keyboard and remote control provide direct access Fully compatible with true XGA; support for SXGA using buttons for those functions that a...
Page 7
5. Functional Overview See illustrations Projector front (fig. 1) rear (fig. 2) Indicators Ventilation slots Standby / On (y |) indicator – Lights up orange in Standby mode Audio in – Flashes green wh...
Page 8
6. Set Up The distance from the projector lens to the screen determines to X-lite Impact LC5241 S-lite Impact LC5231 the size of the projected image, therefore, you need to consider Screen Screen dime...
Page 9
6. Set Up 4. To switch off the mains supply completely, pull the mains Skew correction plug out of the wall socket. Turn the rear adjuster either clock-wise or counterclockwise to accurately adjust th...
Page 10
6. Set Up Inserting the batteries in the remote control Note: The remote sensors are located on the front and back of 1. Press firmly and slide the the projector. The controllable range is 50 degrees ...
Page 11
7. Installation Video/computer cables and adapter No. CABLE CONNECTIONS Computer/AV products side Projector side Computer VGA Cable Mini D-Sub Mini D-Sub 15P (male) 15P (male) RCA Video Cable RCA pin ...
Page 12
7. Installation Connecting to a computer Connecting to a computer Connecting to PC mouse connector General General This projector can be used as a display for numerous The remote control of this proje...
Page 13
7. Installation Connecting to video equipment Connecting to video equipment S-VIDEO SIGNAL General You can connect up to two pieces of video equipment to the projector following the illustrations belo...
Page 14
7. Installation Connecting to video equipment COMPONENT VIDEO SIGNAL (YCb Cr) (optional) Audio in Mouse Data / YCb Cr Video in S-Video in 1. To use YCb Cr component video input, set ‘SOURCE CHANGE’ un...
Page 15
8. Operation Preparation Preparation On Screen Display menu - General explanation General All video and data adjustments and settings (except A/V Mute) 1. Press the Standby/On button to are done via O...
Page 16
8. Operation Menu structure - data input Data mode - Normal menu flip cover closed IMAGE INFORMATION IMAGE INFORMATION BRIGHTNESS -RESET- Mouse Standby /On Video Data Cancel CONTRAST -LAMP USAGE HOURS...
Page 17
8. Operation Menu structure - video input Video mode - Normal menu flip cover closed IMAGE INFORMATION IMAGE INFORMATION Mouse Standby BRIGHTNESS -RESET- Video Data Cancel CONTRAST -LAMP USAGE HOURS R...
Page 18
8. Operation Display and picture control/Audio volume control General A/V Mute The projector’s picture is set to standard specifications at the By pressing the A/V Mute button on the Remote control un...
Page 19
8. Operation Display and picture control DATA MODE - ADVANCED MENU - DIRECT: the original aspect ratio of the image is maintained Press the Menu button with the flip cover of the remote control at all...
Page 20
8. Operation Display and picture control/Other settings VIDEO/S-VIDEO MODE - ADVANCED MENU With the cursor key you can select the desired color system. Press the Menu button with the flip cover of the...
Page 21
8. Operation Other settings PROJECTION MENU TYPE (Menu Viewing Settings) The projector can be used in various positions with respect The menu viewing method can be set with this function. to the viewe...
Page 22
9. Maintenance Cleaning 7. Grasp the lamp holder handle and carefully pull the lamp 1. Press the Standby/On button to switch off the projector. holder out of the projector. The standby indicator light...
Page 23
9. Maintenance Caution! Do not use a lamp cartridge other than the Philips replacement lamp cartridge. Order this from your Philips dealer using the unit model number (see ‘Note’ under ‘Lamp replaceme...
Page 24
10. Troubleshooting If a fault occurs, first check the points listed below Distorted images before taking the projector for repair. If you are unable to remedy Is installation correct? a problem by fo...