Page 1
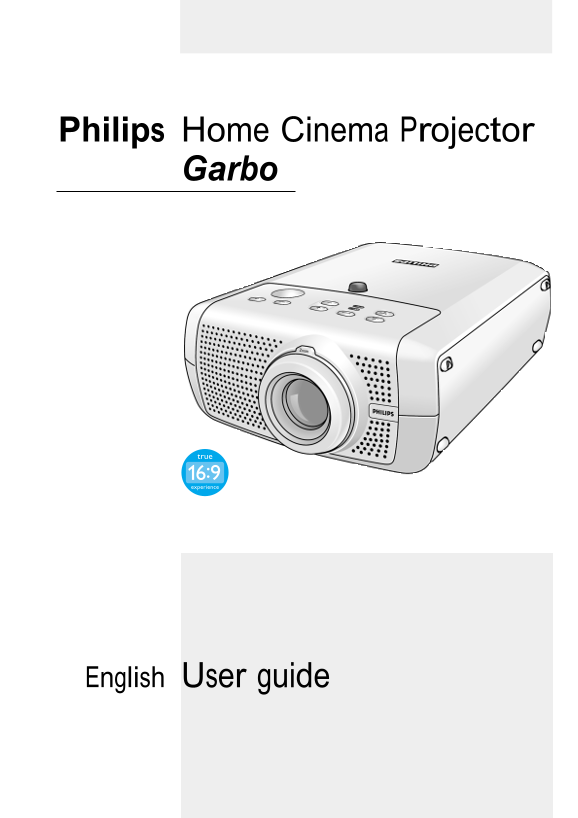
Philips Home Cinema Projector Garbo User guide English
Page 2
Index 1. Introduction Packaging contents 4 Optional accessories 4 2. Functional overview 5-8 Controls 5-6 Remote control 7 Connections 8 3. Set up 9-10 Positioning the projector and screen 9 Switching...
Page 3
Index 5. Operation 17-26 Preparation 17 General 17 Messages 17 General explanation 17 Feedback messages 17 Some examples 17 On Screen Display Menu 18-26 Menu tree 18-19 General explanation 20 Video/S-...
Page 4
1. Introduction Congratulations on your purchase of one of the most sophisticated and reliable products on the market today.We are sure that, used properly, it will bring you years of enjoyment.You wi...
Page 5
2. Functional overview Controls Mute Source Menu OKAV Stand Lamp by Temp A(udio)/V(ideo) Mute 1 To mute the sound of the projector and to mute the picture. Source 2 To select the current projection so...
Page 6
2. Functional overview Controls Height/Level adjuster # To adjust the vertical angle of the projector. Dust filter $ Mains inlet socket % To connect the projector to the mains. Lock slit ^ To insert a...
Page 7
2. Functional overview Remote control Stand by On MOUSE ouse Right Left VOLUME Volume enu OKMENU MUTE ute AV MUTE ute D-ZOOMD-FREEZESOURCE oom D-Freeze Source AV MUTE Stand by On 1 To switch the proje...
Page 8
2. Functional overview Connections S-Video Data Audio in Data PS/2USB Pr Video Audio L Pb Audio R Video source connections Component in 1 Input sockets to connect to DVD- and HDTV-video equipment Thes...
Page 9
3. Set up SCREEN Positioning the projector and screen SCREEN Front projection Ceiling front projection SCREEN SCREEN Rear projection Ceiling rear projection Place the projector on a stable, level surf...
Page 10
3. Set up Adjusting the focus and Use the Zoom ring to adjust the size of the image. size of the image Use the Focus ring to adjust the focus of the image. Zoom ring Focus ring Adjusting the vertical ...
Page 11
4. Installation General information General information Video input The projector accepts the input signal of all major video formats, including NTSC 3.58, 4.43, PAL B, G, D, H, I, N, M and SECAM sign...
Page 12
4. Installation Conn ecting to video equipment CVBS only CVBS only S-Video S-Video Computer Audio in Computer PS/2USB Pr Video Pr Video Audio L Audio L Pb Audio R Pb Audio R 1a 1b S-VHS only Video L A...
Page 13
4. Installation Conn ecting to video equipment S-Video Computer Audio in Computer PS/2USB Pr Video Audio L Pb Audio R Component/HDTV equipment DVD player, Settop Box, HDTV receiver, etc. Cr Cb Audio P...
Page 14
4. Installation Conn ecting to video equipment S-Video Computer Audio in Computer PS/2USB Pr Video Audio L Pb Audio R Component/HDTV equipment DVD player, Audio out Settop Box, etc.R Scart connection ...
Page 15
4. Installation onnecting to a computer Projectorj S-Video S-Video PROJECTOR Data Audio in Computer Audio in Data PS/2USB PS/2 Computer Pr Video Pr 5a Video Audio L Audio L Pb Audio R Pb Audio R Monit...
Page 16
4. Installation onnecting to a computer Connecting to an external monitor Connect the VGA Y connector marked ‘Projector’ (5a), of an optional VGA Y-cable, to the Mute Source Menu OKAV Computer (in) so...
Page 17
5. Operation Preparation General Press the Standby button to switch on the projector. Mute Source Menu OKAV Stand by Temp The Standby indicator lights up orange. When the projection lamp is on, the St...
Page 18
5. Operation On Screen Display Menu Menu tree All video and data adjustments and settings (except A/V Mute) are done via On Screen Displays and with help of Menu, OK and Cursor Control on the projecto...
Page 19
5. Operation On Screen Display Menu Menu tree GENERAL ADJUSTMENTS/SETTINGS Main menu Sub menu Setting Audio Volume Min Max Bass Min Max Treble Min Max Display Audio Settings Picture Mute Off On Volume...
Page 20
5. Operation On Screen Display Menu General explanation Press Menu. Mute Source Menu OKAV Stand by Temp The menu bar appears on the screen. Picture Display Audio Settings The first item is highlighted...
Page 21
5. Operation On Screen Display Menu Video/S-Video adjustments For Video/S-Video signal input, the following ‘Picture’ and ‘Display’ adjustments can be made: Mute Source Menu OKAV Picture adjustments S...
Page 22
5. Operation On Screen Display Menu Computer adjustments For computer signal input, the following ‘Picture’ and ‘Display’ adjustments can be made. Picture adjustments Press Menu and select ‘Picture’ i...
Page 23
5. Operation On Screen Display Menu Some examples The following ‘Display’ adjustment procedures, follow a slightly different sequence of actions, or may need some further explanation. Picture Format ‘...
Page 24
5. Operation On Screen Display Menu Digital Zoom/Magnification ‘Digital Zoom’ is used to enlarge a part of the picture. Mute Source Menu OKAV Press Menu. Stand by Temp The menu bar will appear. Pictur...
Page 25
5. Operation On Screen Display Menu Shift The Shift function adjusts the computer image in horizontal and vertical direction to centre it on Mute Source Menu OKAV the screen.This function is only acti...
Page 26
5. Operation On Screen Display Menu General adjustments Audio adjustments Press Menu and select Audio in the menu bar. The following Audio adjustments can now be Mute Source Menu OKAV made for both Co...
Page 27
6. Maintenance Cleaning Caution Switch off and disconnect the projector before cleaning. Press the Standby button twice to switch off the projector. Mute Source Menu OKAV The Standby indicator starts ...
Page 28
6. Maintenance Lamp When operation time reaches the last 100 hours of the average lamplife, the message ‘Warning: lamplife has almost expired’ will be displayed on the screen, each time the projector ...
Page 29
6. Maintenance Lamp replacement Unscrew screw B. Grasp the lamp holder handle and carefully pull the lamp holder out of the projector. Do not tilt. If the inner tube is broken glass particles may fall...
Page 30
7.Troubleshooting If a fault occurs, first check the points listed below before taking the projector for repair. If you are unable to remedy a problem by following these hints, consult your dealer or ...
Page 31
7.Troubleshooting In Data mode Input resolution is too high (and keystoning is applied). If you wish to keep the keystone correction, decrease the input resolution until the image is correctly display...
Page 32
7.Troubleshooting The projector does not Distance is too great. react to commands from Reduce distance. the remote control Batteries are exhausted. Replace batteries (see ‘Inserting the batteries in t...
Page 33
7.Troubleshooting The mouse cursor does General: not react when using the Check that the batteries are installed properly in the remote control and/or replace the cursor control on the batteries. remo...