Page 1
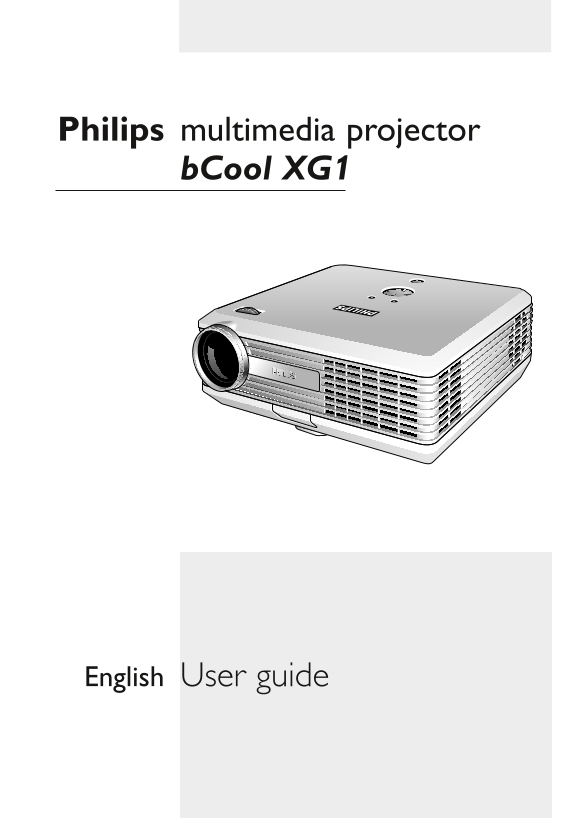
Philips multimedia projector b Cool XG1 User guide English
Page 2
Index 1. Introduction Packaging contents 4 Optional accessories 5 Service accessories 5 2. Functional overview 6-9 Controls 6-7 Remote control 8 Connections 9 3. Set up 10-12 Positioning the projector...
Page 3
Index 5. Operation 17-23 Preparation 17 General 17 Messages 17 General explanation 17 Feedback messages 17 Some examples 17 On Screen Display Menu 18-23 Menu tree 18-19 General explanation 20 Computer...
Page 4
1. Introduction Congratulations on your purchase of one of the most sophisticated and reliable products on the market today.We are sure that, used properly, it will bring you years of enjoyment.You wi...
Page 5
1. Introduction Optional accessories The following accessories are available via the dealer from which you purchased your Philips projector LCA3125/00 - 180W replacement lamp - 8670 931 25009 LCA2218/...
Page 6
2. Functional overview Controls OKMenu Source Auto Image Lamp Temp. Menu 1 To activate and deactivate the menu. OK 2 To confirm actions in the menu when the menu is on screen. Cursor Control 3 When th...
Page 7
2. Functional overview Controls OKMenu Source Auto Image Lamp Temp. Mains inlet socket ! To connect the projector to the mains. Elevator button @ Elevator foot # To adjust the vertical angle of the pr...
Page 8
2. Functional overview Remote control Laser MOUSE Right Left2 VOLUME OKMENU Stand by AV MUTE On D-ZOOMD-FREEZESOURCE Laser pointer remote control Stand by On 1 To switch the projector in or out of the...
Page 9
2. Functional overview Connections ii ii Data in S-Video Audio in Video i- Data source connections Data in 1 Input socket to connect to the analog (VGA) Data out terminal of a computer. Input socket t...
Page 10
3. Set up SCREEN Positioning the projector and screen SCREEN Front projection Ceiling front projection SCREEN SCREEN Rear projection Ceiling rear projection Place the projector on a stable, level surf...
Page 11
3. Set up Adjusting the focus and Use the Zoom ring to adjust the size of the image. size of the image Use the Focus ring to adjust the focus of the image. Zoom ring Focus ring Adjusting the vertical ...
Page 12
3. Set up Inserting the batteries in Push and slide the lid in the direction of the arrow. the remote control Install two Alkaline batteries as indicated inside the battery compartment. Replace the li...
Page 13
4. Installation General information General information Computer input The computer input is suitable for both Apple Macintosh computers (Power Book and Power Mac) as well as for IBM compatible PCs.Th...
Page 14
4. Installation onnecting to a computer ii ii Data in S-Video Audio in Video i- Projectorj Mac/PC COMPUTER Audio out USB Data out PC/Macintosh Connect connector 1 of the VESA M1-A to VGA/USB cable sup...
Page 15
4. Installation Conn ecting to video equipment CVBS only ii ii i- ii Data in S-Video Audio in Video ii Data in S-Video Audio in Video i- S-VHS only VCR VCR Video out L Audio R out S-Video out Audio ou...
Page 16
4. Installation Conn ecting to video equipment ii ii Data in S-Video Audio in Video i- Component/HDTV Equipment 3b DVD player, Settop Box, HDTV receiver, ect. Cr Cb L Audio R Pr Pb Component/HDTV YPb ...
Page 17
5. Operation Preparation General Press the Standby button to switch on the projector. The Standby indicator starts blinking green. OKMenu Source Auto Image Lamp Temp. When the projection lamp is on, t...
Page 18
5. Operation On Screen Display Menu Menu tree All video and data adjustments and settings (except A/V Mute) are done via On Screen Displays and with help of Menu, OK and Cursor Control on the projecto...
Page 19
5. Operation On Screen Display Menu Menu tree GENERAL ADJUSTMENTS/SETTINGS Main menu Sub menu Setting Setup Language Eng. Deu. Esp. Fra. Ita. Ned. Por. Chi. Keystone - 50 50 Mirror AB AB Source Auto C...
Page 20
5. Operation On Screen Display Menu General explanation Press Menu. OKMenu Source Auto Image Lamp Temp. The menu bar appears on the screen. Use Cursor Control left and/or right to move the cursor to a...
Page 21
5. Operation On Screen Display Menu Computer adjustments For computer signal input, the following ‘Picture’ adjustments can be made. OKMenu Picture adjustments Press Menu and select ‘Picture’ in the m...
Page 22
5. Operation On Screen Display Menu General adjustments Features adjustments Press Menu and select ‘Features’ in the menu bar.The following ‘Features’ adjustments can now OKMenu be made according to t...
Page 23
5. Operation On Screen Display Menu Setup adjustments Press Menu and select Setup in the menu bar.The following Setup adjustments can now be OKMenu made according to the instructions under ‘General ex...
Page 24
6. Maintenance Cleaning Caution Switch off and disconnect the projector before cleaning. Press the Standby button twice to switch off the projector. OKMenu The Standby indicator starts lights up red. ...
Page 25
6. Maintenance Lamp When operation time reaches the last 1400 hours of the average lamplife, the message ‘Lamp life has almost exceeded’ will be displayed on the screen,When operation time reaches 150...
Page 26
6. Maintenance Resetting the lamplife Press Menu. time OKMenu Source Auto Image Lamp Temp. The menu bar appears on the screen. Use cursor control to select ‘Setup’ in the menu bar. Use cursor control ...
Page 27
7.Troubleshooting If a fault occurs, first check the points listed below before taking the projector for repair. If you are unable to remedy a problem by following these hints, consult your dealer or ...
Page 28
7.Troubleshooting Poor colour Adjust ‘Brightness’, ‘Contrast or ‘Colour tracking’ (see ’Picture adjustment’ under ‘Operation’ ‘On Screen Display Menu’). Reset all projector settings in the ‘Setup’ men...
Page 29
7.Troubleshooting No reaction when pressing ’Childlock’ active. keys on local keyboard or Switch off ‘Childlock’ in the ‘Features’ menu. remote control The mouse cursor does Check that the batteries a...