Page 1
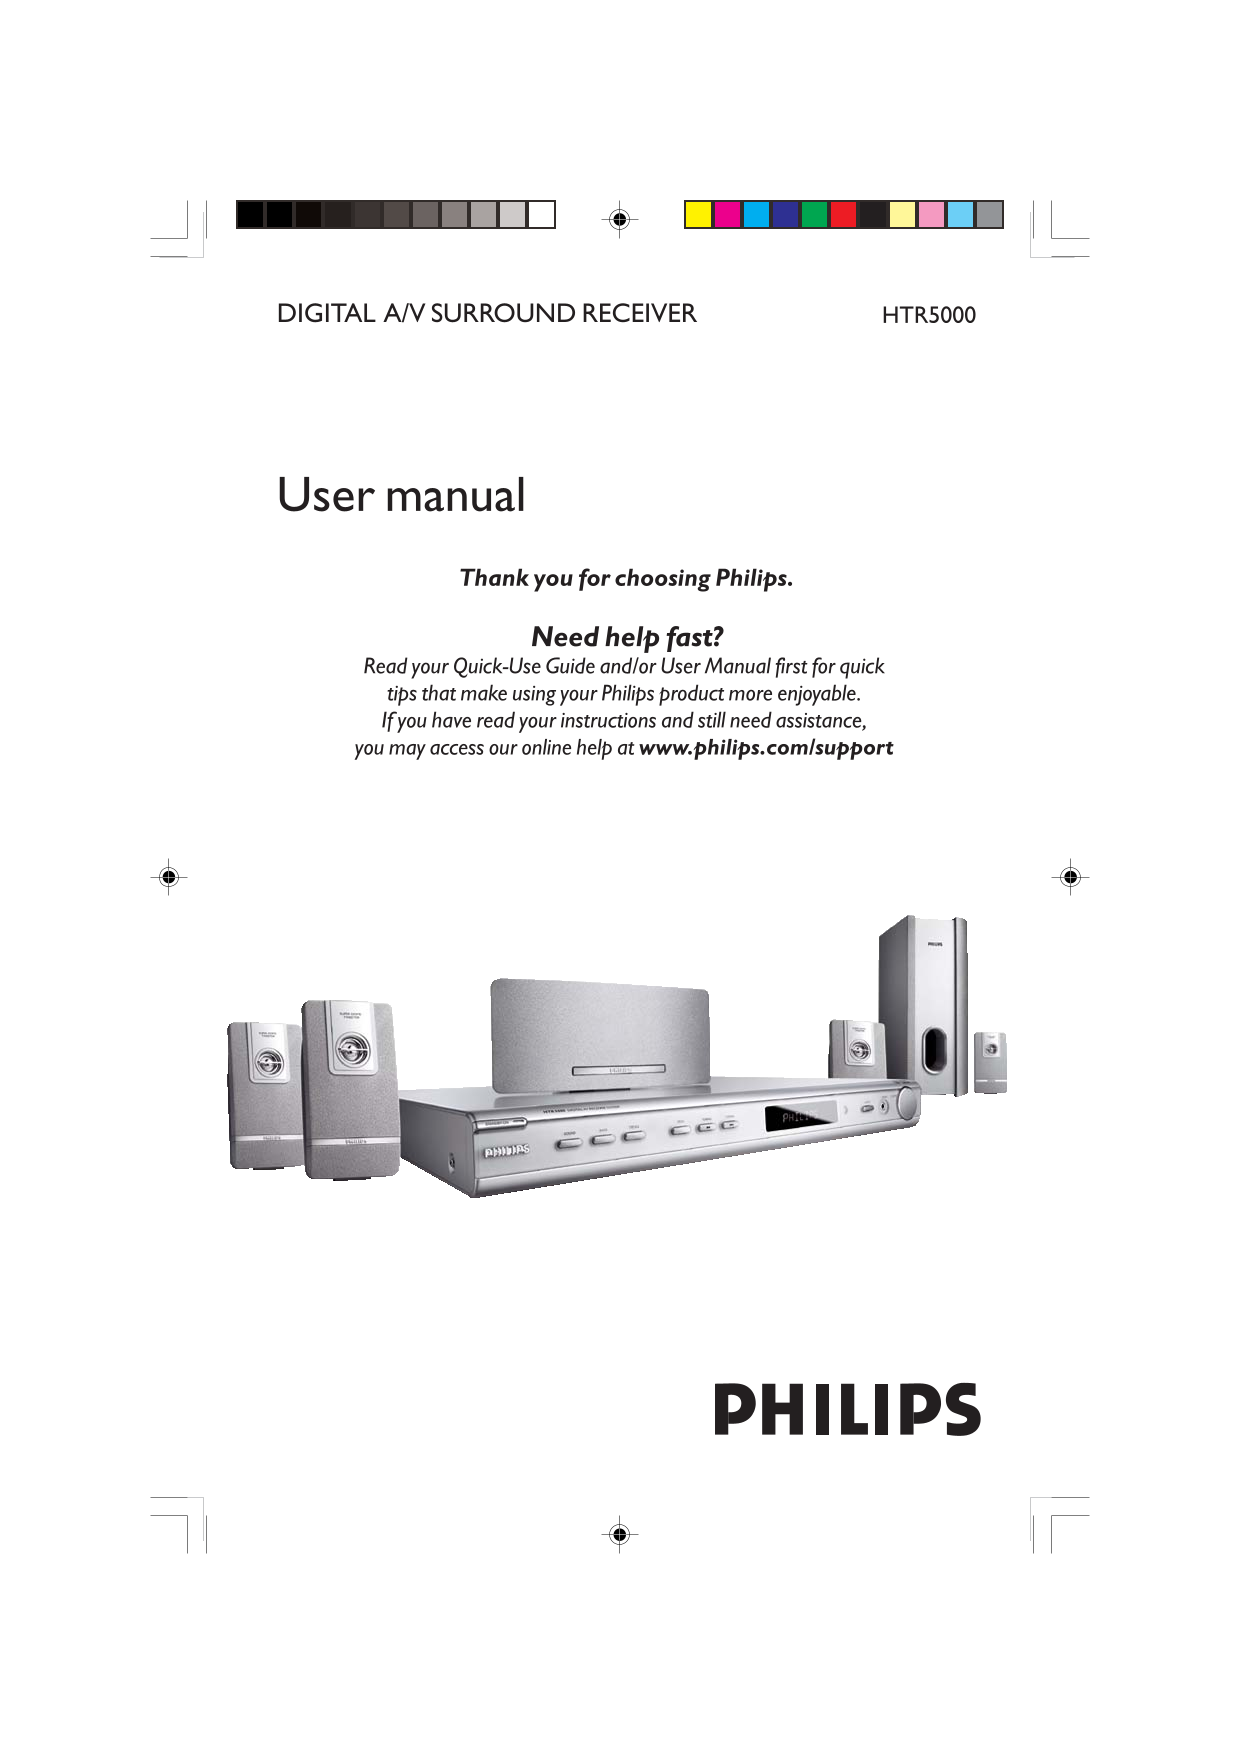
DIGITAL A/V SURROUND RECEIVER HTR5000 User manual Thank you for choosing Philips. Need help fast? Read your Quick-Use Guide and/or User Manual first for quick tips that make using your Philips product...
Page 2
Important notes for users in the Italia U.K. DICHIARAZIONE DI CONFORMITa’ Mains plug Si dichiara che l’apparecchio HTR5000 PHILIPS This apparatus is fitted with an approved 13 risponde alle prescrizio...
Page 3
Index English Français Español Manufactured under license from Dolby Laboratories. “Dolby”, “Pro Logic” and the double-D symbol are trademarks of Dolby Laboratories. Manufactured under license from Di...
Page 4
Contents General Information Sound Controls Supplied accessories Selecting surround sound Care and safety information Selecting digital sound effects Adjusting the Bass/Treble level Connections Volume...
Page 5
General Information Supplied accessories Care and safety information Avoid high temperatures, moisture, water and dust Audio cables Apparatus shall not be exposed to (red, white) dripping or splashing...
Page 6
Connections Step 1: Set up the speakers Step 2: Placing the speakers and subwoofer Centre AV Receiver speaker Front Speaker Front Speaker (Left) (Right) Rear speaker Subwoofer Rear speaker (Left) (Rig...
Page 7
Connections Step 3: Connecting speakers and subwoofer Front Right Front Left Centre AC MAINS ( ) SPEAKERS 3 MW FRONT LEFT REAR LEFTFRONT CENTER COAXIAL IN AUX TV ANTENNA FM (75 ) OPTICAL IN REAR REAR ...
Page 8
Connections Step 4: Connecting FM/MW Step 5: Connecting the antennas power cord After everything is connected fix the claw into properly, plug in the AC power cord the slot to the power outlet. Never ...
Page 9
Optional Connections - Playback IMPORTANT! You can connect other audio and audio/visual equipments to this AV receiver in order to use the Home Cinema Audio System’s surround sound capabilities. For c...
Page 10
Optional Connections - Playback Connecting to a DVD/SACD player DVD/SACD player You only need to make one connection Option 2: Using Coaxial In jack to your DVD/SACD player from the Or, use an coaxial...
Page 11
Optional Connections - Recording Connecting to a recording device AUDIO IN COAXIAL IN DIGITAL IN Digital Recording Analogue device Recording device ( ) SPEAKERS 3 MW FRONT LEFT REAR LEFTFRONT CENTER C...
Page 12
Functional Overview Main unit and remote control STANDBY ON (B) System display panel Switches to standby mode or turns on the system. SOURCE Selects the relevant active source mode: SOUND DISC (6CH/CO...
Page 13
Functional Overview Control buttons available on the remote only TV DISC TUNER AUX Use to select a preset radio station. SURROUND Selects multichannel surround or stereo mode. SUBW +- DISC Adjusts sub...
Page 14
Getting Started Step 1: Inserting batteries into Step 2: Switching on/off the remote control After completing all the connections, connect the AC power cord of the AV receiver to the wall outlet. Swit...
Page 15
Getting Started CENTER DELAY – Select this to set Adjusting the speaker output levels the delay time in relation to the listening You can adjust the rear speakers, centre position/distance from the ce...
Page 16
Sound Controls IMPORTANT! Selecting digital sound effects For proper surround sound, make sure the speakers and subwoofer are Select a preset digital sound effect that connected (see page 7). matches ...
Page 17
Volume Controls and Other Features Volume control Dimming system’s display screen Adjust VOLUME control (or press VOL +/- on the remote) to increase In any active mode, press DIM on the or decrease th...
Page 18
Tuner Operations IMPORTANT! Presetting radio stations Make sure the FM and MW You can store up to 40 preset radio antennas are connected. stations in the memory. Tuning to radio stations Automatic pre...
Page 19
Tuner Operations Press PROG again to store. Repeat steps 1~4 to store other radio stations. Helpful Hints: – If you attempt to programme more than 40 preset radio stations, “PROG FULL” appears. The sy...
Page 20
Troubleshooting WARNING Under no circumstances should you try to repair the system yourself, as this will invalidate the warranty. Do not open the system as there is a risk of electric shock. If a fau...
Page 21
Specifications AMPLIFIER SECTION SPEAKERS Total Output Power (Home Theaater Mode) Front speakers / Rear (surround) speaker 700W System - Front speaker 2-way, magnetically sheided Total Output Power ( ...
Page 22
Glossary Analo gue: Sound that has not been turned Surround: A system for creating realistic into numbers. Analogue sound varies, while three-dimensional sound fields full of realism digital sound has...