Page 1
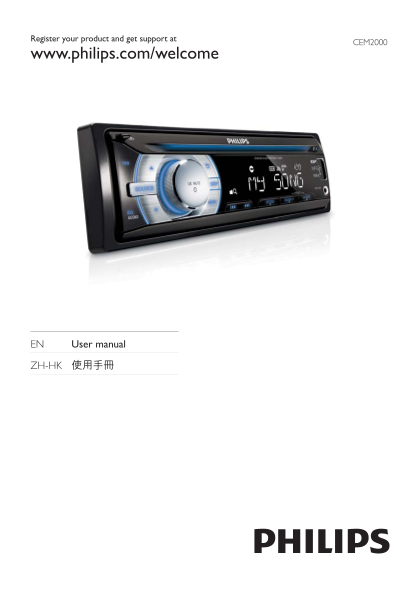
Register your product and get support at CEM2000 www.philips.com/welcome EN User manual ZH-HK
Page 2
Contents 7 Adjust sound 21 Adjust volume 21 Mute 21 Turn DBB and subwoofer on/off 21 1 Important 4 Select preset equalizer 21 Safety 4 Other sound settings 21 Notice 4 8 Adjust system settings 22 2 Yo...
Page 3
1 Important Notice Safety Read and understand all instructions • The making of unauthorized copies of before you use your apparatus. If damage copy-protected material, including computer is caused by ...
Page 4
Your product contains batteries covered by the European Directive 2006/66/EC, which cannot be disposed of with normal household waste. Please inform yourself about the local rules on separate collecti...
Page 5
2 Your car audio system Congratulations on your purchase, and welcome to Philips! To fully benefit from the support that Philips offers, register your product at www.philips.com/welcome. ec Introducti...
Page 6
Overview of the main unit edc gfba SUB-W lno hj En gl is a DBB/SUB-W Select tuner band. • Turn on or off Dynamic Bass Boost • Select MP3/WMA folder.• (DBB) sound. Scroll up/down menu.• Turn on or off ...
Page 7
Turn the unit on or off.• Overview of the remote Confirm selection.• control Mute or unmute sound.• Rotate to adjust volume.• ji Return to previous menu.• Eject disc.• USB socket.• h MP3 LINK SUB-W Co...
Page 8
h /PWR/ Turn the unit on or off.• Mute or restore volume.• i / Select tuner band. • Scroll up/down menu.• Select MP3/WMA folder.• Return to previous/top menu. • k SOURCE Select audio source.• l VOLUME...
Page 9
Note on the power supply lead (yellow) 3 Get started When you connect other devices to this • apparatus, ensure that the rating of the car circuit is higher than the total fuse value of all the connec...
Page 10
REAR LINE Rear right OUT R (Socket) speaker REAR LINE Rear left OUT L (Socket) speaker SUBWOOFER Subwoofer Connection: for cars without ISO 2 Connect the other end of the supplied connectors standard ...
Page 11
ab Tip The pin arrangement for the ISO connectors • depends on the type of vehicle you drive. Be sure to make proper connections to prevent damage to the unit. Mount into the dashboard 1 If the car do...
Page 12
4 Remove the mounting sleeve with the supplied disassembly tools. 6 Place the supplied rubber cushion over the end of the mounting bolt. 5 Install the sleeve into the dashboard and bend the tabs outwa...
Page 13
Install remote control battery Caution 5m Risk of explosion! Keep batteries away from • heat, sunshine or fire. Never discard batteries in fire. Risk of decreased battery life! Never mix • different b...
Page 14
Set clock 1 Press MENU. 2 Press or repeatedly until currently time is displayed. 3 Turn clockwise to set hour. 4 Press to confirm. 5 Turn anti-clockwise to set minute. 6 Press to confirm. View clock 1...
Page 15
[• LOCAL SEEK OFF] (local seek 4 Listen to radio off ): Stations with strong and weak signals can be broadcast. Tune to a radio station Store radio stations in 1 Press SOURCE repeatedly to select memo...
Page 16
5 Play with RDS CULTURE Culture, religion and society SCIENCE Science VARIED Entertainment The RDS (Radio Data System) function programs operates only in areas with FM stations broadcasting RDS signal...
Page 17
• [AF OFF]: Turn off the AF mode. When a traffic announcement cuts in, user • Set region for AF tuning can short press to terminate the traffic announcement, and the unit will resume to You can define...
Page 18
6 Play audio files Play from USB Ensure that the USB device contains playable • Ensure that the disc or device contains playable • music. files. Insert the USB device Play a disc 1 Slide the USB socke...
Page 19
• [RPT TRK] (repeat one track): play Search for an MP3/WMA current track repeatedly. track • [RPT DIR] (repeat a folder): play all tracks in the current folder repeatedly. • [RPT ALL] (repeat all trac...
Page 20
7 Adjust sound Select preset equalizer 1 Press EQ/Audio. Adjust volume Current Equalizer setting is displayed. » 2 Press EQ/Audio again to select a preset 1 Turn clockwise/anticlockwise to EQ setting:...
Page 21
8 Adjust system Select blackout setting settings You can set the screen to turn off automatically after the unit is idle for 10 or 20 seconds. 1 Press MENU. Select anti-shock setting 2 Rotate to selec...
Page 22
Reset You can reset the unit to its default setting. 1 Detach the front panel. 2 Press the reset button by using a ball- point pen or a similar tool. Preset adjustments such as preset » channels and s...
Page 23
9 Additional information Detach the front panel You can detach the front panel to deter theft. 1 Press to release the panel. 2 Push the left side of the panel rightward. If the new fuse gets damaged a...
Page 24
Compatible USB devices: 10 Product USB flash memory: USB 1.1 host with • interface reading all speed support (1.1, information 2.0) USB flash players: USB 1.1 host with • interface reading all speed s...
Page 25
The CD skips tracks 11 Troubleshooting Ensure that the CD is not damaged or • dirty. Ensure that random mode is deactivated. • Caution Disc cannot be ejected Never remove the casing of this apparatus....
Page 26
© 2011 Koninklijke Philips Electronics N.V. All rights reserved. CEM2000_00_UM_V3.1