# A B C D E F G H I J K L M N O P Q R S T U V W X Y Z

Panasonic FV-08VKML1 FV-08VKSL1 Installation and User Guide

Summary

Discover how to install and maintain Panasonic's high-efficiency ventilating fans, model FV-08VKML1/FV-08VKSL1. This comprehensive manual is designed for DIY homeowners and service professionals seeking reliable whole-house ventilation. Learn about the fan's energy-saving sirocco technology, low noise operation, and optional motion sensor functionality. The guide provides detailed instructions covering everything from unpacking and wiring diagrams to advanced mounting methods (joist/header) and long-term maintenance care.
📄 Preview 📖 Table of Contents Contents PAGE OF 16

Page 1 Text Content

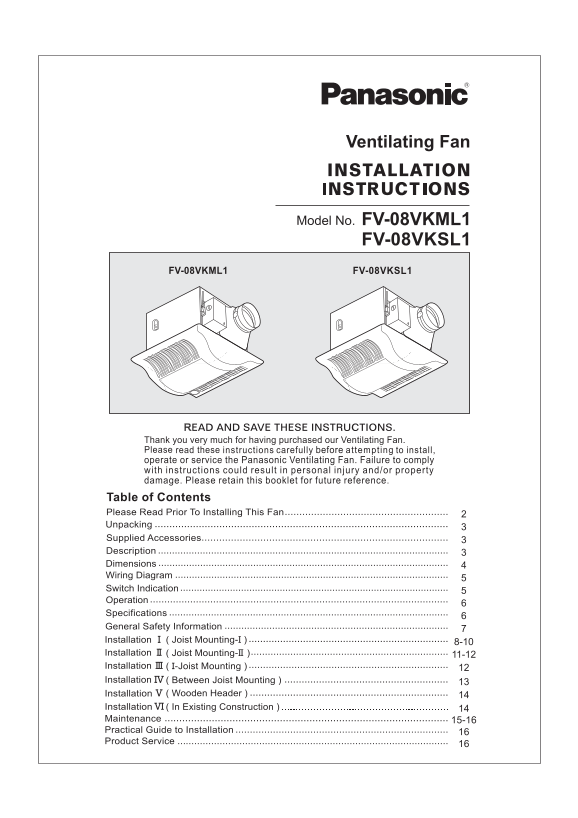
Ventilating Fan

Model No. FV-08VKML1

FV-08VKSL1

FV-08VKML1 FV-08VKSL1

READ AND SAVE THESE INSTRUCTIONS.

Thank you very much for having purchased our Ventilating Fan. Please read these instructions carefully before attempting to install, operate or service the Panasonic Ventilating Fan. Failure to comply with instructions could result in personal injury and/or property damage. Please retain this booklet for future reference.

Table of Contents Read Prior To Installing This Fan 2Please Unpacking

Accessories 3Supplied

Description Dimensions Wiring Diagram Switch Indication Operation Specifications General Safety Information

IInstallation Joist Mounting- )I 8-10 Joist Mounting- )IIInstallation 11-12II III -Joist Mounting )IInstallation Between Joist Mounting )IV 13Installation Wooden Header 14VInstallation In Existing Construction )VI 14Installation

Maintenance 15-16 Practical Guide to Installation

Service

16Product

Page Summary Contents For Panasonic FV-08VKML1 FV-08VKSL1 Installation and User Guide

Page 1 Ventilating Fan Model No. FV-08VKML1 FV-08VKSL1 FV-08VKML1 FV-08VKSL1 READ AND SAVE THESE INSTRUCTIONS. Thank you very much for having purchased our Ventilating Fan. Please read these instructions car...
Page 2 ventilating FV-08VKSL1 FV-08VKML1 only). efficient than the minimum ENERGY STAR requirements.
Page 3 UNPACKING Unpack and carefully remove unit from carton. Refer to the Supplied Accessories list to verify that all parts are present. SUPPLIED ACCESSORIES name Quantity Appearance Part name Quantity Ap...
Page 4 DIMENSIONS FV-08VKML1 Unit: mm )inches 3/4 70( (25) FV-08VKSL1 Part name No. Part name No. Grille Junction box cover Adaptor Junction box Fan body Lighting unit Damper Fluorescent lamp Suspension brac...
Page 5 WI ING DIAG AMR FV-08VKML1 FV-08VKSL1 SWITCH INDICATION High Low delay time Low speed air vol- preset switch ume preset switch Switch indications on blower unit Low speed air-volume preset switch posi...
Page 6 OPE ATIONR Detectible range IN ID The distance that can be detected is less than feet (3m). The field of view of the (3m) Sensor sensor is Motion sensor The low speed is determined by air volume prese...
Page 7 GENE AL SAFETY INFO MATIONR 1. Do not install this ventilating fan where air temperature may exceed (104 F). 2. Make certain that the electric service supply voltage is AC 120V, Hz. Prohibited 3. Foll...
Page 8 INSTALLATION JOIST MOUNTING-I I( IMPORTANT Remove the tape from damper and adaptor before installation. As shown below: Adaptor Damper Suspension bracket Fan body Fig.1-1 1. Insert the suspension brac...
Page 9 INSTALLATION JOIST MOUNTING-I I( CONTINUED 2. Install the suspension bracket and the flange of fan body to joists by using long screws (ST4.2X20) If spacing Joist between joists is inches, install the...
Page 10 INSTALLATION JOIST MOUNTING-I I( CONTINUED 7. Finish ceiling work. Ceiling hole should be aligned with the edge of the flange. (Fig.5) Ceiling 8. Insert the plug connector II into the receptacle II Li...
Page 11 INSTALLATION JOIST MOUNTING-II II( 1. Remove the machine screw by using screw driver, Machine screw disconnect plug connector from receptacle and remove adaptor from fan body before installation. (Fig...
Page 12 INSTALLATION JOIST MOUNTING- II( CONTINUEDII 6. Secure the fan body to adaptor by using machine screw and plug connector to receptacle (Fig.11) Screw driver Machine screw Receptacle Plug connector Fig...
Page 13 INSTALLATION BETWEEN JOIST MOUNTINGIV 1. Before installation, secure the lighting unit to fan body inches and 19.2 inches (refering to Fig.5 of page 10). Suspension bracket horizental joist 2. Insert ...
Page 14 INSTALLATION WOODEN HEADEV 1. Before installation, secure the lighting unit to fan body (refering to Fig.5 of page 10). Header Joist Joist 2. Install header between joists by using nails or screws. 3/...
Page 15 MAINTENANCE CLEANINGI WARNING: Mounting spring Ceiling Disconnect power source before working on unit. Routine maintenance must be done every year. Grille Gloves Fig.21-1 CAUTION: 1. Never use gasolin...
Page 16 MAINTENANCE II (REPLACEMENT OF LAMP) CONTINUED 1. Remove grille. (Squeeze mounting spring and pull down) (Fig.21 of page 15) 2. Remove the night lamp. (Fig.26) Fig.26 3. Change the fluorescent lamps (...

Manual Details

Brand Panasonic
Pages 16
File Size 1.20 MB
Published June 20, 2026
2 views

Enter the captcha to get the download link:

captcha

Frequently Asked Questions

What is the operating range of the motion sensor?

The sensor can detect motion up to 10 feet (3m) away, and its field of view is 90 degrees.

How does the unit behave after motion detection ceases?

Following motion detection, the unit maintains a higher speed for an adjustable duration ranging from 0.5 to 60 minutes before lowering speed or switching off (depending on manual settings).

Are there specific mounting requirements for the sensor unit?

For joists spaced 16 inches apart, use suspension bracket I; for 19.2 inches, use bracket III; and if spacing exceeds 19.2 inches, use a combination of brackets II & III.

Where should insulation be applied during attic installation?

The proper insulation measures include placing loose fill or batt insulation directly over the fan housing in the attic and caulking box joints to drywall.