Page 1
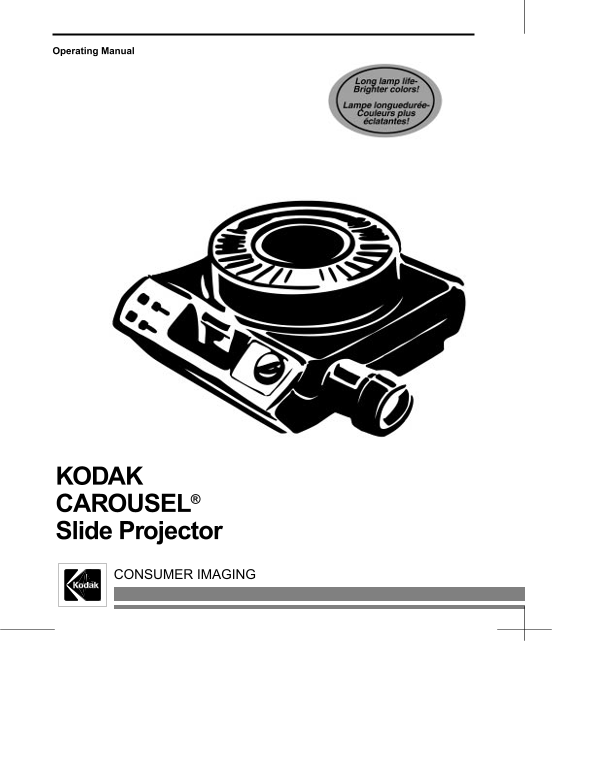
Operating Manual KODAK CAROUSEL® Slide Projector CONSUMER IMAGING
Page 2
Important Safety Instructions When using your projector, always follow basic safety precautions: 1. Read and understand all instructions before using this equipment. 2. Operate this projector with 110...
Page 3
Operating Manual KODAK CAROUSEL Slide Projector
Page 5
Contents Important Safety Instructions . . . . . . . . . . . . . . . . . . . . . .Inside Front Cover Introduction . . . . . . . . . . . . . . . . . . . . . . . . . . . . . . . . . . . . . . . . . . . ...
Page 6
Introduction Congratulations! You have just purchased a KODAK CAROUSEL Slide Projector which: triples lamp life provides brighter and more vivid colors! Introduction Take the time to read the instruct...
Page 7
Overview 1 – Tray 2 – Lock Ring 3 – Storage Compartment/Remote 4 – Elevating Foot 5 – Elevating Adjustment Wheel 6 – Elevating Foot Release Button 7 – Lens 8 – Viewer (Model 5600) 9 – Focus Knob 10 – ...
Page 8
Operation Operation Startup Open the storage compartment and remove the remote control. Plug the 5-pin cable remote connector into the remote-control receptacle, aligning the raised dot with the metal...
Page 9
Operation Loading the Slide Tray KODAK Slide Trays are available in 80- and 140-slide capacities. Use a 140-slide tray if you use thin-mounted slides (1/16 in. / 1.6 mm) and need the larger capacity. ...
Page 10
Operation Adding Your Slides Remove the lock ring by turning it counterclockwise and lifting it off. Check each slide’s orientation (horizontal or vertical), and arrange them in the order you wish to ...
Page 11
Operation Replace the lock ring by turning it clockwise until it is secure Tray Place the loaded slide tray on the projector. Align the tray index bar with the gate index. The tray will drop into posi...
Page 12
Operation Removing the Tray To remove the slide tray: press the select bar all the way down align the tray index bar with the gate index. You can then lift off the tray. KODAK CAROUSEL® Slide Projecto...
Page 13
Operation Projecting Your Slides Lens To insert a lens, push the focus knob up and position the lens gear teeth on the lens barrel with the notch on the projector. Lamp Slide the power switch to lamp....
Page 14
Operation Forward and Press the forward button on the projector or the remote control to project the Reverse first slide. To change slides, briefly press the forward or reverse buttons. Focus Focus yo...
Page 15
Operation Screen Image Use the elevating foot to horizontally center the projected image on the screen. To release the foot, press the release button, while lifting the of the projector to the desired...
Page 16
Operation Reading Light To illuminate a small area for reading, lift the reading light cover while the (Model only) projector lamp is on. Room Light Outlet Plug any standard room light into the room l...
Page 17
Operation Single Slides To project single slides, slide the power switch on. Remove the tray and insert a slide upside down into the projector gate. Push the slide all the way down. After viewing the ...
Page 18
Operation Choosing a Curved- The lens you select depends on how you use your projector and what type of or Flat-Field Lens slide mount you use. So that you may choose the lens that best meets your nee...
Page 19
Operation KODAK CAROUSEL® Slide Projector
Page 20
Operation Editing Your Presentation Removing the To add or remove slides in the tray, you must first remove the lock ring. Turn the ring counterclockwise and lift off. Lock Ring Removing a Slide Rotat...
Page 21
Operation Clearing a Gate Jam To remove defective slide or foreign object stuck in the projector gate, you need to remove the tray. Slide the tray release latch in the direction of the arrow, and with...
Page 22
Operation Using the Built-In Viewer (Model 5600 Only) Important Before opening the viewer, you must remove the projection lens from the projector. Removing the Turn the focus knob to the horizontal po...
Page 23
Operation Reinserting the To reinsert the lens, push the focus knob up and position the lens gear teeth Lens on the lens barrel with the notch on the projector. Shutdown To shut down, remove and store...
Page 24
Maintenance To ensure a long life and trouble-free operation for your projector: Allow the air to flow freely around the projector. Do not recirculate warm air. Keep the projector dust free. Your CARO...
Page 25
Maintenance Changing the Projection Lamp Slide the power switch to Off and unplug the projector. Allow the projector and lamp to cool for about minutes. Push the lamp-module release button and remove ...
Page 26
Maintenance Cleaning the Condenser, Heat-Absorbing Glass, and Mirror To clean the condenser, heat-absorbing glass, or mirror, you must disassemble the lamp module. Slide the power switch to Off and un...
Page 27
Maintenance Condenser Lens You can clean the condenser lens in place, or by pulling it out. Wear gloves to prevent fingerprints. Caution Heat-Absorbing The heat-absorbing glass is fragile. Handle it o...
Page 28
Maintenance Reassembling the To reassemble the lamp module, you will need to align and insert each tab Lamp Module into its appropriate slot. Start with the tabs in the rear of the lamp module. Insert...
Page 29
Maintenance Mirror To clean the mirror, invert the lamp module to reach the mirror. Gently clean the mirror with a soft, lint-free cloth moistened with lens cleaner. When your maintenance is complete,...
Page 30
Troubleshooting Consult this guide before calling for service. PROBLEM CAUSE CORRECTION Projector does not operate No power to projector Plug power cord into suitable electrical outlet. Set power swit...
Page 31
Troubleshooting PROBLEM CAUSE CORRECTION Slide fails to drop into projection Tray base plate not properly indexed Align the index hole and index position notch. Tray not properly positioned on Reposit...
Page 32
Warranty Warranty Kodak warrants this KODAK CAROUSEL Slide Projector to function properly for one year from the date of purchase. If this KODAK CAROUSEL Slide Projector does not function properly with...
Page 33
How to Obtain Service Assistance To obtain service or for assistance in using your KODAK CAROUSEL Slide Projector, contact the Kodak Information Center at 1-800-242-2424, Monday through Friday, 8 a.m....
Page 34
Consumer Imaging EASTMAN KODAK COMPANY Rochester, New York 14650 www.kodak.com/go/projectors Kodak, Ektagraphic, and Kodalux are trademarks. CONSUMER IMAGING Part No. 5B4904 1/03 Minor Revision ©Eastm...