# A B C D E F G H I J K L M N O P Q R S T U V W X Y Z

Installing the Optional CD Drive - Dell Setup Guide & User Manual

Summary

This Dell technical document provides instructions for installing an optional CD drive in Dell systems. It covers safety precautions, bezel removal procedures, system power-down steps, cover removal using captive screws, CD drive alignment with retaining pins on the hard drive bracket, interposer card connection, plunger fastening, and interface/power cable connections including CD-ROM interface cable and P4 power cable routing. Target users are Dell system owners and technicians performing optical drive upgrades or replacements.
📄 Preview PAGE OF 28

Page 1 Text Content

C3740am0.fm Page 1 Tuesday, December 16, 2003 5:31 PM .d ll.c | s t.d ll.c

About Cautions CAUTION: A CAUTION indicates a potential for property damage, personal injury, or death.

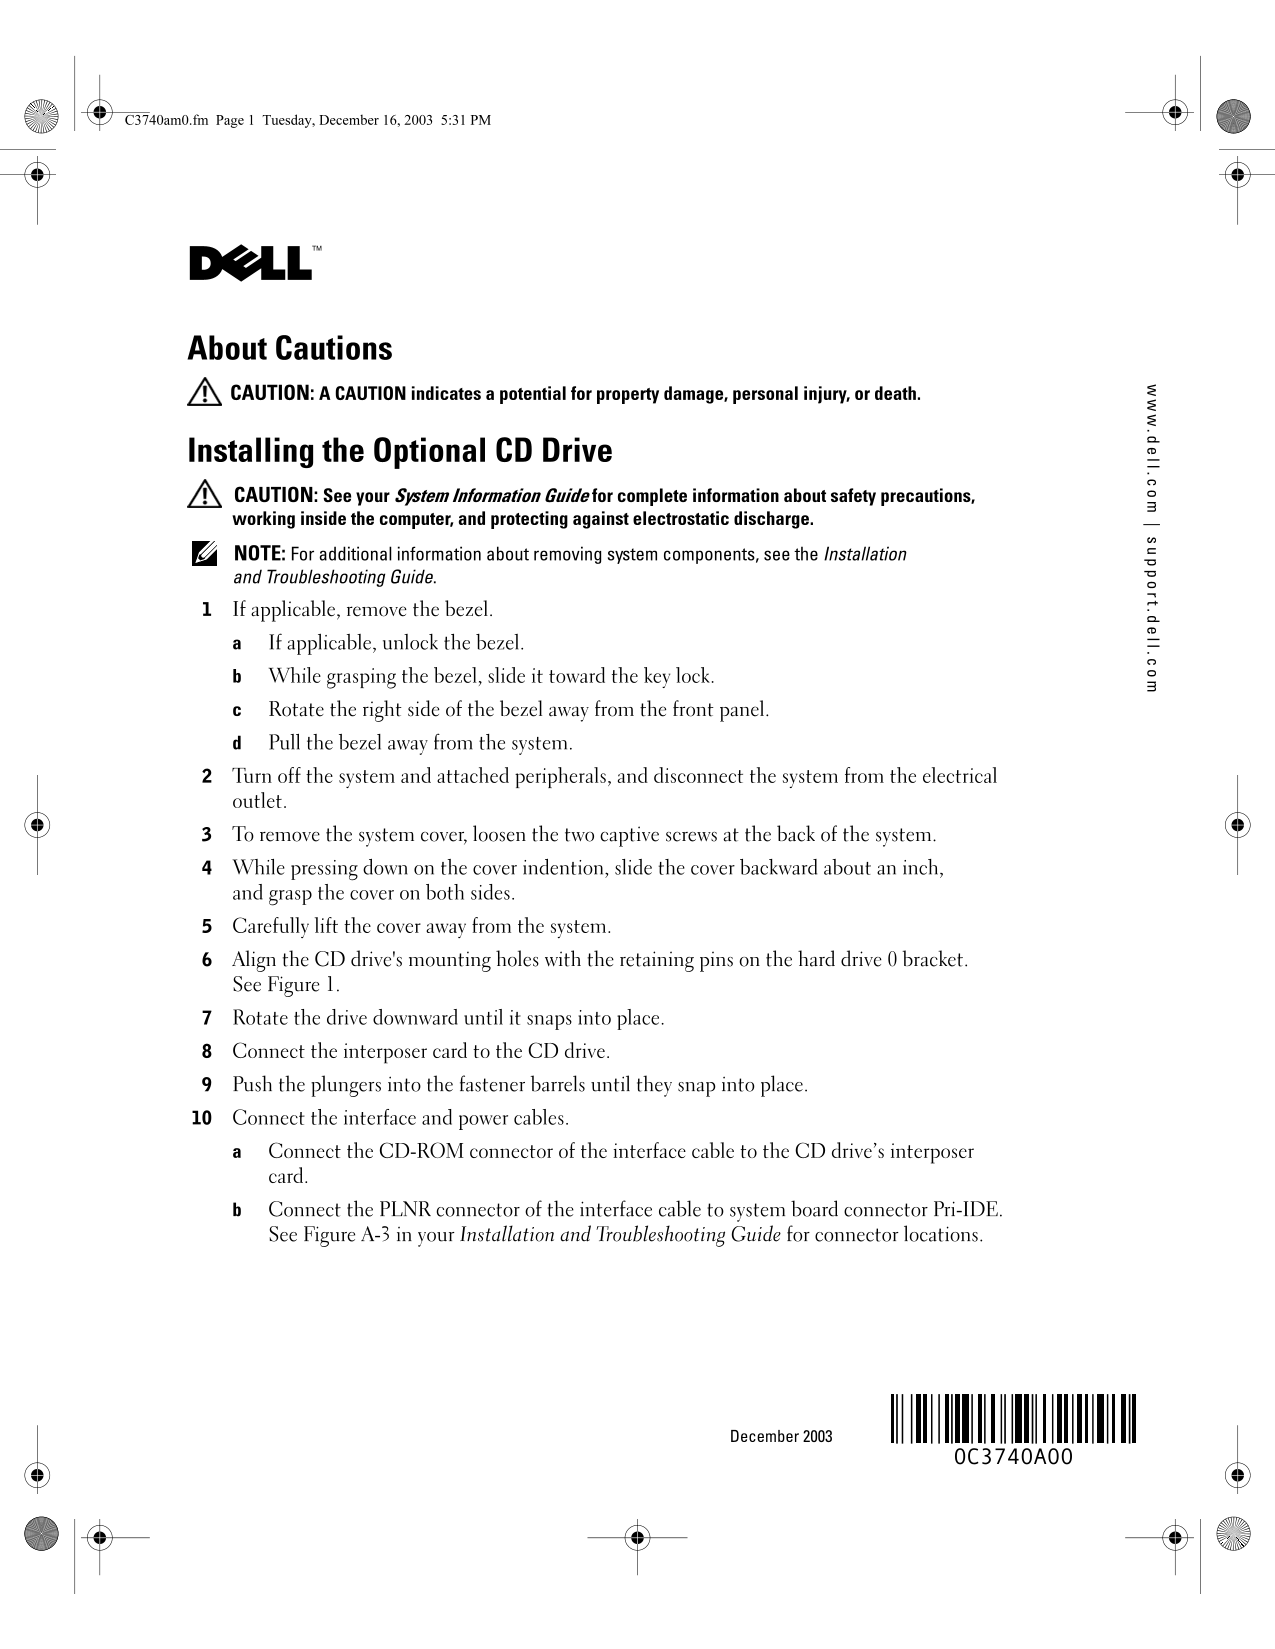
Installing the Optional CD Drive CAUTION: See your System Information Guide for complete information about safety precautions, working inside the computer, and protecting against electrostatic discharge. NOTE: For additional information about removing system components, see the Installation and Troubleshooting Guide. If applicable, remove the bezel.

If applicable, unlock the bezel. While grasping the bezel, slide it toward the key lock. Rotate the right side of the bezel away from the front panel. Pull the bezel away from the system. Turn off the system and attached peripherals, and disconnect the system from the electrical outlet. To remove the system cover, loosen the two captive screws at the back of the system. While pressing down on the cover indention, slide the cover backward about an inch, and grasp the cover on both sides. Carefully lift the cover away from the system. Align the CD drive's mounting holes with the retaining pins on the hard drive 0 bracket. See Figure 1. Rotate the drive downward until it snaps into place. Connect the interposer card to the CD drive. Push the plungers into the fastener barrels until they snap into place. Connect the interface and power cables. Connect the CD-ROM connector of the interface cable to the CD drive’s interposer card. Connect the PLNR connector of the interface cable to system board connector Pri-IDE. See Figure A-3 in your Installation and Troubleshooting Guide for connector locations.

December 2003

Page Summary Contents For Installing the Optional CD Drive - Dell Setup Guide & User Manual

Page 1 C3740am0.fm Page 1 Tuesday, December 16, 2003 5:31 PM .d ll.c | s t.d ll.c About Cautions CAUTION: A CAUTION indicates a potential for property damage, personal injury, or death. Installing the Option...
Page 2 C3740am0.fm Page 2 Tuesday, December 16, 2003 5:31 PM .d ll .c t. ll .c Locate the P4 power cable connector. The P4 connector is part of a cable assembly that connects the power supply to both hard dr...
Page 3 C3740am0.fm Page 3 Tuesday, December 16, 2003 5:31 PM .d ll.c | s t.d ll.c Information in this document is subject to change without notice. Dell Inc. All rights reserved. Printed in the U.S.A. Reprod...
Page 4 C3740am0.fm Page 4 Tuesday, December 16, 2003 5:31 PM .d ll .c t. ll .c
Page 5 C3740cam0.fm Page 1 Wednesday, December 17, 2003 4:37 PM .d ll.c | s t.d ll.c 安装可选 CD 驱动器 警告: 有关安全预防措施、拆装计算机内部组件以及防止静电损害的完整信息, 请参阅《系统信息指南》。 注: 有关卸下系统组件的其它信息,请参阅《安装与故障排除指南》。 如果适用,请卸下挡板。 如果适用,请打开挡板锁。 抓住...
Page 6 C3740cam0.fm Page 2 Wednesday, December 17, 2003 4:37 PM .d ll .c t. ll .c 找出 P4 电源电缆连接器。 P4 连接器是电缆部件的一部分,用来将电源连接至硬盘驱动器和 CD 驱动器的内插卡。 将 P4 电源电缆连接器连接至 CD 驱动器的内插卡。 图 1. 卸下和安装可选 CD 驱动器
Page 7 C3740cam0.fm Page 3 Wednesday, December 17, 2003 4:37 PM .d ll.c | s t.d ll.c 本文中的信息如有更改,恕不另行通知。 Dell Inc.保留所有权利。美国印制。 未经 Dell Inc. 书面许可,不准以任何形式进行复制。 本文件中使用的商标:Dell 和 DELL 徽标是 Dell Inc. 的商标。 本文件中述及的其它...
Page 8 C3740cam0.fm Page 4 Wednesday, December 17, 2003 4:37 PM .d ll .c t. ll .c
Page 9 C3740fam0.fm Page 1 Tuesday, December 16, 2003 4:55 PM .d ll.c | s t.d ll.c Mentions Attention ATTENTION : le message ATTENTION indique une situation potentiellement dangereuse qui, si elle n'est pas ...
Page 10 C3740fam0.fm Page 2 Tuesday, December 16, 2003 4:55 PM .d ll .c t. ll .c Repérez le connecteur P4 du câble d’alimentation. Le connecteur P4 fait partie d’un ensemble de câbles qui relie les disques du...
Page 11 C3740fam0.fm Page 3 Tuesday, December 16, 2003 4:55 PM .d ll.c | s t.d ll.c Les informations contenues dans ce document peuvent être modifiées sans préavis. Dell Inc. Tous droits réservés. Imprimé aux...
Page 12 C3740fam0.fm Page 4 Tuesday, December 16, 2003 4:55 PM .d ll .c t. ll .c
Page 13 C3740gam0.fm Page 1 Tuesday, December 16, 2003 5:15 PM .d ll.c | s t.d ll.c Warnungen VORSICHT: VORSICHT zeigt eine mögliche gefährliche Situation an, die bei Nichtbeachtung zu Sachschäden, Körperverl...
Page 14 C3740gam0.fm Page 2 Tuesday, December 16, 2003 5:15 PM .d ll .c t. ll .c Suchen Sie den P4-Netzkabelanschluss. Der P4-Anschluss ist Teil eines Kabelsatzes, der das Netzteil mit der Zwischenkarte des F...
Page 15 C3740gam0.fm Page 3 Tuesday, December 16, 2003 5:15 PM .d ll.c | s t.d ll.c Irrtümer und technische Änderungen vorbehalten. Dell Inc. Alle Rechte vorbehalten. Gedruckt in den USA. Eine Reproduktion di...
Page 16 C3740gam0.fm Page 4 Tuesday, December 16, 2003 5:15 PM .d ll .c t. ll .c
Page 17 C3740jam0.fm Page 1 Tuesday, December 16, 2003 4:27 PM .d ll.c | s t.d ll.c オプションの CD ドライブの取り付け 警告: 安全上の注意、コンピュータ内部の作業、および静電気障害への対処の詳細について は、『システム情報ガイド』を参照してください。 メモ: システム部品の取り外し方法については、『インストール&トラブルシュ...
Page 18 C3740jam0.fm Page 2 Tuesday, December 16, 2003 4:27 PM .d ll .c t. ll .c P4 電源ケーブルコネクタの位置を確認します。 P4 コネクタは、CD ドライブのインタポーザカードおよびハードドライブを電源 装置に接続するケーブルアセンブリの一部です。 P4 電源ケーブルコネクタを CD ドライブのインタポーザカードに接続します。 ...
Page 19 C3740jam0.fm Page 3 Tuesday, December 16, 2003 4:27 PM .d ll.c | s t.d ll.c ここに記載されている内容は予告なく変更されることがあります。 2003 すべての著作権は Dell Inc. にあります。 Printed in the U.S.A. Dell Inc. の書面による許可のない複製は、いかなる形態においても厳重に禁...
Page 20 C3740jam0.fm Page 4 Tuesday, December 16, 2003 4:27 PM .d ll .c t. ll .c
Page 21 C3740kam0.fm Page 1 Thursday, December 18, 2003 9:36 AM .d ll.c | s t.d ll.c 추가 CD 드라이브 설치 주의 : 안전 지침 , 컴퓨터 내부 작업 및 정전기 방전 보호에 대한 자세한 내용은 시스템 정보 설명 서를 참조하십시오 참고 : 시스템 구성 요소 제거에 대한 자세한 내용은 , 설치 및 문제 해결...
Page 22 C3740kam0.fm Page 2 Thursday, December 18, 2003 9:36 AM .d ll .c t. ll .c P4 전원 케이블 커넥터의 위치를 확인하십시오 P4 커넥터는 전원 공급장치를 하드 디스크 드라이브와 CD 드라이브의 장착 카드에 연결시키는 케이블 조립품의 일부입니다 P4 전원 케이블 커넥터를 CD 드라이브의 장착 카드에 연결...
Page 23 C3740kam0.fm Page 3 Thursday, December 18, 2003 9:36 AM .d ll.c | s t.d ll.c 본 설명서에 수록된 정보는 사전 통보 없이 변경될 수 있습니다 Dell Inc. All rights reserved. 미국에서 인쇄됨 Dell Inc. 의 사전 승인 없이 어떠한 경우에도 무단 복제하는 것을 엄격히 금합니...
Page 24 C3740kam0.fm Page 4 Thursday, December 18, 2003 9:36 AM .d ll .c t. ll .c
Page 25 C3740sam0.fm Page 1 Wednesday, December 17, 2003 9:04 AM .d ll.c | s t.d ll.c Información sobre los avisos de precaución PRECAUCIÓN: una PRECAUCIÓN indica el riesgo de daños en la propiedad, lesiones ...
Page 26 C3740sam0.fm Page 2 Wednesday, December 17, 2003 9:04 AM .d ll .c t. ll .c Localice el conector del cable de alimentación P4. El conector P4 forma parte de un conjunto de cables que conecta la fuente ...
Page 27 C3740sam0.fm Page 3 Wednesday, December 17, 2003 9:04 AM .d ll.c | s t.d ll.c La información contenida en este documento puede modificarse sin notificación previa. Dell Inc. Reservados todos los derec...
Page 28 C3740sam0.fm Page 4 Wednesday, December 17, 2003 9:04 AM .d ll .c t. ll .c

Manual Details

Brand Dell
Pages 28
File Size 3.51 MB
Published June 29, 2026
6 views

Enter the captcha to get the download link:

captcha

Frequently Asked Questions

What precautions should I follow when working inside the computer chassis?

Refer to your System Information Guide for complete safety precautions regarding working inside, protecting against static discharge (ESD), and general cautions.

What steps must be taken before installing or removing system components like the CD drive?

You must turn off the system and attached peripherals, then disconnect the entire unit from the electrical outlet.

How do I connect the new optional CD Drive to the main board hardware?

Connect the interface cable's CD-ROM connector to the interposer card, plug PLNR into the main IDE board, and use P4 for power supply.

How is the system cover secured after installing the components?

Place the cover over the sides of the chassis until it snaps into place, then tighten the two captive screws at the back of the system to secure it.