Installing Optional Floppy Disk Drive - Dell
Summary
This technical document for Dell systems provides instructions for installing optional diskette drives and other internal components. It covers safety precautions, electrostatic discharge protection, system cover removal, drive mounting procedures, cable connections, and component alignment. The document is intended for system integrators and installation technicians who need to properly install and configure optional hardware components in Dell desktop systems while following safety guidelines.
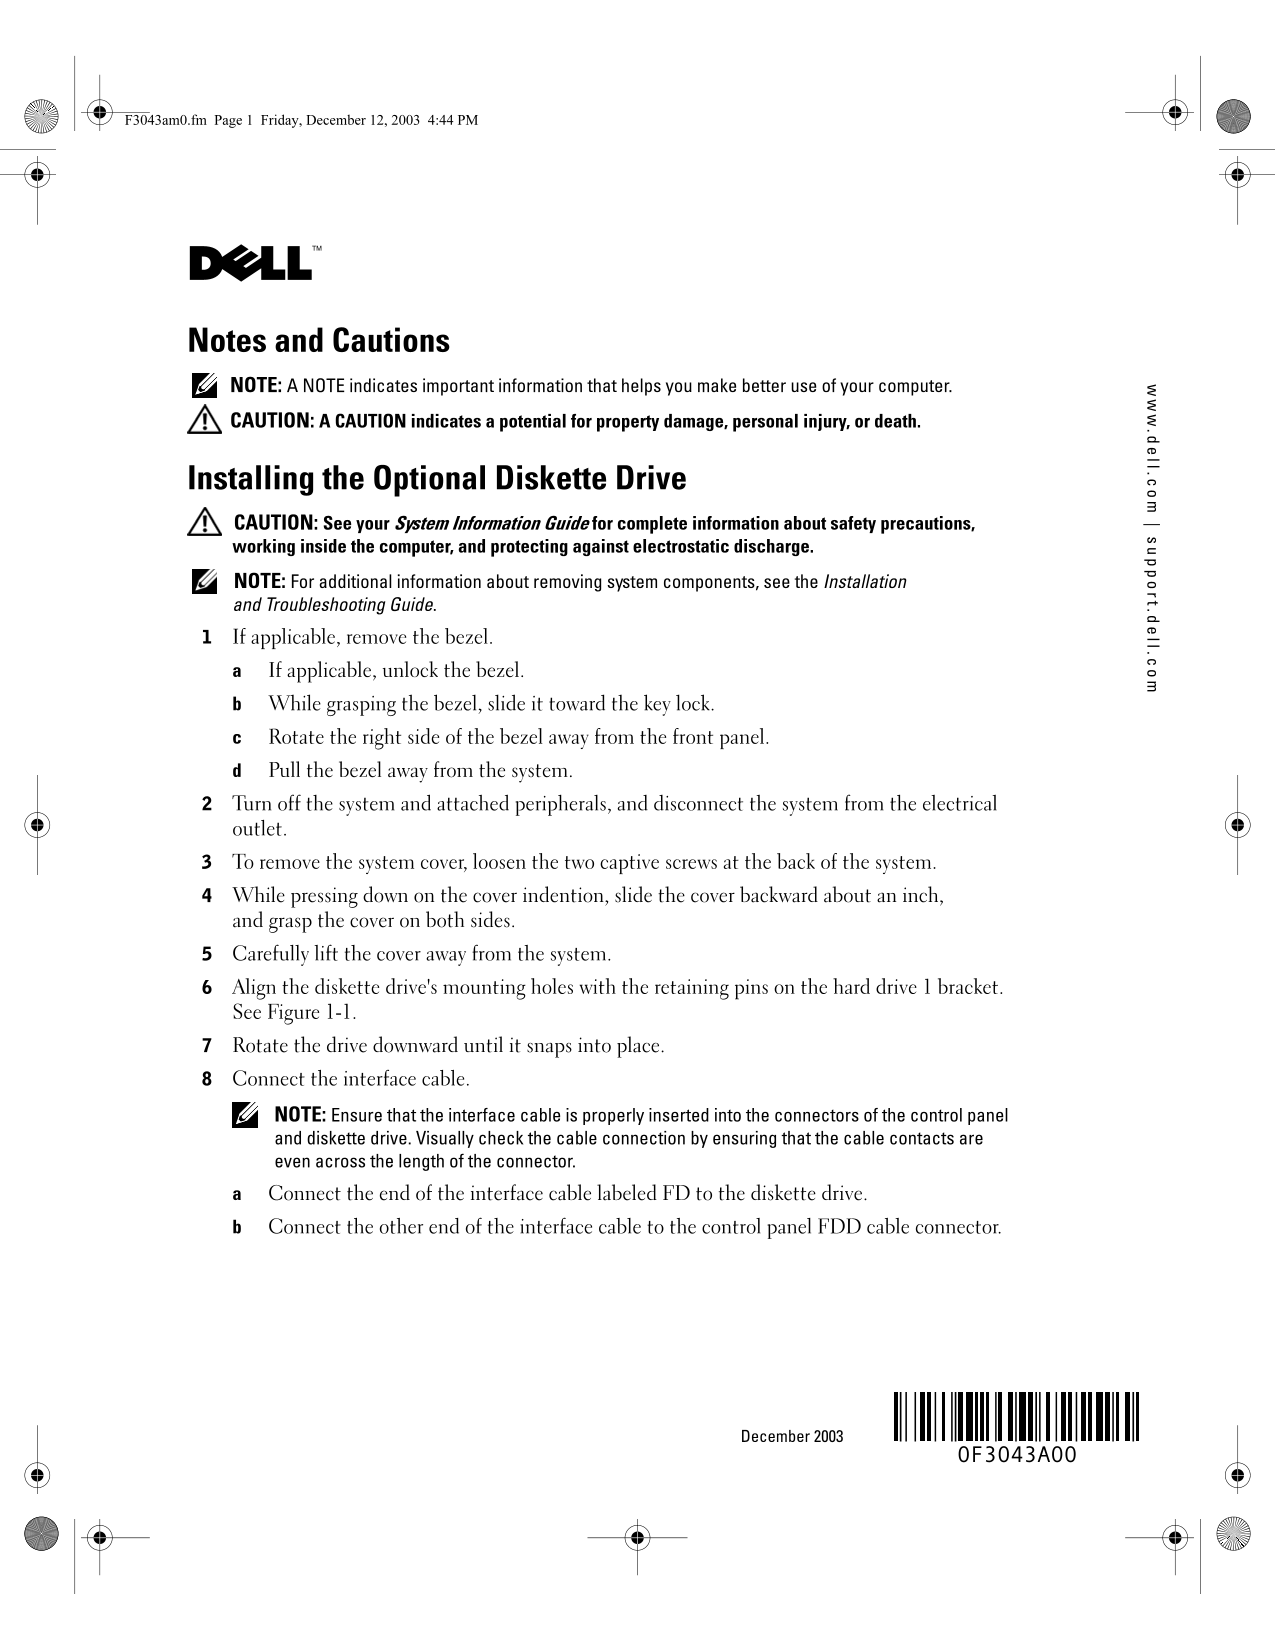
Page 1 Text Content
F3043am0.fm Page 1 Friday, December 12, 2003 4:44 PM .d ll.c | s t.d ll.c
Notes and Cautions NOTE: A NOTE indicates important information that helps you make better use of your computer. CAUTION: A CAUTION indicates a potential for property damage, personal injury, or death.
Installing the Optional Diskette Drive CAUTION: See your System Information Guide for complete information about safety precautions, working inside the computer, and protecting against electrostatic discharge. NOTE: For additional information about removing system components, see the Installation and Troubleshooting Guide. If applicable, remove the bezel.
If applicable, unlock the bezel. While grasping the bezel, slide it toward the key lock. Rotate the right side of the bezel away from the front panel. Pull the bezel away from the system. Turn off the system and attached peripherals, and disconnect the system from the electrical outlet. To remove the system cover, loosen the two captive screws at the back of the system. While pressing down on the cover indention, slide the cover backward about an inch, and grasp the cover on both sides. Carefully lift the cover away from the system. Align the diskette drive's mounting holes with the retaining pins on the hard drive 1 bracket. See Figure 1-1. Rotate the drive downward until it snaps into place. Connect the interface cable. NOTE: Ensure that the interface cable is properly inserted into the connectors of the control panel and diskette drive. Visually check the cable connection by ensuring that the cable contacts are even across the length of the connector. Connect the end of the interface cable labeled FD to the diskette drive. Connect the other end of the interface cable to the control panel FDD cable connector.
December 2003
Page Summary Contents For Installing Optional Floppy Disk Drive - Dell
Manual Details
| Brand | Dell |
|---|---|
| Pages | 14 |
| File Size | 9.55 MB |
| Published | June 29, 2026 |
Enter the captcha to get the download link:

Frequently Asked Questions
What safety information is provided for internal components?
Consult the System Information Guide for details on safety precautions, working inside the computer, and preventing electrostatic discharge.
How should the optional diskette drive be connected?
Connect the 'FD' end of the interface cable to the disc drive, and the other end to the FDD connector on the control panel.
What steps are needed to remove the system cover?
Loosen two captive screws at the back, press down on the cover indentation, slide it back, grasp both sides, and lift carefully.
How do I reinstall the bezel (bezel)?
Align the hole in the left-side tab with the front panel tab. Rotate while sliding toward the key lock until it snaps into place.