# A B C D E F G H I J K L M N O P Q R S T U V W X Y Z

HP DesignJet HD Scanner Series - Setup Instructions

Summary

This comprehensive setup guide is essential for owners of the HP Designjet large format scanner system. It provides detailed, step-by-step instructions for complete and safe assembly, covering everything from robust stand construction to mounting the touchscreen assembly. The manual also serves as a vital resource for routine operational maintenance, guiding users through cleaning the scanning area, performing necessary alignment checks, and calibrating the unit for peak performance. Ideal for initial setup or recurring service, ensuring your large format copier operates efficiently.
📄 Preview PAGE OF 18

Page 1 Text Content

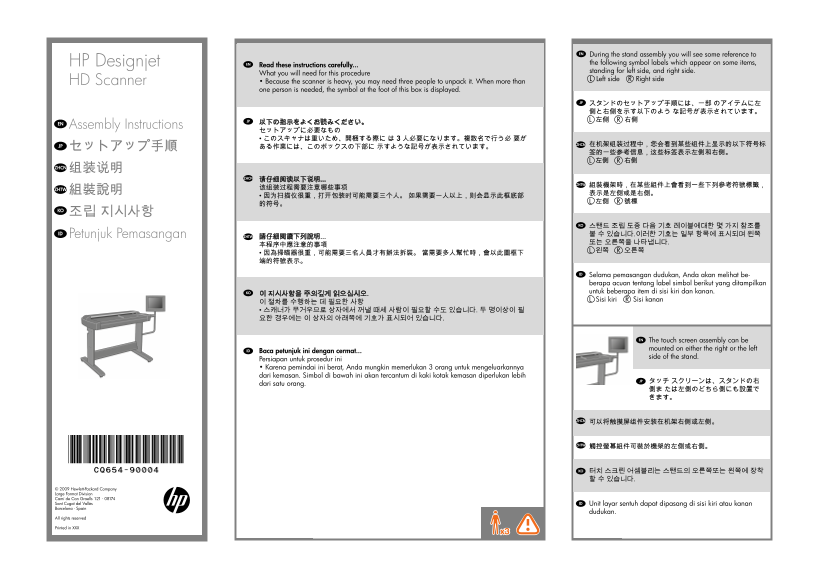
EN During the stand assembly you will see some reference to HP Designjet EN the following symbol labels which appear on some items,

Read these instructions carefully...

standing for left side, and right side.

What you will need for this procedure

L Left side R Right side

HD Scanner • Because the scanner is heavy, you may need three people to unpack it. When more than one person is needed, the symbol at the foot of this box is displayed.

JP スタンドのセットアップ手順には、一部 のアイテムに左

側と右側を示す以下のよう な記号が表示されています。 JP L 左側 R 右側

EN 以下の指示をよくお読みください。

Assembly Instructions

JP ZHCN 在机架组装过程中,您会看到某些组件上显示的以下符号标

ZHCN 组装说明

ZHTW 組裝機架時,在某些組件上會看到一些下列參考符號標籤,

ZHTW 该组装过程需要注意哪些事项

KO 조립 지시사항

KO 스탠드 조립 도중 다음 기호 레이블에대한 몇 가지 참조를 Petunjuk Pemasangan ZHTW 볼 수 있습니다.이러한 기호는 일부 항목에 표시되며 왼쪽

Selama pemasangan dudukan, Anda akan melihat be- berapa acuan tentang label simbol berikut yang ditampilkan KO untuk beberapa item di sisi kiri dan kanan.

L Sisi kiri R Sisi kanan

EN The touch screen assembly can be mounted on either the right or the left

Baca petunjuk ini dengan cermat...

side of the stand.

Persiapan untuk prosedur ini • Karena pemindai ini berat, Anda mungkin memerlukan 3 orang untuk mengeluarkannya dari kemasan. Simbol di bawah ini akan tercantum di kaki kotak kemasan diperlukan lebih

JP タッチ スクリーンは、スタンドの右

dari satu orang.

KO 터치 스크린 어셈블리는 스탠드의 오른쪽또는 왼쪽에 장착 할 수 있습니다.

© 2009 Hewlett-Packard Company Large Format Division Camí de Can Graells 1-21 · 08174 Sant Cugat del Vallès Unit layar sentuh dapat dipasang di sisi kiri atau kanan Barcelona · Spain

dudukan.

All rights reserved

Printed in XXX

Page Summary Contents For HP DesignJet HD Scanner Series - Setup Instructions

Page 1 EN During the stand assembly you will see some reference to HP Designjet EN the following symbol labels which appear on some items, Read these instructions carefully... standing for left side, and rig...
Page 3 ZHCN ZHTW
Page 4 Using the letter symbols shown, identify the left and right Turn the left and right legs upside down, and attach the Lay one of the legs down and attach the lower bar, Attach the lower bar to the othe...
Page 5 Put the two legs upright, and slide the top bar into the legs, At this point you must decide on which side you are going to fit the touch screen assembly. This can be fitted on the left or right side ...
Page 6 Loosen the two top screws on the outside of the leg to Slide the touch screen bracket into place over the four Tighten the four screws. Place some packaging boxes, or something about half leave a 4mm ...
Page 7 Using three people; two to lift, and one to position, lift Fix with the four special screws. With the protective foam in place, put the touch screen Remove the protective foam ends, and slide the hub ...
Page 8 You are now required to clean the scan area. To do so you will need the cleaning tools provided in the maintenance kit and a cleaning fluid (not included in the maintenance kit). Caution: do not use a...
Page 9 Push down the two locks, and open the scanner cover to Clean the glass with a lint-free cloth and a mild, streak- Dry the glass fully using a separate clean, dry lint-free Clean the white background p...
Page 10 EN Clean the transport rollers and surrounding area. Dry the white background plate, rollers, and surrounding Close the scanner cover and push down on the top to Keep out dust and reduce maintenance t...
Page 11 Connect the cable bundle to the touch screen as shown Remove the cover on the side of the scanner, and insert Insert the other end of the Fire Wire cable into one of the Fit the protected part of the ...
Page 12 EN Connect the power cable to the scanner. Fit the power cable into the clips. Then attach the clips to Remove the cover from the leg; push up (B), and remove Place the excess cables into the slot in ...
Page 13 EN Replace the cover onto the leg. Connect the power cable extension, and then connect to You are now required to calibrate the scanner. For this Switch on the scanner and leave it to warm up for some...
Page 14 Important: when setting up for the first time, make sure that the scanner is turned on for at least one hour before moving on to the next step of camera alignment calibra- tion. Slight light intensity...
Page 15 The maintenance wizard will ask you to insert the Now follow the instructions that appear on the touch When the maintenance procedure has completed, Your HP Designjet comes equipped with two maintenan...
Page 16 Next, you should check the TCP/IP settings in your touch screen, and correct them if necessary. If you intend to scan to the network, with the HP Designjet scan software, files to be shared across the...
Page 17 To add an HP Designjet printer to the printer list in your scanner software, follow these steps: 1: On the touch screen go to the setup tab. EN 2: Press option button and select system. 3: Press the b...
Page 18 Legal notices © Copyright 2009 Hewlett-Packard Development Company, L.P. The information contained herein is subject to change without notice. The only warranties for HP products and services are set ...

Manual Details

Brand HP
Pages 18
File Size 5.43 MB
Published June 06, 2026
47 views

Enter the captcha to get the download link:

captcha

Frequently Asked Questions

How many people are required to unpack the heavy scanner?

Because of the weight, unpacking may require three people.

Can the touch screen assembly be mounted in multiple locations?

Yes, it can be installed on either the right side or the left side of the stand.

What is the maintenance procedure for cleaning the scanner area?

To clean the scanning area, follow the steps provided by entering 'Settings' on the touchscreen and following the prompts.

Where can I find instructions for aligning and calibrating the device?

Instructions are available through the online help system accessed via the touchscreen, or in the dedicated maintenance section.