Page 1
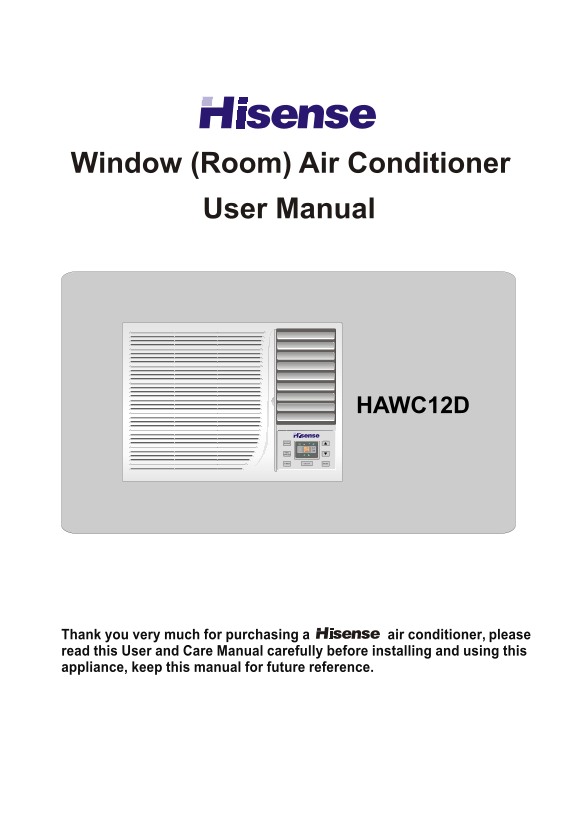
Window (Room) Air Conditioner User Manual HAWC12D SWING FAN HR SPEED OFFON/ MODETIMER Thank you very much for purchasing a air conditioner, please read this User and Care Manual carefully before insta...
Page 2
CONTENTS Safety precautions Part names Operating instructions Maintenance Operation tips Electrical specifications Troubleshooting Installation instructions PDF created with pdf Factory Pro trial vers...
Page 3
Safety Precautions Symbols in this User's Manual are interpreted as shown below: Be sure not to do. Be sure to follow the instruction. The feature of the appliance, Grounding is necessary. instead of ...
Page 4
Parts Names Front view For remote control model Air Outlet Vertical Air Vane Exterior Air Inlet Horizontal Air Vane Exterior Air Inlet SWING SPEED FAN HR TIMER OFFON/ MODE Power Cord Interior Remote C...
Page 5
Parts Name 1.Accessories Back view Outside Air Outlet Drainage Tip Exterior Air Inlet Fresh air lever Air Filter handle SWING SPEED FAN HR TIMER OFFON/ MODE Fresh air lever Fresh air lever Shut the fr...
Page 6
Operating Instructions You can easily operate this air conditioner by pressing the relevant button on the control panel as well as the remote controller. ON/OFF Button Control Panel The air conditione...
Page 7
Operating Instructions Remote Controller The remote controller transmits signals to the system. POWER Button The air conditioner will start operation or will stop operation when this button is pressed...
Page 8
Operating Instructions Remote Control How to Insert the Batteries Remove the battery cover according to the arrow direction. Insert new batteries making sure that the (+) and (-) of the battery are ma...
Page 9
Care and Maintenance Front panel maintenance Air filter maintenance Unplug from power source Stop operation and take out air filter. Take out air filter as shown Unplug from power source after switch ...
Page 10
Operation Tips Noise pollution Operating condition The protective device maybe trip and stop The noise level of air conditioner sounds the appliance in the cases listed below. higher at night than in ...
Page 11
Electrical specifications 1. All wiring must comply with local and national electrical codes and must be installed by a qualified electrician. If you have any questions regarding the following instruc...
Page 12
Trouble Shooting 1.Accessories The following cases may not always be a malfunction, please check it before asking for service. Trouble Analysis If the protector trip or fuse is blown. Does not run Ple...
Page 13
Installation instructions 1.Accessories Installation accessories 10K MODELS 1. buffer 2.leveling pad 3. seal foam pad 4. decorating strip Note: All above accessories are prepared or purchased by user....
Page 14
Installation instructions 2. Installation requirements 1.Accessories Installation requirements Leave a space more than 100 cm at the rear of the appliance and ensure the outdoor air intake not be bloc...
Page 15
Installation instructions 1.Accessories Installation requirements thickness of wall Fig.2 Fig.4 18-24K MODELS 90x20x710 wooden strip Space for outdoor air intake Fig.3 Fig.1 thickness of wall Fig.2 Fi...
Page 16
Installation instructions Installation teps 1.Accessories Test the appliance by plugging the power supply cord in a correct outlet of power source before installation. A clearance of 20 mm is advisabl...
Page 17
Version No. 4076-0181904
Page 18
HISENSE WARRANTY TERMS AND CONDITIONS 1. HISENSE Australia will provide parts and labour to you the Customer iv. resulting from poor installation including and not limited to as set out herein. positi...
Page 19
WARRANTY CLAIMS PROCEDURE Please retain this portion for your records 60 MONTHS IN HOME REPAIR WARRANTY Hisense Australia will provide its nearest service centre for repairs under warranty. You will n...