Page 1
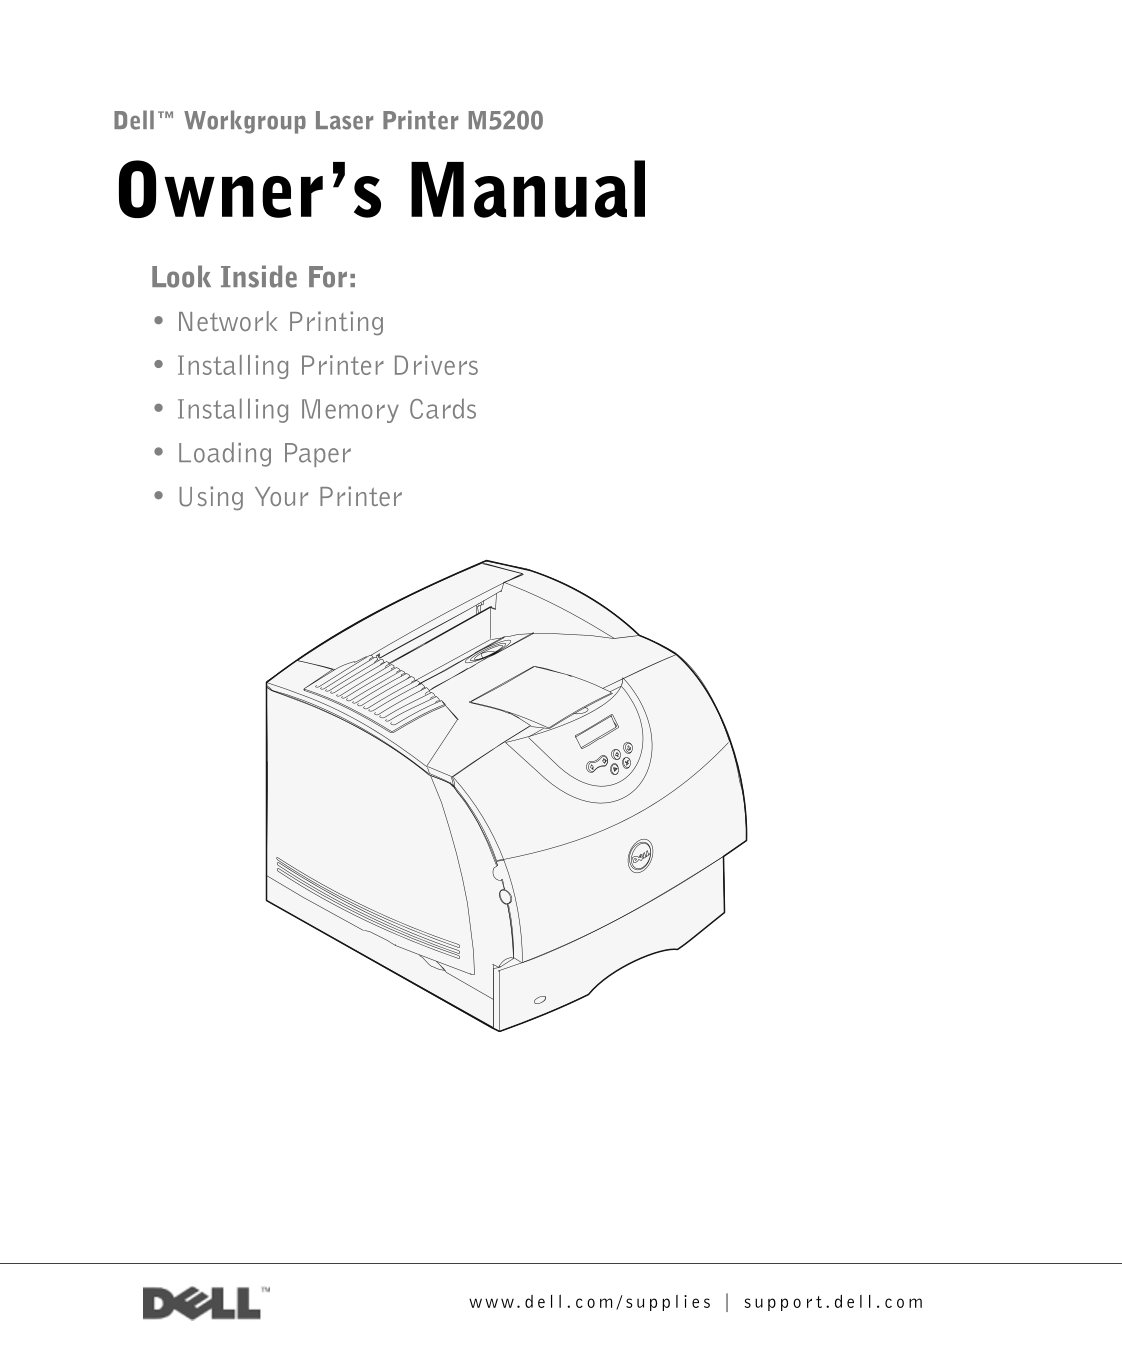
Dell™ Workgroup Laser Printer M5200 Owner’s Manual Look Inside For: • Network Printing • Installing Printer Drivers • Installing Memory Cards • Loading Paper • Using Your Printer
Page 2
Order toner car idges Dell™ toner cartridges are available only through Dell. You can order toner cartridges online at www.dell.com/supplies or by phone. USA 877-465-2968 (877-Ink2You) Canada 877-501-...
Page 3
Dell™ Workgroup Laser Printer M5200 Standard output bin On/Off switch Operator panel Power cord connector Multipurpose feeder Ethernet port Standard tray (500 sheets) USB port If you purchased additio...
Page 4
Notes, Notices, and Cautions NOTE: A NOTE indicates important information that helps you make better use of your computer. NOTICE: A NOTICE indicates either potential damage to hardware or loss of dat...
Page 5
Contents Set up for network printing Selecting your printer network setup Attaching locally to a print server Complete Microsoft Plug and Play Wizard Installing drivers in a Linux environment Installi...
Page 6
Set up for local printing Installing printer drivers Load paper Loading paper and transparencies In the standard tray In the multipurpose feeder Loading envelopes In the multipurpose feeder Use your p...
Page 7
Appendix Contacting Dell Limited Warranties and Return Policy Limited Warranty for Dell-Branded Hardware Products (U.S. Only) "Total Satisfaction" Return Policy (U.S. Only) Limited Warranty ...
Page 8
Contents
Page 9
CAUTION: SAFETY INFORMATION Use the following safety guidelines to help ensure your own personal safety and to help protect your system and working environment from potential damage. Your product uses...
Page 10
.d ll .c /s li rt .d ll .c
Page 11
Set up for network pr int ing Selecting your printer network setup Attaching locally to a print server Attaching directly to the network (print server) Attaching directly to the network (no print serv...
Page 12
.d ll .c /s li rt .d ll .c Selecting your printer network setup Determine your network setup from the three options below. Attach your printer to a print server (or other computer) with a USB cable. G...
Page 13
Attaching locally to a print server If you are connecting the printer to a print server with a USB cable and want to share the printer with multiple users on the network, use this method. In this sect...
Page 14
.d ll .c /s li rt .d ll .c Click Finish when the software is installed. Go to “Set up the queue on the print server” on page 18. Using Windows Insert the Drivers and Utilities CD, and then click Next....
Page 15
Select your printer and driver from the list on the screen, and then click OK. Use the following table to identify the driver for your language. If your computer Select the driver from the list uses t...
Page 16
.d ll .c /s li rt .d ll .c Using Windows NOTE: Depending on the software and printers already installed on your computer, your screens may vary from those in the instructions. You must install both a ...
Page 17
Use the default printer name (for example, Dell Laser Printer M5200) or type a unique name for your printer, and then click Next. Select Yes to print a test page, and then click Finish. All the necess...
Page 18
.d ll .c /s li rt .d ll .c Select whether or not to use this printer as the default printer. Click Next. You are prompted to insert the Drivers and Utilities CD. Click OK. A dialog box asks for the fi...
Page 19
Choose the port that corresponds to the hardware port you used when you connected the printer to the print server (or other computer). For example, USB001 represents the USB port on the print server. ...
Page 20
.d ll .c /s li rt .d ll .c Attaching directly to the network (print server) If your print server is in one location (for example, a secure area) and the network printer is in another location (for exa...
Page 21
Set up the queue on the print server Insert the Drivers and Utilities CD, and then click Next. Click Install the printer on the Network (Network installation), and then click Next. Click On a print se...
Page 22
.d ll .c /s li rt .d ll .c Install printer drivers on one or more remote client computers If you are connecting client computers to the print server, run the Drivers and Utilities CD installer again: ...
Page 23
Attaching directly to the network (no print server) If you are sharing your network printer in a small workgroup environment and are not using a print server, use this method. In this section you will...
Page 24
.d ll .c /s li rt .d ll .c An IP Address is a unique string of numbers consisting of four (4) Octets, each Octet separated using a period. Example: 192.168.1.108. Assigning an IP address already in us...
Page 25
Repeat steps 10 through 13 to set each Octet for Gateway. A Static IP Address has been assigned to the printer. You can verify the settings by opening a web browser on any computer on the same network...
Page 26
.d ll .c /s li rt .d ll .c Install printer drivers on one client computer From the client computer, insert the Drivers and Utilities CD. Click Install the printer on the Network (Network installation)...
Page 27
Insta opt iona memor cards Accessing the printer system board Installing printer memory Replacing the shield
Page 28
.d ll .c /s li rt .d ll .c You can increase printer memory capacity and connectivity by purchasing additional printer memory or option cards. NOTE: Memory options designed for other Dell printers may ...
Page 29
Press down on the side door latches and open the side door. Use a small Phillips screwdriver to loosen, but not remove, the six screws on the shield. Instal optional memory cards
Page 30
.d ll .c /s li rt .d ll .c Use the tabs to slide the shield up until the top three screws fit into the three keyholes on the shield. Keyhold Tabs Hold the shield by the tabs and lift it off. Instal op...
Page 31
Installing printer memory NOTICE: Electronic components can be damaged by static electricity. Touch something metal on the printer before you touch the memory option. Your printer comes with 64MB memo...
Page 32
.d ll .c /s li rt .d ll .c Open both latches on the connector completely. Memory connector 1 Memory connector 2 Align the notches on the memory card with the ridges on the connector. Ridge Notch Insta...
Page 33
Push the memory card straight into the connector until it snaps into place. Make sure each latch fits over the notch located on either side of the memory card. Latch Notch Instal optional memory cards
Page 34
.d ll .c /s li rt .d ll .c Replacing the shield Follow these steps to reattach the shield and close the doors. CAUTION: Before performing any of the procedures listed below, read and follow the safety...
Page 35
Set up for oca pr int ing Installing printer drivers
Page 36
.d ll .c /s li rt .d ll .c A local printer is a printer attached to your computer using a USB cable. If your printer is attached to a network instead of your computer, go on to “Set up for network pri...
Page 37
Using Windows XP NOTE: Business versions of Windows XP require that you have administrative access to install printer drivers on your computer. When you attached the cable and turned on the printer, t...
Page 38
.d ll .c /s li rt .d ll .c Using Windows When you attached the cable and turned on the printer and computer, the Found New Hardware Wizard screen appeared on your computer screen. Insert the Drivers a...
Page 39
Using Windows Me NOTE: Depending on the software and printers already installed on your computer, your screens may vary from those in the instructions. You must install both a USB port driver and a cu...
Page 40
.d ll .c /s li rt .d ll .c Click Next to install the printer driver. Click Next to complete installation. Use the default printer name (for example, Dell Laser Printer M5200) or type a unique name for...