Page 1
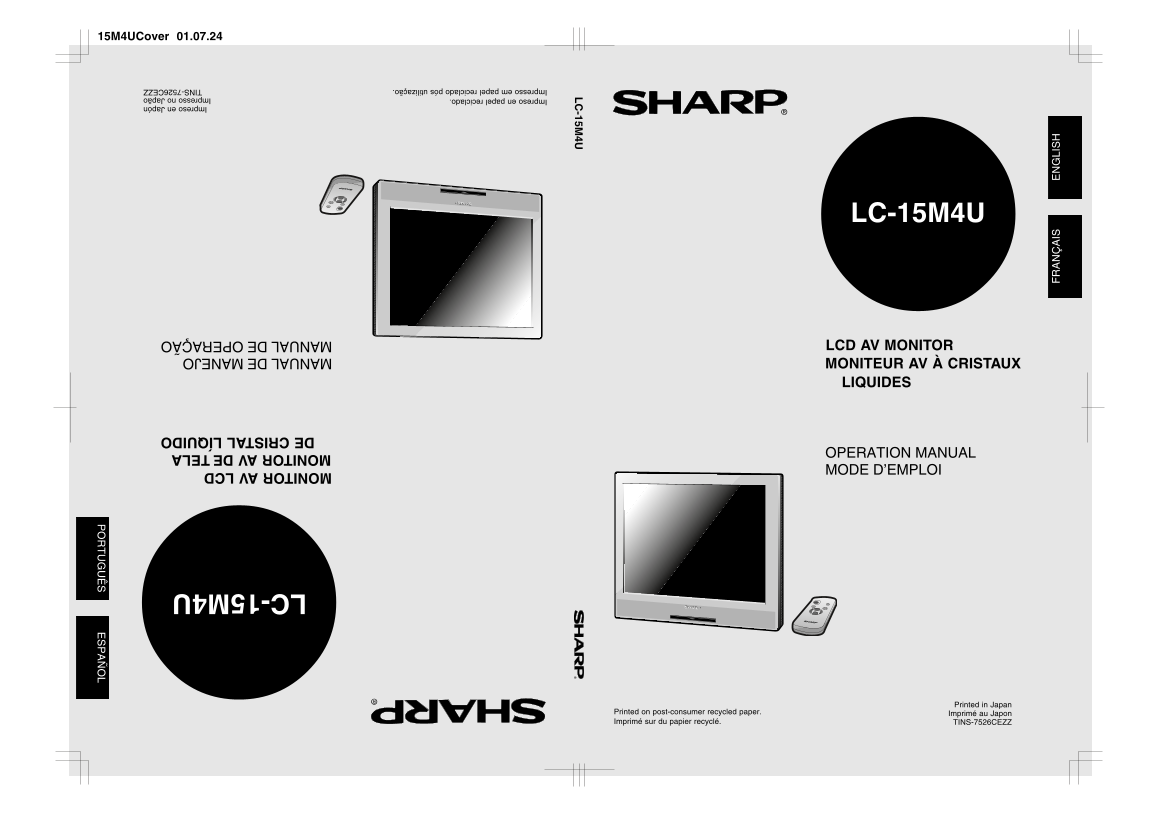
15M4UCover 01.07.24 LC-15M4U MONITOR AV LCD LCD AV MONITOR MONITOR AV DE TELA MONITEUR AV À CRISTAUX DE CRISTAL LÍQUIDO LIQUIDES OPERATION MANUAL MANUAL DE MANEJO MODE D’EMPLOI MANUAL DE OPERAÇÃO Prin...
Page 2
LC-15M4U LCD AV MONITOR ENGLISH OPERATION MANUAL LC-15M4U(01-08)Eng.p65 01.7.24, 5:21 PM1
Page 3
IMPORTANT INFORMATION WARNING: TO REDUCE THE RISK OF FIRE OR ELECTRIC SHOCK, DO NOT EXPOSE THIS PRODUCT TO RAIN OR MOISTURE. The lightning flash with arrow- head symbol, within an equilat- eral triang...
Page 4
IMPORTANT INFORMATION (Continued) CAUTION: TO PREVENT ELECTRIC SHOCK, MATCH WIDE BLADE OF PLUG TO WIDE SLOT, FULLY INSERT. This product utilizes tin-lead solder, and fluorescent lamp containing a smal...
Page 5
DEAR SHARP CUSTOMER Thank you for your purchase of the Sharp LCD product. To ensure safety and many years of trouble-free operation of your product, please read the Safety Precautions carefully before...
Page 6
18. Servicing—Do not attempt to service the product yourself. Removing covers can expose you to high voltage and other dangerous conditions. Request a qualified service person to perform servicing. 19...
Page 7
CONTENTS DEAR SHARP CUSTOMER IMPORTANT SAFETY PRECAUTIONS SUPPLIED ACCESSORIES PREPARATION.................................................................................................................
Page 8
SUPPLIED ACCESSORIES Make sure the following accessories are provided with the product. Operation Manual (×1) Wireless Remote Control (×1) LC-15M4U IS LI LCD AV MONITOR MONITEUR AV Á CRISTAUX LIQUIDES...
Page 9
PREPARATION Power Connection Connect to DC input terminal of the product. Plug into AC outlet. Household power outlet DC input terminal AC cord (12 VDC) AC adapter Notes: Always turn the main power sw...
Page 10
NAMES OF PARTS (Main Unit) Main unit (front view) Remote sensor window Power/Standby indicator Speakers Side control section MAIN POWER switch MAIN POWER ON OFF AV INPUT AV INPUT button VOL (+)/(–) bu...
Page 11
NAMES OF PARTS (Main Unit) (Continued) Main unit (rear view) Stand Rear Speaker (woofer) Rear terminal section Can also be used as video output terminals. AV 2 IN/OUT AV 1 IN POWER INPUT VIDEO AUDIO V...
Page 12
NAMES OF PARTS (Remote Control) Remote control Infrared transmitter window Menu control section ON/OFF Power ON/OFF Sound MUTE button button AV INPUT AV INPUT SELECT MENU button button SELECT (])/([) ...
Page 13
BASIC OPERATION Turning on MAIN POWER Control section of main unit MAIN Slide MAIN POWER, located on the On-screen display POWER right side of the main unit, to ON. The power indicator instantaneously...
Page 14
BASIC OPERATION (Continued) Sound Volume To adjust the volume ON/OFF Press VOL (+) to increase the sound MENU volume. The indicator segment AV INPUT VOLUME SELECT increases. VOLVOL Press VOL (–) to de...
Page 15
SELECTING THE MENU ITEMS Selecting the Menu Items This LCD monitor set allows you to adjust the picture, sound, and other features using the On-screen Display. Select the desired menu item by followin...
Page 16
ADJUSTMENT Adjusting the LANGUAGE Settings MENU on the LCD monitor set can also be used to select the language. Press MENU to display the MENU VOL MENU ON/OFF screen. MUTE PICTURE (+)/( ) SET UP LANGU...
Page 17
ADJUSTMENT (Continued) Adjusting the PICTURE Settings Press MENU to display the MENU VOL MENU ON/OFF screen. PICTURE (+)/( ) SET UP LANGUAGE Press SELECT (])/([) to move the AV INPUT MENU cursor to PI...
Page 18
ADJUSTMENT (Continued) Adjusting the PICTURE Settings (Continued) Selected item Press VOL (–). Press VOL (+). CONTRAST Decrease contrast Increase contrast TINT Toward purple Toward green COLOR Lower c...
Page 19
ADJUSTMENT (Continued) Adjusting the SET UP Settings The SET UP items can be set by the user. Press MENU to display the MENU VOL MENU ON/OFF screen. PICTURE (+)/( ) SET UP LANGUAGE Press SELECT (])/([...
Page 20
ADJUSTMENT (Continued) Adjusting the SLEEP TIMER Settings VOL Press MENU to display the MENU MENU ON/OFF PICTURE MUTE screen. (+)/( ) SET UP LANGUAGE AV INPUT MENU Press SELECT (])/([) to move the SEL...
Page 21
CONNECTING TO EXTERNAL DEVICES Connecting to a VCR, a DVD Player, etc. (AV 1/2 IN) This LCD monitor can be connected to most external devices as shown below. When connecting to an external device, tur...
Page 22
CONNECTING TO EXTERNAL DEVICES (Continued) Connecting to a DVD player (COMPONENT terminal) AV 2 IN/OUT AV 1 IN POWER INPUT VIDEO AUDIO VIDEO COMPONENT DC12VAUDIO PB PR To AUDIO To COMPONENT input term...
Page 23
CONNECTING TO EXTERNAL DEVICES (Continued) Outputting video and audio (video output) It is possible to output video and audio from the set through the AV output terminals (AV-OUT). AV 2 IN/OUT AV 1 IN...
Page 24
CONNECTING TO EXTERNAL DEVICES (Continued) Watching TV To view a TV broadcast on the LCD monitor, the set-top box must be used with a TV tuner, satellite tuner or VCR. Refer to the diagram below for w...
Page 25
EXAMPLE OF APPLICATION Mounting the LCD monitor on a wall Note: Consult with your dealer and authorized shop before installation. (Various materials are used for wall. Some materi- als may not be stro...
Page 26
TROUBLESHOOTING Problem Check item Pages Make sure that the AC power cord plug is securely inserted in AC power outlet and AC adapter. Make sure that the AC adapter’s DC output is securely connected t...
Page 27
SPECIFICATIONS ITEMS LC-15M4U LCD Panel 15” Black TFT LCD Number of dots 921,600 (640 × 3 × 480) dots Low reflection Non-glare Brightness 430 cd/m2 Viewing angles Left to right 160° Upper to lower 160...
Page 28
DIMENSIONAL DRAWINGS Unit: inch/mm POWER POWER MAIN AV INPUT SELECT AV 1 INAV 2 IN/OUT POWER INPUT VIDEO AUDIO VIDEO COMPONENT PHONE HEAD DC12VAUDIO MENU PB PR LC-15M4U(20-28)Eng.p65 01.7.24, 5:17 PM2...
Page 29
Calling for Service For location of the nearest Sharp Authorized Service, or to obtain product literature, accessories, supplies, or customer assistance, please call 1-800-BE-SHARP. LIMITED WARRANTY E...