Page 1
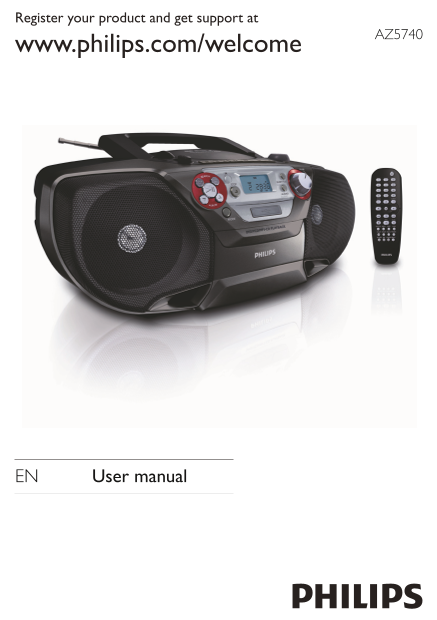
Register your product and get support at AZ5740 EN User manual
Page 2
English 1 Important Safety Important Safety Instructions a Read these instructions. b Keep these instructions. c Heed all warnings. d Follow all instructions. e Do not use this apparatus near water. f...
Page 3
moving the cart/apparatus combination to avoid injury from tip-over. l Unplug this apparatus during lightning storms or when unused for long periods of time. m Refer all servicing to qualified service...
Page 4
Warning Never remove the casing of this apparatus. • Never lubricate any part of this apparatus. • Never place this apparatus on other electrical equipment. • Keep this apparatus away from direct sunl...
Page 5
may be an infringement of copyrights and constitute a criminal offence. This equipment should not be used for such purposes. This apparatus includes this label: Windows Media and the Windows logo are ...
Page 6
Audio from discs, radio, tape, or USB devices.• Pictures from Kodak/JPEG idscs, or USB devices.• The unit supports these media/disc formats: Recordable Re Writable You can play DVD discs with the foll...
Page 7
What’s in the box Check and identify the contents of your package: Main unit• Remote control• AC power cord• AV cable• User manual • Quick start guide•
Page 8
Overview of the main unit AZ5740 FMTAPE USB DISC SUBTITLE a LIFT TO OPEN Open/close the disc compartment. • b TUNING Tune to radio stations•
Page 9
c SUBTITLE Select a subtitle language. • d VOLUME Adjust volume.• e AUDIO For CD/MP3 discs, select an audio mode.• For DVD, select an audio language. • f Display panel Show current status.• Jack for a...
Page 10
PLAY Start tape play.• SEARCH Fast rewind/forward the tape.• STOP/OPEN Stop the tape play or open the tape door.• PAUSE Pause tape play or pause recording.• Jack for he• adphone. o Voltage selector p ...
Page 11
Overview of the remote control a MUTE Mute volume.• b Numeric keypad Select a track/title/file directly.• Input password.• c ALBUM +/- Skip to the previous/next album. •
Page 12
d / Navigate through the menu.• For JPEG discs, rotate the picture.• Move an enlarged picture up/down/left/right. • For DVD/MP3/VCD/SVCD/CD discs, search backward or • forward. e / Skip to the previou...
Page 13
n RETURNTITLE Return to the previous menu.• o REPEAT Play a track repeatedly.• p REPEAT A-B Repeat a specific section within a track/disc.• q ANGLE Selects a different viewing angle of a DVD.• r SUBTI...
Page 14
If you contact Philips, you will be asked for the model and serial number of this apparatus. The model number and serial number are on the bottom of the apparatus. Write the numbers here: Model No. __...
Page 15
Connect TV 1 Connect the black end of the supplied video cable to the AV OUT socket on this unit. 2 Connect the yellow plug to the VIDEO INPUT socket on the TV. 3 Connect the red plug to the AUDIO INP...
Page 16
1 Switch the voltage selector at the bottom of the unit to the local power line voltage. 2 Connect the AC power cable to: the main unit.• the wall socket.• Turn on 1 Push the source selector on the ma...
Page 17
3 Insert a disc with the printed side facing up, then close the disc compartment. 4 Press to start play. To pause/resume play, press • PAUSE To stop play, press• To skip to a track, press • To search ...
Page 18
4 Press to start play. To pause/resume play, press • PAUSE To stop play, press• To search within an audio file, press and hold • then release to resume normal play. Play tape Note When you play or rec...
Page 19
For optimal reception, fully extend and adjust the position of the • antenna. 1 Push the source selector on the main unit to FM. 2 Turn TUNING to tune to a radio station. 5 Play options Adjust volume ...
Page 20
-- SYSTEM SETUP -- SCREEN SAVER Activate/deactivate screen saver. PICTURE MUSIC Turn on/off the background music. SLIDE TIME Set slide time for pictures. PASSWORD Set password to restrict the play of ...
Page 21
Use the disc menu When you load a (S)VCD disc, a menu may be displayed on the TV screen. To access or exit the menu manually: 1 Press DISC MENU. For VCD with Play Back Control (PBC) feature (version 2...
Page 22
Search by time or chapter/track number 1 During video/audio play, press GOTO until a time field or track field is displayed. For the time field, enter the play position in hours, minutes • and seconds...
Page 23
6 Other features Record Note To record, use only “Normal” (IEC type I) tapes on which the write- • protect notches (tabs) are not broken. When you play or record a tape, the sound source cannot be • c...
Page 24
6 Press RECORD to start recording. To stop recording, press • STOP/OPEN Record from radio to tape 1 Press STOP/OPEN to open the tape door. 2 Load a tape. 3 Push the source selector on the main unit to...
Page 25
7 Product information Note Product information is subject to change without prior notice. • Specifications Disc Laser Type Semiconductor Disc Diameter 12cm/8cm Support Disc DVD, DVD-RW, DVD-R, CD-DA, ...
Page 26
Tape deck Frequency response - Normal tape (type I) 125 - 8000 Hz (8 d B) Signal-to-noise ratio - Normal tape (type I) 40 d BA Wow and flutter <0.4% JIS General Power supply Input: 110V~127V / 220V...
Page 27
USB pla y information Compatible USB devices: USB flash memory (USB 2.0 or USB1.1)• USB flash players (USB 2.0 or USB1.1)• memory cards (requires an additional card reader to work with • this apparatu...
Page 28
Maintenance Clean the cabinet Use a soft cloth slightly moistened with a mild detergent • solution. Do not use a solution containing alcohol, spirits, ammonia or abrasives. Clean discs When a disc bec...
Page 29
8 Troubleshooting Warning Never remove the casing of this apparatus. • To keep the warranty valid, never try to repair the system yourself. If you encounter problems when using this apparatus, check t...
Page 30
Poor radio reception Increase the distance between the unit and your TV or VCR. • Fully extend and adjust the FM antenna. • Cannot display some files in USB device The number of folders or files in th...
Page 31
© 2010 Koninklijke Philips Electronics N.V. All rights reserved. AZ5740_98_UM_V2.0_1013