Page 1
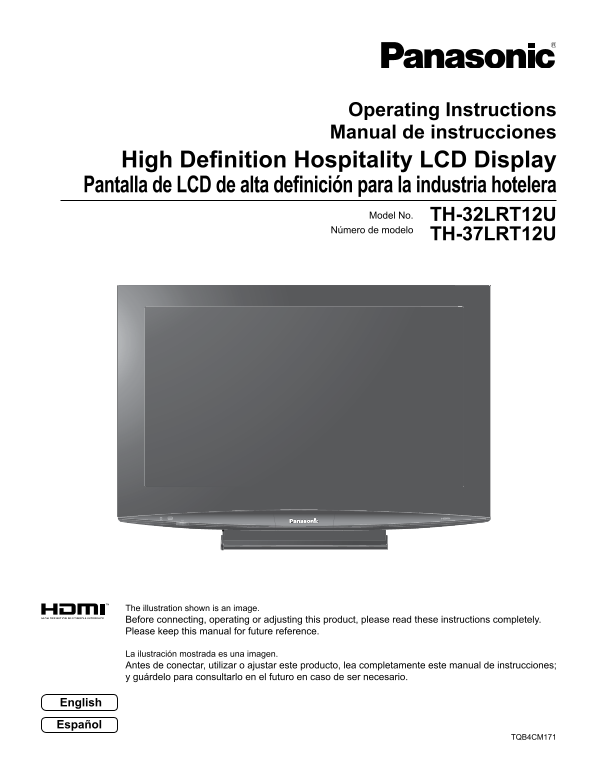
Operating Instructions Manual de instrucciones High Definition Hospitality LCD Display Pantalla de LCD de alta definición para la industria hotelera Model No. TH-32LRT12U Número de modelo TH-37LRT12U ...
Page 2
CAUTION RISK OF ELECTRIC SHOCK DO NOT OPEN WARNING: To reduce the risk of electric shock, do not remove cover or back. No user-serviceable parts inside. Refer servicing to qualified service personnel....
Page 3
Important Safety Instructions 1) Read these instructions. 2) Keep these instructions. 3) Heed all warnings. 4) Follow all instructions. 5) Do not use this apparatus near water. 6) Clean only with dry ...
Page 4
Dear Panasonic Customer Welcome to the Panasonic family of customers. We hope that you will have many years of enjoyment from your new LCD Display. To obtain maximum benefit from your set, please read...
Page 5
FCC STATEMENT This equipment has been tested and found to comply with the limits for a Class B digital device, pursuant to Part 15 of the FCC Rules. These limits are designed to provide reasonable pro...
Page 6
Safety Precautions CAUTION This LCD Display is for use only with the following optional accessories. Use with any other type of optional accessories may cause instability which could result in the pos...
Page 7
Safety Precautions / Maintenance WARNING Setup Do not handle the power cord plug with wet hands. • Doing so may cause electric shocks. Do not place the Display on sloped or unstable surfaces. Do not d...
Page 8
Accessories Accessories Supplied Check that you have the Accessories and items shown Operating Instruction book Remote Control Transmitter Batteries for the Remote Control TNQ4CM051 Transmitter (AA Si...
Page 9
Accessories Location Place the display at a comfortable distance for viewing. Avoid placing it where sunlight or other bright light (including reflections) will fall on the screen. Use of some types o...
Page 10
Connections Front side Lift door to open AV connection (see page 11) Back side AV connection (see page 11) Component (YPb Pr) connection (see page 11) PC input terminals connection (see page 12) Seria...
Page 11
Connections AV connection Example of input signal source S VIDEO VCR S VIDEO OUT CAMCORDER VIDEO OUT AUDIO OUT Back side Front side Notes: • Additional equipment and cables shown are not supplied with...
Page 12
Connections PC Input Terminals connection COMPUTER (Female) Conversion adapter (if necessary) Mini D-sub 15p RGB PC cable (Male) Audio Stereo plug Connect a cable which matches the audio output termin...
Page 13
Connections HDMI connection HDMI cable HDMI AV OUT DVD Player or SET-TOP-BOX (HDMI compatible machines only) Note: 1. Additional equipment and HDMI cables shown are not supplied with this set. 2. HDMI...
Page 14
Connections Serial Terminals connection The SERIAL terminal is used when the Display is controlled by a computer. COMPUTER RS-232C Straight cable Pin layout for SERIAL Terminal (Female) D-sub 9p (Male...
Page 15
Power ON / OFF Using the Power Switch Connect the plug to the Wall Outlet. Press the Power switch on the Display to turn the set on: Power- On Power Indicator: Green Remote Control Sensor When the Dis...
Page 16
Initial selections Selecting the input signal INPUT INPUT POWER Press repeatedly until the desired input source signal is displayed on the screen. MENU MUTE Input signals will change as follows: HDMI1...
Page 17
Basic Controls Main Unit Power Indicator The Power Indicator will light. • Power-OFF ... Indicator not illuminated • Standby ........ Red (The Monitor will still consume power as long as the AC cord i...
Page 18
Basic Controls Remote Control Transmitter POWER button The Monitor must first be plugged into the wall outlet. INPUT button (see page 16) Press this button to turn the Monitor on, from standby mode. P...
Page 19
ASPECT Controls The Display will allow you to enjoy viewing the picture at its maximum size, including wide screen cinema format picture. INPUT POWER ASPECT MENU MUTE Press repeatedly to change the as...
Page 20
On-Screen Menu Display Various menus allow you to make settings for the picture, sound, and other functions so that you can enjoy watching Display best suited for you. Remote Control Unit MENU Press t...
Page 21
On-Screen Menu Display Overview Note: Menu that cannot be adjusted is grayout. Adjustable menu changes depending on signal, input and menu setting. During “AV”, “YPb Pr” and “HDMI” Main Menu input sig...
Page 22
Picture Menu MENU Press to display the menu screen. Select Picture Menu. Press to select the menu to adjust. Press to enter menu. Select to adjust each item. Press to select the menu to adjust. Press ...
Page 23
Sound Menu MENU Press to display the menu screen. Select Sound Menu. Press to select the menu to adjust. Press to enter menu. Select to adjust each item. Press to select the menu to adjust. Press to s...
Page 24
Setup Menu MENU Press to display the menu screen. Select Setup Menu. Press to select the menu to adjust. Press to enter menu. Select to adjust each item. Press to select the menu to adjust. Press to s...
Page 25
Setup Menu PC Setup Press to display the menu screen. Select Setup Menu. Press to select the Setup menu. Press to enter menu. Select to adjust each item. Press to select the item. Adjust the setting. ...
Page 26
HOTEL MODE Setup The Hotel Mode is a special function which allows users to configure settings to suit certain locations or applications. MENU Press to display the menu screen. Select Setup Menu. Pres...
Page 27
HOTEL MODE Setup Hotel Mode Menu List Item Details Off RF AV1 AV2 AV3 YPb Pr HDMI1 HDMI2 HDMI3 PC Adjusts the input signal when the unit is turned on. Off: The input signal when the power was last tur...
Page 28
Troubleshooting Before you call for service, determine the symptoms and make a few simple checks as shown below. Symptoms Checks Picture Sound Electrical Appliances Interference Noisy Sound Cars / Mot...
Page 29
Applicable Input Signals Applicable input signals for Mini D-sub 15P Signal name Horizontal frequency Vertical frequency Dot clock frequency (k Hz) (Hz) (MHz) 640 x 480 @ 60 Hz 31.47 59.94 25.18 640 x...
Page 30
Specifications TH-32LRT12U TH-37LRT12U Power Source 110 - 127 V AC, 50/60 Hz Power Consumption Power on 155 W 190 W Stand-by condition 1 W 1 W Aspect Ratio 16:9 Screen size 27.5" x 15.4" x 3...
Page 31
Panasonic Professional Flat Panel Display Limited Warranty (for the U.S.A and Puerto Rico) Panasonic Professional Display Company Unit of Panasonic Corporation of North America One Panasonic Way 1F-10...
Page 32
LIMITED WARRANTY STATEMENT (for Canada) Panasonic Canada Inc. 5770 Ambler Drive, Mississauga, Ontario L4W 2T3 LIMITED WARRANTY STATEMENT WARRANTY COVERAGE PERIOD EXCEPTIONSPanasonic Canada Inc. (also ...
Page 33
Customer Service
Page 34
This product has a fluorescent lamp that contains mercury. Disposal may be regulated in your community due to environmental considerations. For disposal or recycling information, please contact your l...