Page 1
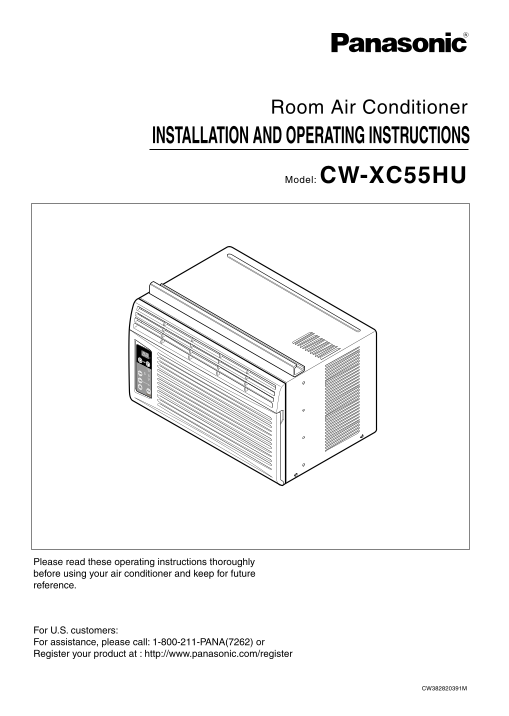
Room Air Conditioner INSTALLATION AND OPERATING INSTRUCTIONS Model: CW-XC55HU ECONOMY MODE DRY TIMER COOL FANSPEED OFF/ON OPERATION Please read these operating instructions thoroughly before using you...
Page 2
Be fo re yo ca ll fo rs er vi ce Fe at ur es an In st al la tio Ab ou tth e C on tro lso nt he Air Co nd itio ne Sa fe ty Pr ec au ti Safety Precautions Safety Precautions .............3 FOR YOUR RECO...
Page 3
Safety Precau tio Safety Precautions To prevent injury to the user or other people and property damage, the following instructions must be followed: Incorrect operation will cause harm or damage. The ...
Page 4
Sa fe ty Pr ec au ti When the air filter is to be Do not clean the air When the unit is to be removed, do not touch the conditioner with water. cleaned, switch the unit off, and unplug it. metal parts...
Page 5
Aboutthe Controlsonthe Air Conditioner About the Controls on the air conditioner The controls will look like the following. Controls TEMPERATURE SETTING • This button can automatically control the tem...
Page 6
Ab ou tth e C on tro lso nt he Air Co nd itio ne Remote controller Precaution: The Remote Controller will not function properly if strong light strikes the sensor window of the air conditioner or if t...
Page 7
Aboutthe Controlsonthe Air Conditioner Additional controls and important information. Air Direction • ADJUSTING THE AIR DIRECTION USING THE HORIZONTAL AIR-DEFLECTOR CONTROL Using the control tabs, the...
Page 8
Fe at ur es an In st al la tio Features and Installation Learning parts name prior to installation will help you understand the installation procedure. Features TEMP TEMP ECONOMY ECONOMY MODE DRY FAN ...
Page 9
Features and Installation Window Requirements NOTE: All supporting parts should be secured to firm wood, masonry, or metal. /64 (10 mm 1. This unit is designed for installation in standard double hung...
Page 10
Fe at ur es an In st al la tio A. BEFORE INSTALLATION TYPE A 1. Insert the guide panels into the guides of the air conditioner. Fasten the curtains to the unit with screws (TYPE A), as shown Fig. 6. 2...
Page 11
Features and Installation 4. SECURE THE GUIDE PANELS L BRACKET Extend the guide panels (TYPE F) to fill the window TYPE A opening using 4 screws (TYPE B) to secure them, as shown in Fig. 12. SASH SEAL...
Page 12
Fe at ur es an In st al la tio Electrical Data Power cord may include a current interrupter device. A test and reset button is provided on the plug case. The device should be tested on a periodic basi...
Page 13
Features and Installation Electrical Safety Because of potential safety hazards, we strongly IMPORTANT discourage the use of an adapter plug. However, if (PLEASE READ CAREFULLY) you wish to use an ada...
Page 14
Be fo re yo ca ll fo rs er vi ce Before you call for service... Troubleshooting Tips Save time and money! Review the chart below first and you may not need to call for service. Normal Operating • You ...
Page 16
An tes de av isa ra l S erv ici o T éc nic Re qu er im ie nt os de la Ve nt an In st ru cc io ne sd e F un cio na ie nt Pre cau cio ne s Im po rta nte sd es eg uri da Precauciones Importantes de PARA ...
Page 17
Precauciones Importantesdeseguridad Precauciones Importantes de Seguridad Para prevenir tanto lesiones al usuario u otras personas como daños materiales, es preciso seguir estas instrucciones: El mane...
Page 18
Pre cau cio ne s Im po rta nte sd es eg uri da PRECAUCION Cuando se vaya a quitar el No limpie el acondicionador Cuándo la unidad deberá ser filtro de aire no toque las de aire con agua. limpiada, cam...
Page 19
Instruccionesde Funcionam iento Instruccionnes de Funcionamiento La apariencia de los controles será como uno de los siguientes. Controles AJUSTE DE LA TEMPERATURA • Este botón puede controlar la temp...
Page 20
In Requerim st ru cc io ne ientosdela Ventana sd e F un cio na ie nt Control remoto ENECNDIDO/APAGADO • Para ENCENDER el sistema presione el botón, y para APAGARLO presione el botón otra vez. • Este b...
Page 21
Instruccionesde Funcionam iento Controles adicionales e informacion importante. La dirección del aire • PARA AJUSTAR LA DIRECCION DEL AIRE USANDO CONTROL DE LA DIRECCION DEL AIRE Las dos lengüetas hor...
Page 22
Re qu er im ie nt os de la Ve nt an Requerim ientosdela Ventana Requerimientos de la Ventana Aprender el nombre de las partes antes de la instalación le ayudará a entender el proceso de instalación. C...
Page 23
Requerim ientosdela Ventana Requerimientos de la ventana NOTA: Todas las partes que soportan la ventana deben de estar bien fijas a madera, metal, o cemento. 1. La unidad está diseñada para ser instal...
Page 24
Re qu er im ie nt os de la Ve nt an A. ANTES DE INSTALAR TIPO A 1. Introduzca los paneles en los guías del aire acondicionado. Las cortinas atorníllelas con los tornillos (TIPO A), como en la Fig. 6. ...
Page 25
Requerim ientosdela Ventana 4. ASEGURE LOS PANELES CERRADURA DEL MARCO Extienda los paneles para rellenar los orificios de la TIPO A ventana usando los 4 tornillos (TIPO B) como en la Fig. 12. 5. INST...
Page 26
Re qu er im ie nt os de la Ve nt an Datos Electricos El cable de alimentación puede incluir un dispositivo interruptor de corriente. La carcasa del enchufe cuenta con un botón de prueba y otro de rein...
Page 27
Requerim ientosdela Ventana Informacion Electrica Debido al peligro potencial, nosotros no IMPORTANTE recomendamos el uso de adaptadores. Sin (FAVORLEA CON ATENCIÓN) embargo, si usted desea utilizar u...
Page 28
An tes de av isa ra l S erv ici o T éc nic Antes de avisar al Servicio Técnico Tips para solucionar problemas (Ahorre temopo y dinero) Cuando tenga algún problema primero consulte el cuadro que se enc...
Page 30
PRODUCT SPECIFICATION ESPÉCIFICIONES DEL PRODUCTO Model CW-XC55HU Modelo COOLING CAPACITY Btu/h 5,200 CAPACIDAD DE ENFRIAMIENTO ELECTRICAL RATING Phase Single CLASIFICION DE LA ELECTRICIDAD Fase Monof...
Page 31
Panasonic Consumer Electronics Company, Division of Panasonic Puerto Rico, Inc., Division of Panasonic Corporation of North Ave. 65 de Infanteria, Km. 9.5 America San Gabriel Industrial Park Carolina,...