HP SD Pro Scanner HP SD Pro 44-inch Scanner - Assembly Instructions
Summary
Designed for new users of the professional HP Designjet SD Pro Scanner - MFP, this manual provides comprehensive setup support. It guides you through the intricate process of assembling the standalone scanner stand and ensures proper network configuration. The guide also covers initial operation, essential troubleshooting details, and necessary routine maintenance procedures, including cleaning and calibration, allowing for seamless deployment of your large-format scanning equipment.
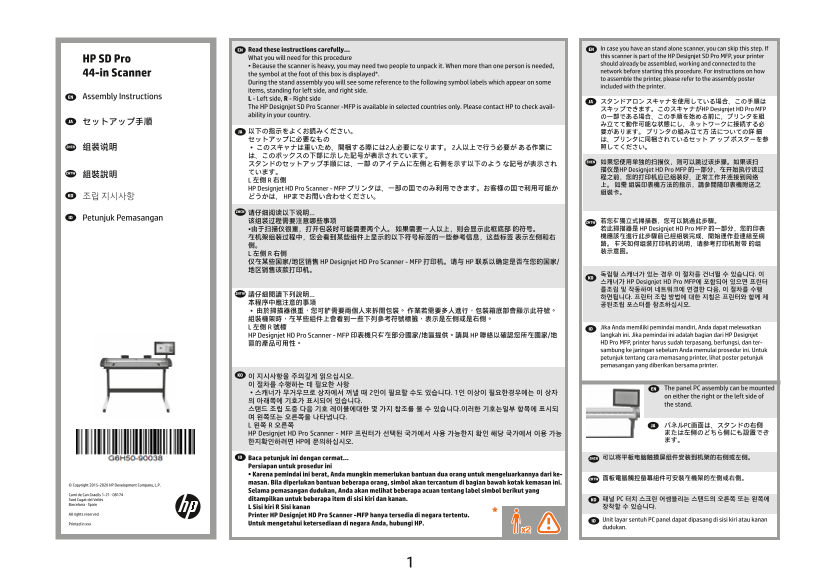
Page 1 Text Content
Read these instructions carefully... ENEN In case you have an stand alone scanner, you can skip this step. If What you will need for this procedure this scanner is part of the HP Designjet SD Pro MFP, your printer
HP SD Pro
should already be assembled, working and connected to the
• Because the scanner is heavy, you may need two people to unpack it. When more than one person is needed,
network before starting this procedure. For instructions on how
44-in Scanner the symbol at the foot of this box is displayed*.
to assemble the printer, please refer to the assembly poster
During the stand assembly you will see some reference to the following symbol labels which appear on some
included with the printer.
items, standing for left side, and right side.
EN Assembly Instructions
L - Left side, R - Right side
JA スタンドアロン スキャナを使用している場合、この手順は
The HP Designjet SD Pro Scanner -MFP is available in selected countries only. Please contact HP to check avail-
スキップできます。このスキャナがHP Designjet HD Pro MFP
ability in your country. の一部である場合、この手順を始める前に、プリンタを組
JA セットアップ手順
JA 以下の指示をよくお読みください。 要があります。 プリンタの組み立て方 法についての詳 細
ZHCN 组装说明 • このスキャナは重いため、開梱する際には2人必要になります。 2人以上で行う必要が ある作業に 照してください。
ZHCN 如果您使用单独的扫描仪,则可以跳过该步骤。如果该扫
描仪是HP Designjet HD Pro MFP 的一部分,在开始执行该过
ZHTW ています。
HP Designjet HD Pro Scanner - MFP プリンタは、一部の国でのみ利用できます。お客様の国で利用可能か
KO 조립 지시사항 どうかは、 HPまでお問い合わせください。
ID Petunjuk Pemasangan
该组装过程需要注意哪些事项 ZHTW 若您有獨立式掃描器,您可以跳過此步驟。 •由于扫描仪很重,打开包装时可能需要两个人。 如果需要一人以上,则会显示此框底部 的符号。 若此掃描器是 HP Designjet HD Pro MFP 的一部分,您的印表 在机架组装过程中,您会看到某些组件上显示的以下符号标签的一些参考信息,这些标签 表示左侧和右 機應該在進行此步驟前已經組裝完成、開始運作並連結至網 侧。 路。 有关如何组装打印机的说明,请参考打印机附带 的组 装示意图。
L 左侧 R 右侧 仅在某些国家/地区销售 HP Designjet HD Pro Scanner - MFP 打印机。请与 HP 联系以确定是否在您的国家/ 地区销售该款打印机。
독립형 스캐너가 있는 경우 이 절차를 건너뛸 수 있습니다. 이 KO 스캐너가 HP Designjet HD Pro MFP에 포함되어 있으면 프린터 를조립 및 작동하여 네트워크에 연결한 다음, 이 절차를 수행
L 左側 R 號標 ID Jika Anda memiliki pemindai mandiri, Anda dapat melewatkan HP Designjet HD Pro Scanner - MFP 印表機只有在部分國家/地區提供。請與 HP 聯絡以確認您所在國家/地 langkah ini. Jika pemindai ini adalah bagian dari HP Designjet 區的產品可用性。 HD Pro MFP, printer harus sudah terpasang, berfungsi, dan ter- sambung ke jaringan sebelum Anda memulai prosedur ini. Untuk petunjuk tentang cara memasang printer, lihat poster petunjuk pemasangan yang diberikan bersama printer.
KO 이 지시사항을 주의깊게 읽으십시오. 이 절차를 수행하는 데 필요한 사항
EN The panel PC assembly can be mounted
on either the right or the left side of
the stand.
L 왼쪽 R 오른쪽 JA パネルPC画面は、スタンドの右側 HP Designjet HD Pro Scanner - MFP 프린터가 선택된 국가에서 사용 가능한지 확인 해당 국가에서 이용 가능 または左側のどちら側にも設置でき 한지확인하려면 HP에 문의하십시오. ます。
ID Baca petunjuk ini dengan cermat... ZHCN 可以将平板电脑触摸屏组件安装到机架的右侧或左侧。 Persiapan untuk prosedur ini • Karena pemindai ini berat, Anda mungkin memerlukan bantuan dua orang untuk mengeluarkannya dari ke-
ZHTW 面板電腦觸控螢幕組件可安裝在機架的左側或右側。
© Copyright 2015-2020 HP Development Company, L.P. masan. Bila diperlukan bantuan beberapa orang, simbol akan tercantum di bagian bawah kotak kemasan ini. Selama pemasangan dudukan, Anda akan melihat beberapa acuan tentang label simbol berikut yang
Camí de Can Graells 1-21 · 08174
Sant Cugat del Vallès ditampilkan untuk beberapa item di sisi kiri dan kanan. KO 패널 PC 터치 스크린 어셈블리는 스탠드의 오른쪽 또는 왼쪽에
Barcelona · Spain
L Sisi kiri R Sisi kanan 장착할 수 있습니다.
All rights reserved Printer HP Designjet HD Pro Scanner -MFP hanya tersedia di negara tertentu.
ID Unit layar sentuh PC panel dapat dipasang di sisi kiri atau kanan
Printed in xxx Untuk mengetahui ketersediaan di negara Anda, hubungi HP.
dudukan.
Page Summary Contents For HP SD Pro Scanner HP SD Pro 44-inch Scanner - Assembly Instructions
Manual Details
| Brand | HP |
|---|---|
| Pages | 16 |
| File Size | 2.37 MB |
| Published | June 17, 2026 |
Enter the captcha to get the download link:

Frequently Asked Questions
Do I need two people to unpack the scanner?
Because the scanner is heavy, you may need two people to unpack it.
Where can the PC touch screen unit be installed?
The panel PC touchscreen unit can be mounted on either the right or the left side of the stand.
How often should I perform routine maintenance?
You should perform routine maintenance once a month.
What information is needed for network scanning?
You must know the network folder path (D:images) and the printer's IP address.