Page 1
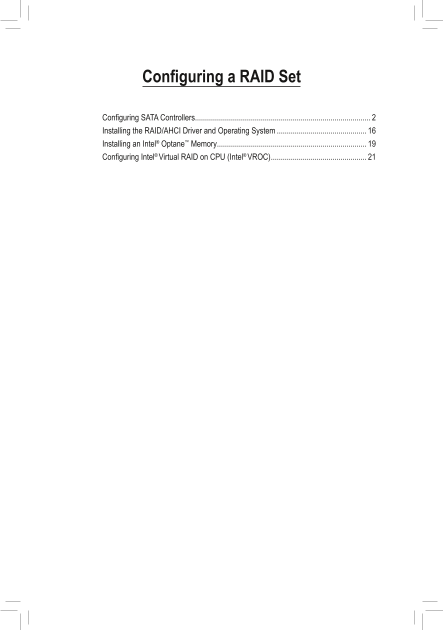
Configuring a RAID Set Configuring SATA Controllers ........................................................................................ Installing the RAID/AHCI Driver and Operating System .........
Page 2
RAID Levels RAID 0 RAID 1 RAID 5 RAID 10 Minimum Number of Hard ≥2 ≥3 Drives Array Capacity Number of hard Size of the smallest (Number of hard (Number of hard drives * Size of the drive drives -1) * ...
Page 3
B. Configuring SATA controller mode in BIOS Setup Make sure to configure the SATA controller mode correctly in system BIOS Setup. Step 1: Turn on your computer and press <Delete> to enter BIOS S...
Page 4
C-1. Using EZ RAID GIGABYTE motherboards provide you with the EZ RAID feature, allowing you to quickly configure a RAID array with simplified steps. Step 1: After restarting the computer, enter the BI...
Page 5
After completing, you'll be brought back to the Intel(R) Rapid Storage Technology screen. Under RAID Volumes you can see the new RAID volume. To see more detailed information, press <Enter> on t...
Page 6
C-2. UEFI RAID Configuration Step 1: In BIOS Setup, go to BIOS and set CSM Support to Disabled (Figure 6). Save the changes and exit BIOS Setup. Figure 6 Step 2: After the system reboot, enter BIOS Se...
Page 7
Step 3: On the Intel(R) Rapid Storage Technology menu, press <Enter> on Create RAID Volume to enter the Create RAID Volume screen. Enter a volume name with 1~16 letters (letters cannot be specia...
Page 8
Step 5: After setting the capacity, move to Create Volume and press <Enter> to begin. (Figure 10) Figure 10 After completing, you'll be brought back to the Intel(R) Rapid Storage Technology scre...
Page 9
Delete RAID Volume To delete a RAID array, press <Enter> on the volume to be deleted on the Intel(R) Rapid Storage Technology screen. After entering the RAID VOLUME INFO screen, press <Enter&...
Page 10
C-3. Configuring Legacy RAID ROM Enter the Intel® legacy RAID BIOS setup utility to configure a RAID array. Skip this step and proceed with the installation of Windows operating system for a non-RAID ...
Page 11
Step 3: After entering the CREATE VOLUME MENU screen, enter a volume name with 1~16 letters (letters cannot be special characters) under the Name item and press <Enter>. Then, select a RAID leve...
Page 12
Step 5: Enter the array capacity and press <Enter>. Finally press <Enter> on the Create Volume item to begin creating the RAID array. When prompted to confirm whether to create this volume...
Page 13
Recovery Volume Options Intel® Rapid Recover Technology provides data protection by allowing users to easily restore data and system operation using a designated recovery drive. With the Rapid Recover...
Page 14
Step 3: Press <Enter> under the Select Disks item. In the SELECT DISKS box, press <Tab> on the hard drive you want to use for the master drive and press <Space> on the hard drive you...
Page 15
Delete RAID Volume To delete a RAID array, select Delete RAID Volume in MAIN MENU and press <Enter>. In the DELETE VOLUME MENU section, use the up or down arrow key to select the array to be del...
Page 16
Installing the RAID/AHCI Driver and Operating System With the correct BIOS settings, you are ready to install the operating system. A. Installing Windows As some operating systems already include Inte...
Page 17
B. Rebuilding an Array Rebuilding is the process of restoring data to a hard drive from other drives in the array. Rebuilding applies only to fault-tolerant arrays such as RAID 1, RAID 5 or RAID 10 ar...
Page 18
Restoring the Master Drive to a Previous State (for Recovery Volume only) When two hard drives are set to Recovery Volume in Update on Request mode, you can restore the master drive data to the last b...
Page 19
Installing an Intel® Optane™ Memory A. System Requirements 1. Intel® Optane™ memory 2. The Optane™ memory must have at least 16 GB capacity, and it must have equal or smaller capacity than the hard dr...
Page 20
B-2: Installation in Intel RST Premium With Intel Optane System Acceleration mode If the SATA controller has been configured in Intel RST Premium With Intel Optane System Acceleration mode, please ins...
Page 21
Configuring Intel® Virtual RAID on CPU (Intel® VROC) System Requirements 1. An Intel® Core™ X series processor (44-lane or 28-lane CPU) (6-core or above) 2. An Intel® VROC Upgrade Key (purchased separ...
Page 22
A-2: Creating a RAID Array Step 1: Step 2: After the system starts, go to the BIOS Setup, make Go to Peripherals\SATA And RST Configuration. sure Intel® VMD Technology under the BIOS menu Enable SATA ...
Page 23
Step 7: Step 8: Under the Select Disks item, select the hard drives Then set the stripe block size. The stripe block to be included in the RAID array. Press the <Space> size can be set from 4 KB...