# A B C D E F G H I J K L M N O P Q R S T U V W X Y Z

Roland TD-6S V-Tour Series Owner's Manual

Summary

Welcome new owners to the Roland Drum System TD-6KW. This comprehensive owner’s manual is your essential guide for setup, operation, and safe maintenance of your professional drumming instrument. It provides detailed instructions on proper placement, handling precautions, and technical safety guidelines to ensure optimal performance and longevity. Designed for musicians and serious hobbyists, this resource guarantees you can operate your premium drum system confidently and safely after reading the content in its entirety.
📄 Preview 📖 Table of Contents Contents PAGE OF 16

Page 1 Text Content

TD-6KW_e 1ページ 2006年1月24日 火曜日 午後6時3分

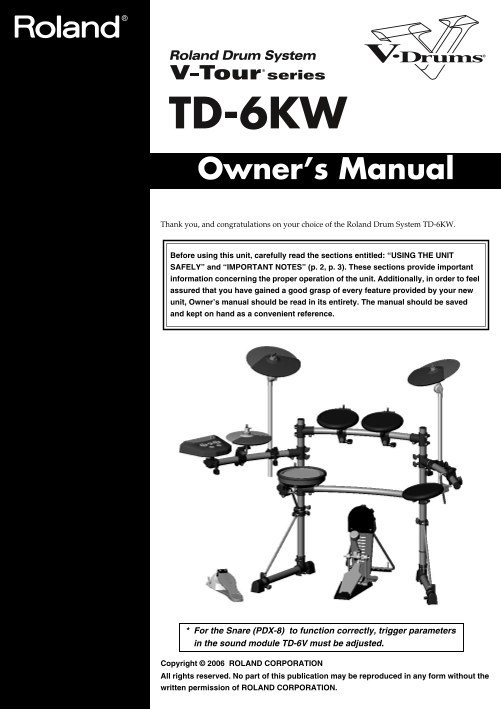
TD-6KW Owner’s Manual Thank you, and congratulations on your choice of the Roland Drum System TD-6KW. 201a Before using this unit, carefully read the sections entitled: “USING THE UNIT SAFELY” and “IMPORTANT NOTES” (p. 2, p. 3). These sections provide important information concerning the proper operation of the unit. Additionally, in order to feel assured that you have gained a good grasp of every feature provided by your new unit, Owner’s manual should be read in its entirety. The manual should be saved and kept on hand as a convenient reference.

For the Snare (PDX-8) to function correctly, trigger parameters in the sound module TD-6V must be adjusted.

Copyright © 2006 ROLAND CORPORATION All rights reserved. No part of this publication may be reproduced in any form without the written permission of ROLAND CORPORATION.

Page Summary Contents For Roland TD-6S V-Tour Series Owner's Manual

Page 1 TD-6KW_e 1ページ 2006年1月24日 火曜日 午後6時3分 TD-6KW Owner’s Manual Thank you, and congratulations on your choice of the Roland Drum System TD-6KW. 201a Before using this unit, carefully read the sections entit...
Page 2 2ページ 2006年1月24日 火曜日 午後6時3分 TD-6KW_e USING THE UNIT SAFELY Used for instructions intended to alert The symbol alerts the user to important instructions the user to the risk of death or severe or warnin...
Page 3 3ページ 2006年1月24日 火曜日 午後6時3分 TD-6KW_e IMPORTANT NOTES 291a In addition to the items listed under “USING THE UNIT SAFELY” on page 2, please read and observe the following: Placement 354a Do not expose th...
Page 4 4ページ 2006年1月24日 火曜日 午後6時3分 TD-6KW_e Checking the Contents of the Drum Stand Assemble the Drum Stand. TD-6V (Percussion Sound Module) x 1 KD-8 (Kick Trigger Pad) x 1 About the Stand, refer to the owner...
Page 5 5ページ 2006年1月24日 火曜日 午後6時3分 TD-6KW_e USING THE UNIT SAFELY PDX-8 (Snare) Adjusting the Head Tension fig.PD-85.e_80 Tuning Bolt Before using the pad, tighten the head so that the tension is rather firm....
Page 6 6ページ 2006年1月24日 火曜日 午後6時3分 TD-6KW_e fig.Rim Shot.e USING THE UNIT SAFELY Attaching the Pad to a Stand Attach the PDX-8 to a pad mount of the stand. Be sure to tighten the stand fixing screw securel. I...
Page 7 7ページ 2006年1月24日 火曜日 午後6時3分 TD-6KW_e USING THE UNIT SAFELY Head Replacement Specifications PDX-8 When the Head Should Be Replaced Head Size: 8 inches The head is an expendable item that eventually will...
Page 8 8ページ 2006年1月24日 火曜日 午後6時3分 TD-6KW_e USING THE UNIT SAFELY PD-8 (Tom) Playing the PD-8 fig.PD-HR.e fig.PD-8.e Head Shot Rim Shot Stand Fixing Screw To play the sound assigned to the head, hit only the ...
Page 9 9ページ 2006年1月24日 火曜日 午後6時3分 TD-6KW_e 2. Mount the CY-5 so it fits the lower clutch as USING THE UNIT SAFELY shown below. CY-5 (Hi-Hat) fig.CY-8.e Pad Face Bow Portion Edge Portion Projection (Be sure t...
Page 10 10ページ 2006年1月24日 火曜日 午後6時3分 TD-6KW_e USING THE UNIT SAFELY CY-8 (Crash Cymbal/Ride Cymbal) Playing the CY-8 fig.CY-8.e Bow Shot This is the most common playing method, playing the pad Pad Face face of...
Page 11 11ページ 2006年1月24日 火曜日 午後6時3分 TD-6KW_e USING THE UNIT SAFELY FD-8 (Hi-Hat Control Pedal) Using the FD-8 fig.FD-8.e Using the FD-8, you can control the opening and closing of the hi-hat sound. Adjusting ...
Page 12 12ページ 2006年1月24日 火曜日 午後6時3分 TD-6KW_e USING THE UNIT SAFELY 3. Use a tuning key to tighten the screws removed in Step 1 so that the stand is firmly secured. KD-8 (Kick) fig.KD-Assy03 fig.KD-8.e Output ...
Page 13 13ページ 2006年1月24日 火曜日 午後6時3分 TD-6KW_e Loosen the stand’s anchor bolts and remove Adjusting the Anchor Bolts USING THE UNIT SAFELY1. the foot plate. When using the kick pedal on a carpet or similar surf...
Page 14 14ページ 2006年1月24日 火曜日 午後6時3分 TD-6KW_e USING THE UNIT SAFELY. Assemble the “TD-6KW” Using the provided cables, connect the pads. Connect the L-shaped plugs of the included cables to the pads. To prevent...
Page 15 15ページ 2006年1月24日 火曜日 午後6時3分 TD-6KW_e USING THE UNIT SAFELY. Trigger Settings for the TD-6V For the Snare (PDX-8) to function correctly, trigger parameters in the sound module TD-6V must be adjusted. F...
Page 16 TD-6KW_e 16ページ 2006年1月24日 火曜日 午後6時3分 Information When you need repair service, call your nearest Roland Service Center or authorized Roland distributor in your country as shown below. AFRICA PHILIPPIN...

Manual Details

Brand Roland
Pages 16
File Size 1.45 MB
Published May 27, 2026
76 views

Enter the captcha to get the download link:

captcha

Frequently Asked Questions

What are the primary steps for safely setting up the TD-6KW unit?

Ensure the unit rests on a flat, level surface that remains stable, using specific instructions if a rack or stand is utilized.

If the snare drum (PDX-8) isn't functioning correctly, what adjustment is required?

You must adjust the trigger parameters for the Snare in the sound module TD-6V.

What environmental conditions should I avoid when using or storing the unit?

Avoid temperature extremes, damp areas (like bathrooms), direct sunlight, and places susceptible to high vibration.