# A B C D E F G H I J K L M N O P Q R S T U V W X Y Z

Roland MC-909 Sampling Groovebox Quick Start User Manual

Summary

Unleash your creativity with the Roland MC-909 Sampling Groovebox. This essential tool empowers producers to craft original electronic music by combining advanced sampling capabilities with powerful sequencing features. The manual provides comprehensive training through both Quick Start and Owner's guides, covering everything from selecting internal patches and loading sounds to mastering full arrangements. Ideal for musicians and modern producers looking to master groove programming, build complex patterns, and produce professional-sounding tracks effortlessly.
📄 Preview 📖 Table of Contents Contents PAGE OF 32

Page 1 Text Content

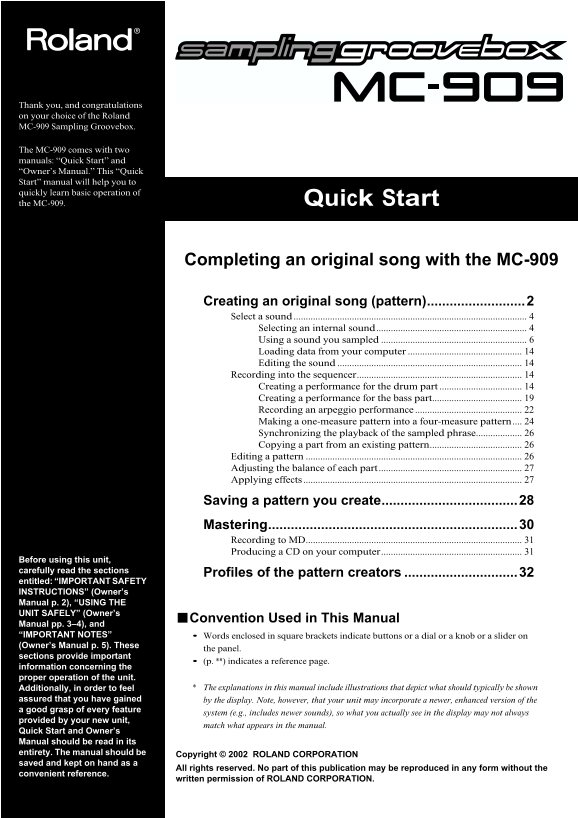
Thank you, and congratulations on your choice of the Roland MC-909 Sampling Groovebox.

The MC-909 comes with two manuals: “Quick Start” and “Owner’s Manual.” This “Quick Start” manual will help you to quickly learn basic operation of

the MC-909. Quick Start

Completing an original song with the MC-909

Creating an original song (pattern)..........................2 Select a sound

Selecting an internal sound.............................................................. Using a sound you sampled Loading data from your computer Editing the sound Recording into the sequencer.................................................................... Creating a performance for the drum part Creating a performance for the bass part..................................... Recording an arpeggio performance Making a one-measure pattern into a four-measure pattern.... Synchronizing the playback of the sampled phrase................... Copying a part from an existing pattern...................................... Editing a pattern Adjusting the balance of each part Applying effects

Saving a pattern you create....................................28 Mastering..................................................................30 Recording to MD......................................................................................... Producing a CD on your computer..........................................................

Before using this unit, carefully read the sections

Profiles of the pattern creators ..............................32

entitled: “IMPORTANT SAFETY INSTRUCTIONS” (Owner’s Manual p. 2), “USING THE UNIT SAFELY” (Owner’s

■Convention Used in This Manual

Manual pp. 3–4), and “IMPORTANT NOTES” Words enclosed in square brackets indicate buttons or a dial or a knob or a slider on (Owner’s Manual p. 5). These

the panel.

sections provide important

(p. **) indicates a reference page.

information concerning the proper operation of the unit.

Additionally, in order to feel The explanations in this manual include illustrations that depict what should typically be shown

assured that you have gained by the display. Note, however, that your unit may incorporate a newer, enhanced version of the a good grasp of every feature

system (e.g., includes newer sounds), so what you actually see in the display may not always

provided by your new unit,

match what appears in the manual.

Quick Start and Owner’s Manual should be read in its entirety. The manual should be Copyright © 2002 ROLAND CORPORATION saved and kept on hand as a

All rights reserved. No part of this publication may be reproduced in any form without the

convenient reference.

written permission of ROLAND CORPORATION.

Page Summary Contents For Roland MC-909 Sampling Groovebox Quick Start User Manual

Page 1 Thank you, and congratulations on your choice of the Roland MC-909 Sampling Groovebox. The MC-909 comes with two manuals: “Quick Start” and “Owner’s Manual.” This “Quick Start” manual will help you to...
Page 2 Creating an original song (pattern) This section is a step-by-step explanation of how to use the MC-909 to create an original pattern. Select a pattern Let's create an original pattern in user pattern...
Page 3 Creating an original song (pattern) 3. Press [F2 (User)]. 4. Turn [VALUE] to select pattern “U:001.” fig.Q1-02 5. Press [F6 (Select Pattern)]. User pattern 001 is now selected. fig.Q1-03
Page 4 Creating an original song (pattern) Select a sound ■Selecting an internal sound Here’s how to select a preset patch / rhythm set as the patch / rhythm set used by each part. Selecting a rhythm set (dr...
Page 5 Creating an original song (pattern) 5. Turn [VALUE] to select a rhythm set. For this example, let’s select “PR-A: 001 909 TR-909 1.” You can switch banks by fig.Q1-05 pressing [F1], [F2], or [CURSOR (...
Page 6 Creating an original song (pattern) ■Using a sound you sampled Here’s how you can sample a sound (waveform) from a CD or other external audio To prevent malfunction source, and use that sample to crea...
Page 7 Creating an original song (pattern) 7. Turn [VALUE] to set the value to “0 ms.” 8. On your CD player, play back track 24 and adjust the input level. While you watch the on-screen level meter, use the ...
Page 8 Creating an original song (pattern) Specify the original key and BPM of the sample 1. Press [F2 (Sample Param)]. fig.Q1-10 The jacket of the included sample data CD lists the BPM of each track. Track ...
Page 9 Creating an original song (pattern) 3. Press [F4 (Truncate)]. 4. Press [F6 (Execute)]. A message will ask you whether it is OK to delete the unwanted portions of the waveform. 5. Press [F6 (Execute)] ...
Page 10 Creating an original song (pattern) Saving a sample 1. In the Sample Edit screen, press [WRITE]. The Write Menu screen will appear. Make sure that “Sample” is highlighted. fig.Q1-13 2. Press [F6 (Samp...
Page 11 Creating an original song (pattern) 4. When you have finished entering the name, press [F6 (Write)]. A screen in which you can select the write destination will appear. fig.Q1-15 5. Use [CURSOR (left/...
Page 12 Creating an original song (pattern) Creating a patch from a sample 1. Press [F5 (Create Patch)]. A screen in which you can enter a name for the patch will appear. For this example, we will save the pa...
Page 13 Creating an original song (pattern) 5. Press [F6 (Write)]. A message will ask you to confirm that it is OK to write the data. fig.Q1-19 6. Press [F6 (Execute)]. Now the sample can be used as user patc...
Page 14 Creating an original song (pattern) ■Loading data from your computer WAV or AIFF format wave files from your computer can be loaded into the MC-909 as samples, and used in a patch or rhythm set. → (Ow...
Page 15 Creating an original song (pattern) 2. Press [F2 (TR-Rec)]. The TR-REC standby screen will appear. Here you can specify the time signature and length of the pattern. fig.Q2-02 3. Press [CURSOR (down)]...
Page 16 Creating an original song (pattern) Inputting the kick drum 1. Press [F3 (Note Number)]. Now you can select the note number of the rhythm tone you want to input. 2. Use [VALUE] or [INC/DEC] to select ...
Page 17 Creating an original song (pattern) Inputting the hi-hat 4. Press [F3 (Note Number)], and use [VALUE] or [INC/DEC] to select “70 (A#4)” (the note number for the closed hi-hat). fig.Q2-05 5. Press the ...
Page 18 Creating an original song (pattern) 6. As you did in step 4, select “72 (C5)” (the note number for the open hi-hat). 7. Press the velocity pads so that the pads marked by the arrows in the diagram are...
Page 19 Creating an original song (pattern) ■Creating a performance for the bass part Next, we will create a phrase for the bass part. Here we will use a recording method called “step recording,” in which you...
Page 20 Creating an original song (pattern) 5. Press [F4 (Note Type)]. 6. Turn [VALUE] to select “1/8 ().” fig.Q2-10 7. Press velocity pad [11]. An eighth note will be input at A1. fig.Step Rec1 The screen w...
Page 21 Creating an original song (pattern) 9. Next, successively press velocity pad [11], [CURSOR (right)], and velocity pad [11] to input two more notes. fig.Step Rec3.e [11] [11] [CURSOR (right)] 10. Turn ...
Page 22 Creating an original song (pattern) ■Recording an arpeggio performance Let’s use the arpeggiator and chord memory to realtime-record arpeggios on part 3. Realtime recording is the method in which your...
Page 23 Creating an original song (pattern) Recording 1. Press [PATTERN] to enter Pattern mode. 2. Press [REC]. 3. Press [F1 (Realtime)]. The realtime recording standby screen will appear. For details on the ...
Page 24 Creating an original song (pattern) ■Making a one-measure pattern into a four-measure pattern Let’s create a four-measure pattern by copying the one-measure pattern you just recorded. Make sure that p...
Page 25 Creating an original song (pattern) 6. Press [CURSOR (down)] several times to move the cursor to “Dest Meas.” 7. Turn [VALUE] to select “002.” 8. Press [CURSOR (down)] several times to move the cursor...
Page 26 Creating an original song (pattern) ■Synchronizing the playback of the sampled phrase Here’s how the phrase you sampled in "Selecting a phrase sampled from CD for part 16" (p. 6) can be sync...
Page 27 Creating an original song (pattern) Adjusting the balance of each part Use the part mixer (the eight sliders in the center of the panel) to adjust the volume balance and pan of each part. 1. Press [F3...
Page 28 Saving a pattern you create Pattern data you create will be lost if you re-select the pattern or turn off the power. Here’s how to save your data if you want to keep it. 1. Press [PATTERN] to enter Pa...
Page 29 Saving a pattern you create 5. When you are finished entering the name, press [F6 (Write)]. A screen in which you can select the write-destination pattern will appear. fig.Q3-03 6. Use [CURSOR (left/r...
Page 30 Mastering The MC-909 provides a compressor (mastering effect) that splits the sound into high, mid, and low-frequency bands and makes the volume of each band more consistent. When mixing down to MD or...
Page 31 Mastering Recording to MD Analog recording Connect your MD recorder to the MIX OUTPUT jack, and perform the mixdown. Digital recording Connect your MD recorder to the digital out connector, and perfor...
Page 32 Profiles of the pattern creators Kazuhiko Maeda Composer/Arranger/Producer Nick Tidy Active in CD production and as a song producer since the early ‘90s, with numerous releases and a solo album. Opera...

Manual Details

Brand Roland
Pages 32
File Size 780.89 KB
Published June 05, 2026
64 views

Enter the captcha to get the download link:

captcha

Frequently Asked Questions

What safety documents must be read before operating the MC-909 unit?

You must carefully read “IMPORTANT SAFETY INSTRUCTIONS,” “USING THE UNIT SAFELY,” and “IMPORTANT NOTES.”

How will the MC-909 begin when first powered on?

The unit is programmed to always start up automatically in Pattern mode.

What steps are required for expanding pattern length?

You can convert a one-measure pattern into a four-measure pattern, or record an arpeggio performance.