Page 1
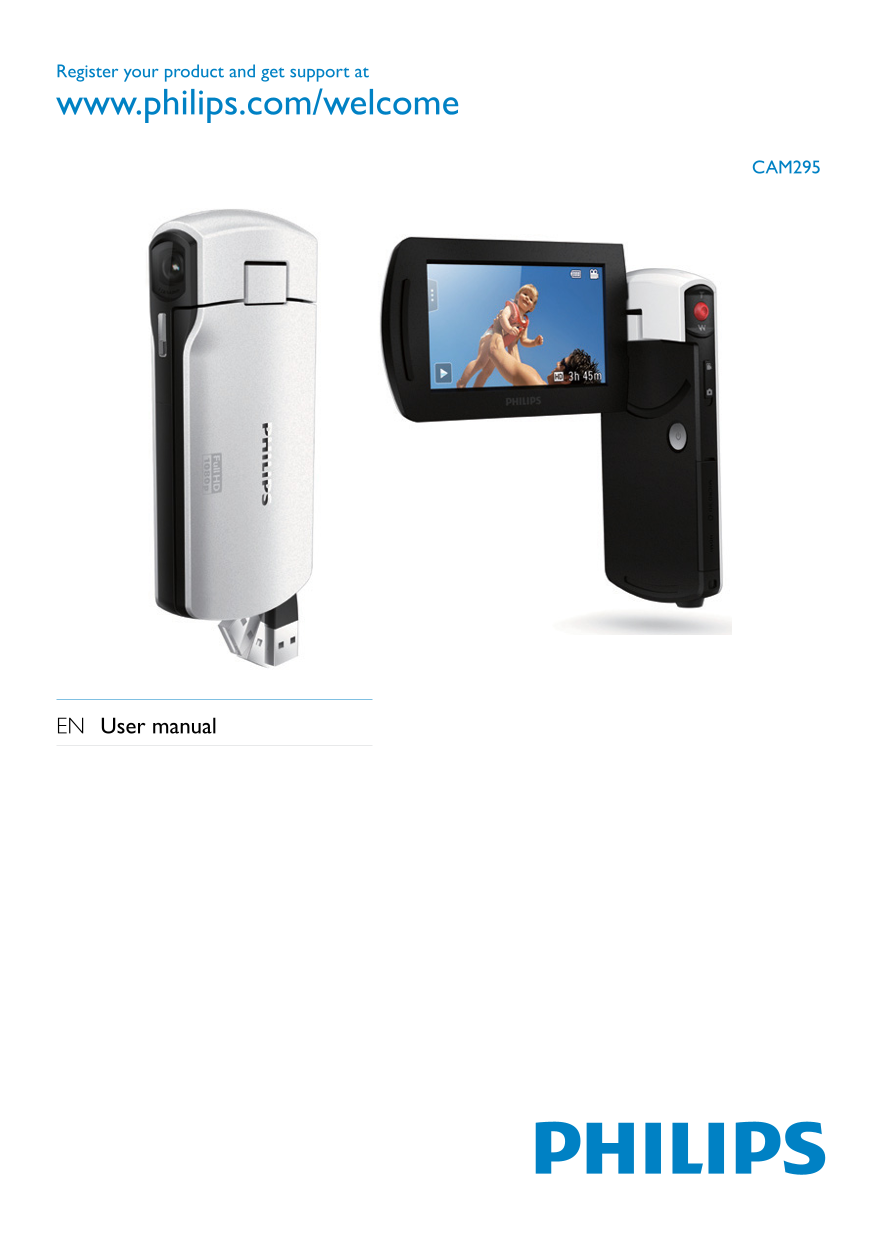
Register your product and get support at www.philips.com/welcome CAM295 EN User manual
Page 2
Contents Contents 1 Important 4 Safety 4 Notice 4 2 Your camcorder 5 Introduction 5 What’s in the box 5 Functional overview 6 3 Get started 8 Load the Micro SD card 8 Turn on 8 First-time setup 8 Char...
Page 3
1 Important Notice Safety This product complies with the radio a Read these instructions. interference requirements of the European Community. b Keep these instructions. c Heed all warnings. d Follow ...
Page 4
Note 2 Your camcorder The safety logo and power rating information are located at the USB arm of the camcorder. Introduction Always bring your product to a professional to remove the built-in battery....
Page 5
Functional overview jk no j HDMI a Built-in microphones • Connect to a TV through an HDMI b Built-in speaker cable with a mini HDMI connector (type C). c Lens k RESET d Flashlight • Restore default se...
Page 6
o Shutter button • In viewfinder mode, take a picture or start/stop video recording. • In play mode, switch to viewfinder mode. p T/W • In viewfinder mode, zoom in/out. • During video play, change the...
Page 7
3 Get started First-time setup When you turn on the camcorder for the first Load the Micro SD card time, a menu for OSD language selection is displayed. 1 On the swivel touch screen, tap / to select a...
Page 8
Select a special effect 1 In viewfinder mode, tap to show the system setting menu. 2 Tap [Effects] to enter scene setting. 3 Tap / to select a special effect you like. 4 Tap [OK] to confirm the settin...
Page 9
4 Use your Take pictures camcorder 1 Switch the mode switch button to . The file size and remaining number of pictures that can be taken are Record video displayed on the swivel touch screen. 2 Hold t...
Page 10
Delete a file Play tagged files 1 In play mode, swipe to the left/right on the 1 During preview, tap again. swivel touch screen to to select a file. A tag operation menu is displayed. 2 Tap to enter t...
Page 11
Zoom in a picture Settings menu Description option 1 In play mode, swipe to the left/right on the [Flash] Select a flashlight mode: [On], swivel touch screen to select a picture. [Off] or [Auto]. 2 Pr...
Page 12
5 Use more of Note The software supplied only works on PCs that operate your camcorder Microsoft® Windows® XP, Vista and Windows 7. When you connect the camcorder to a Mac, use the i Movie software to...
Page 13
Transfer video/pictures to a PC/Mac 1 Connect the camcorder to a PC/Mac (see ‘Get started’ > ‘Charge the built-in battery’). It may take some time for the PC/Mac to recognize the camcorder. 2 Find ...
Page 14
6 Technical specifications Product information is subject to change without prior notice. Image sensor 1/3.2” 8MP CMOS sensor System support Windows XP/Vista/ Operation modes Movie record, picture Win...
Page 15
Why do my video/pictures look blurry? 7 Frequently Hold the camcorder steady in your hands during shooting. asked questions During video capture, do not move the camcorder too fast. (FAQ) Use a tripod...
Page 16
record both indoors and outdoors where How do I play my videos on TV? the amount of light in the environment To play back on TV, please use an HDMI changes. If you move fast from outdoors to connector...
Page 17
Tips on video making You can easily look back on fun moments and relive them with the camcorder. To enjoy these memories to the fullest, here are some simple video tips: • When capturing videos, hold ...
Page 18
© 2011 Koninklijke Philips Electronics N.V. All rights reserved. CAM295_00_UM_V1.1