Page 1
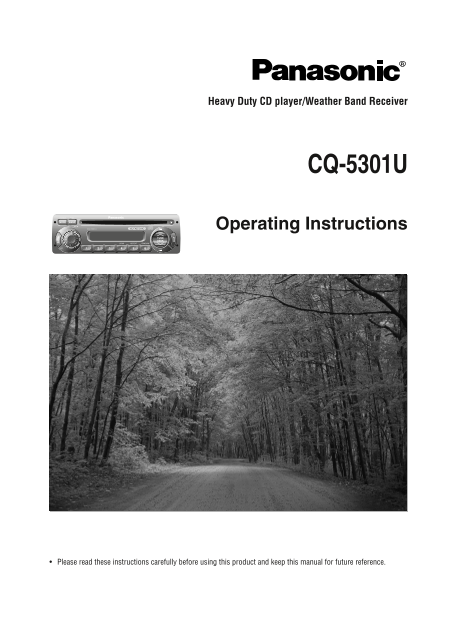
Heavy Duty CD player/Weather Band Receiver CQ-5301U Operating Instructions Please read these instructions carefully before using this product and keep this manual for future reference.
Page 2
Safety Information Read the operating instructions for the unit and all other This manual uses pictographs to show you how to use the components of your car audio system carefully before using product...
Page 3
Follow the instruction to install and wire the Caution product. Not following the instructions to properly install and wire Observe the following cautions when handling the product could cause an acci...
Page 4
Contents Safety Information(Part 15 of the FCC Rules). . . . . . . . . . . . . . . . . Page 2 Accessories . . . . . . . . . . . . . . . . . . . . . . . . . . . . . . . . . . . . . . . . . . . . . . . ...
Page 5
Power and Sound Controls Power Turn the key in the ignition until the accessory indicator lights. Power on: Press [MODE](POWER). Power off: Hold down [MODE](POWER) for more than 1 second. ACC ON Volum...
Page 6
Power and Sound Controls (Continued) SQ (Sound Quality) SQ is a function that can call up various sound types at the touch of button in accordance with your listening music type. Press [SQ] for more t...
Page 7
Note: If no operation takes place for more than 5 Audio Modes seconds in audio mode (2 seconds in (Bass/Treble/Balance/Fader) volume mode), the display returns to the regular mode. Push [SEL] to selec...
Page 8
Clock Setting Selecting the Clock Display Press [DISP] to change the display. Radio mode display (default) Clock display The 12-hour system is used for the clock. TUNE], TUNE] (Hours, Minutes)Time Set...
Page 9
Radio Radio Mode Press [MODE] to change to the radio mode. Radio CD Player ( When CD disc loaded FM stereo indicator, lights while receiving an FM stereo signal. Band Press [BAND] to change the band. ...
Page 10
Radio (Continued) Preset Station Setting Up to 6 stations can be saved in each of the FM1, FM2 and AM preset station memories. Note: Existing saved stations are overwritten with new stations after fol...
Page 11
Tuning in a Weather Band Station • Press [BAND](APM) to select WB (Weather Band). (a page 9) • Press any of the buttons [1] to [6] to monitor the preset station. WB Weather Band Frequency (channel) Nu...
Page 12
CD Player Disc Insert and Playback Disc insert (eject) Playback will start automatically after the player recognized the loaded disc as an ordinary music CD. (When a CD-R or CD-RW which has CD-DA form...
Page 13
Cautions: Only 5" (12 cm) CD, CD-DA data recorded CD-R and CD-RW discs are available for this unit. • This unit does not support CD text display. This unit does not support MP3 and WMA disc playb...
Page 14
Troubleshooting Preliminary Steps Cautions: Check and take steps as described in the tables below. • Do not use the unit if it malfunctions or if there is something wrong. • Do not use the unit in irr...
Page 15
Radio Trouble Cause/Step Station is too far, or signals are too weak. Much noise in FM stereo Select other stations of higher signal level. and monaural broad- casts. The radio antenna is not extended...
Page 16
Troubleshooting (Continued) CD (Continued) Trouble Cause/Step Mounting angle is over 30˚. Adjust mounting angle to less than 30˚. Sound skips due to vibration. Instable mounting. Mount the unit secure...
Page 17
Error Display Messages ❐ CD Trouble Cause/Step Disc is dirty, or is upside down. A disc that has data other than CD-DA type is loaded. Check the disc. Disc has scratches. Check the disc. No operation ...
Page 18
Maintenance Care of the Unit Cleaning this Unit Caution on Cleaning Use a dry, soft cloth to wipe. Never use solvents such as benzine, thinner as they may mar the surface of the unit. Notes on Discs D...
Page 19
Speaker Connections Caution: Please follow the instructions given below. Failure to do so will cause damage to the unit and speakers. <Right> • Use ungrounded speaker only. (White) • The maximum...
Page 20
Installation Guide WARNING This installation information is designed for experienced installers and is not intended for non-technical individuals. It does not contain warnings or cautions of potential...
Page 21
Preparation Installation Hardware Warning: If your vehicle is equipped with air bag Diagram Q’ty Item No. and/or anti-theft systems, specific procedures may be required for connection and disconnectio...
Page 22
Installation (Continued) Cautions: • We strongly recommend that you wear gloves for installation work to protect yourself from injuries. • When bending the mounting tab of the mounting collar with a s...
Page 23
To Remove the Unit from the vehicle's dashboard Insert each Removal Tool i and pull. Removal Tool (U-shaped) Note: Do not lose Removal Tools. They will be needed to remove the unit from the vehicle's ...
Page 24
Electrical Connections Cautions: • This wiring information is for experienced technical individual, for safety reason, please your dealer wire this connection. • This product is designed to operate wi...
Page 25
Specifications General Power Supply: 12 V DC (11 V-16 V) test Voltage 14.4 V, Negative ground Current consumption: Less than 2.5 A (CD mode, 0.5 W 4-speaker) Maximum Power Output: 37 W ¥ 4 channels at...
Page 26
CQ-5301U
Page 27
CQ-5301U
Page 28
Panasonic Consumer Electronics Company, Division of Panasonic Electric Corporation of North America One Panasonic Way, Secaucus, New Jersey 07094 YFM284C478ZA TAMACO0505-0 Printed in China