Page 1
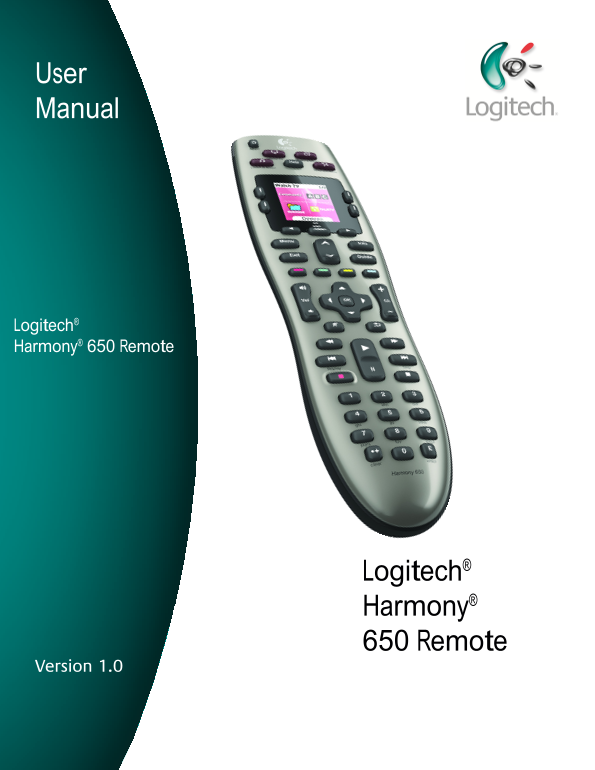
User User Manual Manual Logitech® Harmony® 650 Remote Logitech® Harmony® 650 Remote Version 1.0 Version 1.0
Page 2
Contents Introduction .........................................................................................................................4 Getting to know your remote ..............................
Page 3
Controlling the Remote Assistant ...............................................................................19 Adding additional features to your Harmony 650 .........................................
Page 4
Introduction The Logitech Harmony 650 Universal Remote is your answer to effortless home entertainment. The Activities buttons puts you in control of all your devices. You can go from watching TV to w...
Page 5
The buttons on your Harmony 650 The All Off button turns off all the devices in the current Activity. The Harmony 650’s buttons may have The Activity buttons start the appropriate Activity. The More d...
Page 6
What’s on the Harmony 650’s screen Activities When you press an Activity button -- Watch TV, Watch a Movie, or Listen to Music -- the Activity starts and the commands for that Activity appear on the s...
Page 7
Using your Harmony 650 Using your screen features The arrow buttons help you move through each page of options, while the side buttons allows you to choose a command or function. The center button let...
Page 8
Using the Help button Because obstacles or distance can interfere with the signals the Harmony 650 sends when it starts an Activity (for example, someone walks between your Harmony 650 and the TV when...
Page 9
Using your favorite channels To set up your favorite channels, go to the Harmony Remote Software: Select the 1. Activities tab. Under 2. Watch TV, click Settings. Select 3. Set up Favorite Channels an...
Page 10
Setting the backlight timing The Harmony 650 senses when you pick it up, and lights up the display and buttons. To set the length of time the backlight stays on, follow these steps: From your Harmony ...
Page 11
Setting up your Harmony 650 for the first time Overview of the setup process The Harmony Remote Software leads you through a setup process and allows you to change your setup later if you wish. To beg...
Page 12
1. Creating your user account When you start the Harmony Remote Software for the first time, you must create your user account. From the Harmony Remote Software, on the Getting Started page: Click 1. ...
Page 13
3. Setting up the devices you want to control On the Add Devices page, the guided online setup asks you to enter your device information. Enter the information for all the entertainment components you...
Page 14
5. Updating the remote After you enter your device and Activity information, the software saves your information and shows the Finish Setup page. It also transfers the information to your Harmony 650....
Page 15
Testing your setup Every time you update your Harmony 650, you should test your remote to ensure it’s working the way you expect. This chapter gives you the information you need to test your remote. I...
Page 16
Changing your setup Whether you get a new device or want to change the behavior of some buttons, you may need to make changes to your Harmony 650’s setup. The following sections provide you with the i...
Page 17
Adding an extra device (passthrough) to an Activity A passthrough device is a device that you add to your system that a signal passes through unaltered. For example, if you use your DVD recorder (or V...
Page 18
Changing how buttons work in an Activity When you select an Activity, your Harmony 650 turns on all the required entertainment devices, sets up the device inputs correctly, and sets up the remote’s bu...
Page 19
Controlling the Remote Assistant The Harmony 650’s Remote Assistant guides you through starting Activities. It also gives you more information about the status of your remote and the Activity you sele...
Page 20
Adding additional features to your Harmony 650 It’s possible that a device’s commands are not recognized. Maybe you have a very rare device? Or a new one? Although we update our device list regularly,...
Page 21
Start infrared commands that select inputs (for example, on a stereo receiver) with • the prefix “Input”. Don’t name the input based on what you’ve connected to your device, rather name • it based on ...
Page 22
To adjust the Power On Delay, Inter-key Delay or the Input Delay, from the Harmony Remote Software: Click the 1. Devices tab. Select the device for which you want to apply the change and click 2. Sett...
Page 23
Maintaining your Harmony 650 Upgrading your Harmony 650 firmware Your Harmony 650 contains internal software, called firmware. The remote’s firmware is similar to your computer’s operating system. Log...
Page 24
Troubleshooting problems with your Harmony 650 In this section, you’ll find some commonly reported issues and the suggested solutions. These solutions may help you fix problems you’re experiencing. If...
Page 25
The On Demand command isn’t on the Harmony 650 for the Watch TV Activity. You can map the command to any unused button on the Harmony • 650 or on the remote’s screen. The command is likely in our data...
Page 26
Figuring out which inputs your system uses One of the most important parts to creating your Activities for your Harmony 650 is determining which inputs your system uses for each device. This chapter g...
Page 27
Option 3 — Select the input from an on-screen menu In this case, your device uses an on-screen menu from which you can select the input you want. When you press the source button, the menu appears on ...
Page 28
Step 2 — Watch the TV In this step, you must use your TV’s original remote control to switch between inputs. Using your TV’s original remote, select each input one-at-a-time.1. For each input, note wh...
Page 29
Getting help with your Harmony 650 Contacting Customer Support If you’re experiencing problems and can’t find the solution, our courteous and expert professionals can assist! From your home page, clic...
Page 30
Using the On-Remote Help When one or more of your devices don’t power on or off, or when they don’t switch inputs correctly, you can use the Help button on the remote for simple troubleshooting. Answe...
Page 31
Appendix A - Device Information In the Add Devices step of the setup software, you will need to enter information about the components in your entertainment system. Fill out this worksheet to use as y...
Page 32
Appendix B - Glossary Amplifier A stereo component that outputs to speakers, and increases the gain or level of an audio signal. An amplifier doesn’t typically include a radio. Anamorphic views Also r...
Page 33
Output Device A device that produces the sound or picture, for example, a TV or speakers. PAL (Phase Alternating A video format that is used in the UK, and parts of Europe and Line) Asia. Passthrough ...
Page 34
Stereo receiver Also referred to as a tuner or a receiver. A stereo receiver is any component that receives or tunes, broadcast signals, or AM/FM radio. Typically refers to the single component that i...
Page 35
Appendix C - Product Specification LCD Size 1.5" Diagonal LCD Resolution 128 x 128 LCD Screen 65,000 Color Power Source AA batteries Brands Supported 5,000+ Devices Supported 200,000+ Maximum num...
Page 36
© 2009 Logitech Inc. All rights reserved. Logitech's trademarks are either registered trademarks or trademarks of Logitech in the US and other countries. All other trademarks are the property of their...