Dell PowerConnect W-650 ArubaOS 6.0 Quick Start Guide
Summary
Quick Start Guide for Dell PowerConnect wireless networks using ArubaOS 6.0. Covers controller configuration through Startup Wizard, license installation, internal and guest WLAN setup, wired network connection, and AP provisioning. Includes mesh networking configuration requiring cluster and radio profiles before AP installation. Targets network administrators deploying controller and AP infrastructure.
Page 1 Text Content
Dell Power Connect Aruba OS 6.0 Quick Start Guide
This document describes the initial setup of a user-centric network that consists of Dell Power Connect controllers and Dell Power Connect Access Points (APs). The installation consists of the following steps:
1. Use the Setup Wizard to configure the controller, install software licenses, and configure an internal and a guest WLAN—“Run the Startup Wizard” on page 1 2. Connect the controller to the wired network—“Connect the Controller to the Wired Network” on page 3 3. Verify that your APs can locate and connect to your controllers—“Verify APs are Connected to your Controller” on page 3 4. If you are configuring mesh, define the mesh cluster profile, mesh radio profile, and provision the APs as a mesh portal or mesh point when deploying APs in a mesh networking environment—“Provisioning APs for Mesh” on page 4
Note: You must provision and configure the mesh portals on your network before you add any mesh points.
5. Connect your APs to the network—“Installing your APs” on page 5
Run the Startup Wizard The Web UI Startup Wizard allows you to configure access to the controller, install software licenses, and configure wireless local area networks (WLANs) for internal or guest users. The Startup Wizard is available the first time you connect to and log into the controller or whenever the controller is reset to its factory default configuration. After you complete the wizard, the controller reboots using the new configuration information you entered.
Note: Do not connect the controller to your network when running the Setup Wizard. The factory-default controller boots up with a default IP address and both DHCP server and spanning tree functions are enabled. Once you have completed the Setup Wizard and rebooted the controller, you can use either the CLI or Web UI for further configuration before connecting the controller to your network.
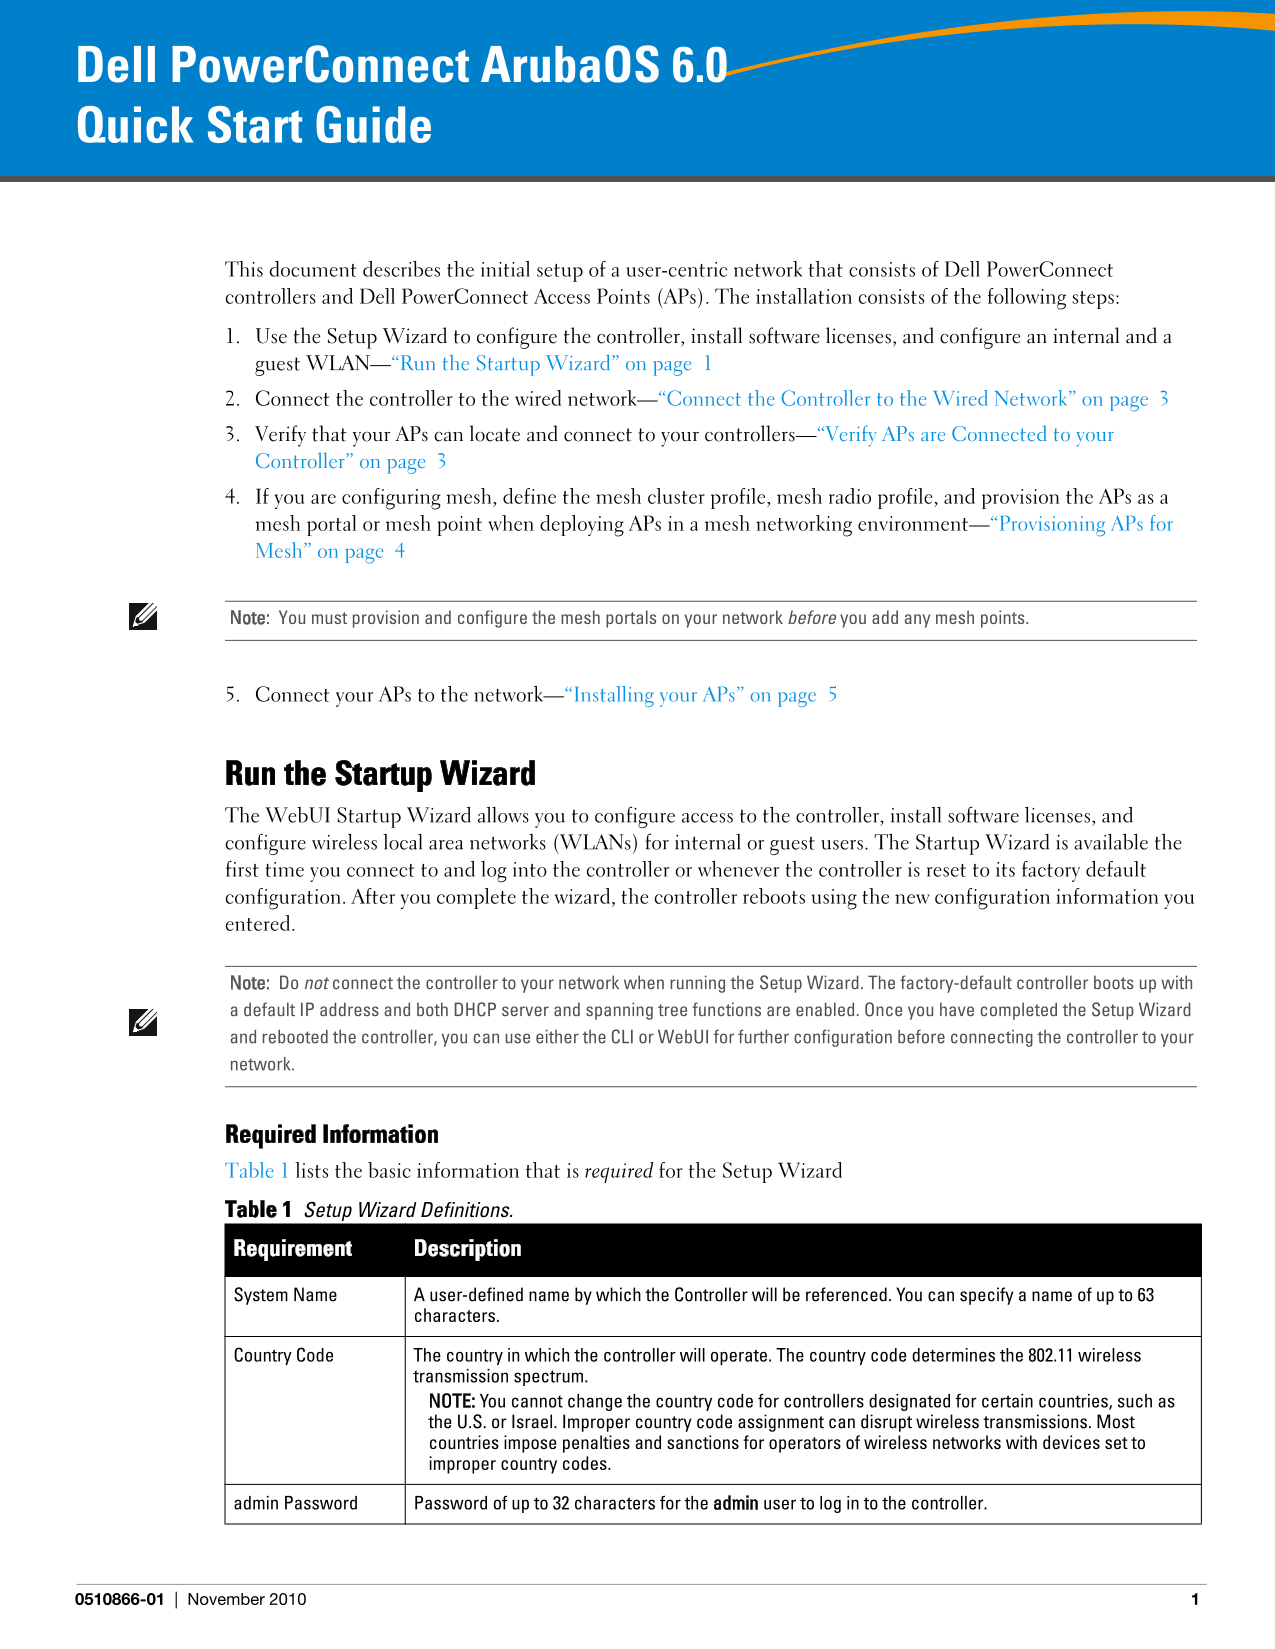
Required Information Table 1 lists the basic information that is required for the Setup Wizard Table 1 Setup Wizard Definitions. Requirement Description
System Name A user-defined name by which the Controller will be referenced. You can specify a name of up to 63
characters.
Country Code The country in which the controller will operate. The country code determines the 802.11 wireless
transmission spectrum. NOTE: You cannot change the country code for controllers designated for certain countries, such as the U.S. or Israel. Improper country code assignment can disrupt wireless transmissions. Most countries impose penalties and sanctions for operators of wireless networks with devices set to improper country codes.
admin Password Password of up to 32 characters for the admin user to log in to the controller.
0510866-01 November 2010
Page Summary Contents For Dell PowerConnect W-650 ArubaOS 6.0 Quick Start Guide
Manual Details
| Brand | Dell |
|---|---|
| Pages | 6 |
| File Size | 327.69 KB |
| Published | June 27, 2026 |
Enter the captcha to get the download link:

Frequently Asked Questions
What is required before configuring APs in a mesh network?
You must first define the mesh cluster profile, mesh radio profile, and provision the mesh portals on your network.
How do I run the initial setup wizard for the controller?
Connect a PC to a line port, boot up the controller, and access the default IP address (172.16.0.254) via a web browser.
What is the primary purpose of running the Setup Wizard?
It allows you to configure controller access, install software licenses, and set up internal or guest WLANs.
When should I use the WebUI Startup Wizard again?
You can run it when the controller is reset to factory default or the first time you connect and log into it.