Page 1
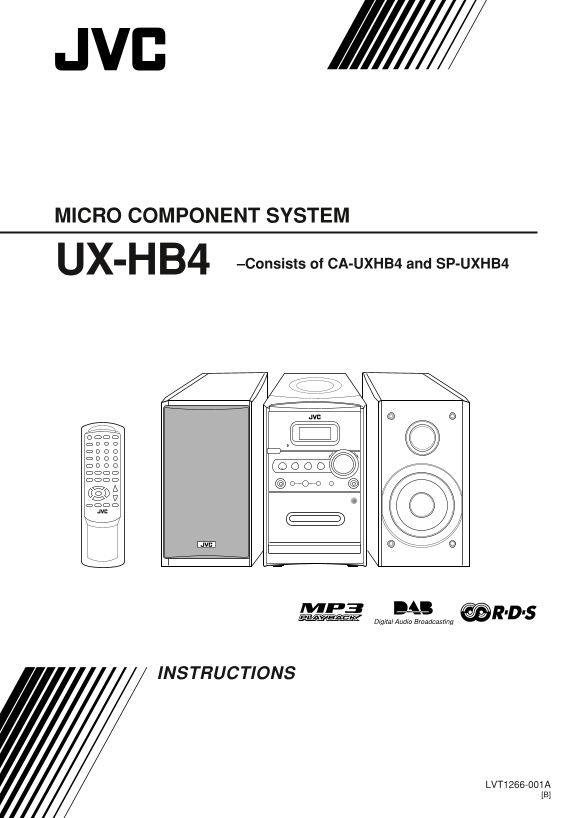
MICRO COMPONENT SYSTEM –Consists of CA-UXHB4 and SP-UXHB4 UX-HB4 INSTRUCTIONS LVT1266-001A UX-HB4[B]cover2.p65 04.8.5, 4:02 PM1
Page 2
Warnings, Cautions and Others CAUTION— (STANDBY/ON) button! IMPORTANT for the U.K. Disconnect the mains plug to shut the power off completely (all lamps DO NOT cut off the mains plug from this equipme...
Page 3
SAFETY INSTRUCTIONS “SOME DOS AND DON’TS ON THE SAFE USE OF EQUIPMENT” This equipment has been designed and manufactured to meet international safety standards, but like any electrical equipment, care...
Page 4
Introduction We would like to thank you for purchasing one of our JVC products. Before operating this unit, read this manual carefully and thoroughly to obtain the best possible performance from your ...
Page 5
Contents Location of the Buttons and Controls Listening to FM and AM (MW) Broadcasts Main Unit Tuning in to a Station Remote Control Presetting Stations Tuning in to a Preset Station Getting Started.....
Page 6
Location of the Buttons and Controls Become familiar with the buttons and controls on your unit. Main Unit Top view COMPACT DIGITAL AUDIO Front view STANDBY VOLUME CD TAPE FM/AM/DAB AUX PHONES SCROLL ...
Page 7
Continued Display window 8e ty See pages in parentheses for details. Main unit Display window Disc cover (12) Repeat indicators ) OPEN (disc cover open) (12) , ALL, GR. (group) DAILY TIMER/SNOOZE butt...
Page 8
Remote Control See pages in parentheses for details. STANDBY/ON button (10, 28) SLEEP button (29) TIMER button (27) SET button (9, 27, 28) CANCEL button (27, 28) REV. (reverse) MODE button (16, 25, 26...
Page 9
Do not connect the AC power cord until all other Getting Started connections have been made. Continued Unpacking Put the DAB antenna into the antenna cover until the DAB antenna fits in with the After...
Page 10
Do not connect the AC power cord until all other connections have been made. Connecting AM (MW) and FM Antennas Connecting Speakers Place the antenna away from the unit and adjust its position You can...
Page 11
Do not connect the AC power cord until all other connections have been made. To remove the speaker grilles Putting the Batteries into the Remote Control The speaker grilles are removable as the illust...
Page 12
Common Operations Setting the Clock SEARCH/ UP SEARCH/ 5 Press UP or DOWN to adjust SCROLL PRESET SCROLL DOWN GROUP UP the minute, then press SET. Before operating the unit any further, first set the ...
Page 13
Continued Turning On the Power Selecting the Source To turn on the unit, press STANDBY/ON . STANDBY/ON To select the source, press CD 6, TAPE 2 3, FM/AM/ The STANDBY lamp on the unit goes off. DAB, or...
Page 14
Fade-Out Muting (FADE MUTING) Reinforcing the Bass Sound On the remote control ONLY: You can boost the bass sound. FADE MUTING This function only affects the playback sound, and does not Press FADE MU...
Page 15
Playing Back Discs Continued This unit has been designed to play back the following Playing Back the Entire Disc—Normal Play discs—CD, CD-R, and CD-RW. You can play back the discs containing the track...
Page 16
When stop playing audio CD: To go to another track directly using the number Total track number Total playing time buttons On the remote control ONLY: Cursor Pressing the number button(s) before or du...
Page 17
Continued SEARCH/ UP SEARCH/ To go to another track directly using the number When you are programming from MP3 SCROLL PRESET SCROLL DOWN GROUP UP buttons disc SELECT You can select a track only withi...
Page 18
SEARCH/ UP SEARCH/ Repeating Tracks—Repeat Play To exit from Random Play, press 7 or SCROLL PRESET SCROLL DOWN GROUP UP RANDOM. SELECT You can have all the tracks, the program or individual track The ...
Page 19
Playing Back Tapes Playing Back a Tape If no cassette is inserted when you press TAPE ¤ ‹ You can play back type I tapes only. “No TAPE” appears on the display. SEARCH/ UP SEARCH/ SCROLL PRESET SCROLL...
Page 20
Listening to DAB Broadcast What is DAB? Initial Scanning Digital Audio Broadcasting (DAB) is a radio which carries When you change the source to DAB for the first time, the information in digital form...
Page 21
Continued SEARCH/ UP SEARCH/ SCROLL PRESET SCROLL On the remote control ONLY: DOWN GROUP UP Press SEARCH/SCROLL UP or SEARCH/SCROLL DOWN SELECT DOWN Tune in to the station you want to preset. PRESET t...
Page 22
Arranging and Sorting the Station List Active Station: The order is arranged by the activity of stations. All the active stations can You can arrange or sort the station list which appears on the be r...
Page 23
SEARCH/ UP SEARCH/ Signal Information: Press SEARCH/SCROLL UP SCROLL PRESET SCROLL DOWN GROUP UP Digital bit rate (kbps) and signal mode or SEARCH/SCROLL DOWN SELECT (stereo or mono) to select a desir...
Page 24
Listening to FM and AM (MW) Broadcasts Tuning in to a Station To change the FM reception mode On the remote control ONLY: You can search for the station by either automatically or REPEAT When an FM st...
Page 25
Continued Receiving FM Stations with RDS To preset more stations, repeat steps 1 to 3 above, allocating a different preset number to RDS (Radio Data System) allows FM stations to send an each station....
Page 26
Changing the RDS Information Searching for Programs by PTY Codes (PTY Search) You can see RDS information on the display while listening to an FM station. One of the advantages of RDS is that you can ...
Page 27
Description of the PTY codes News News. Social Affairs Programs about sociology, history, geography, psychology and society. Current Affairs Topical program expanding or enlarging upon the news—debate...
Page 28
Recording IMPORTANT: Start playing the source—FM, AM (MW), It should be noted that it may be unlawful to re-record DAB or auxiliary equipment connected to pre-recorded tapes, records, or discs without...
Page 29
To reduce the beat—Beat Cut To stop recording for a moment, press REC. Both the disc playback and tape recording are On the remote control ONLY: paused. To resume recording, press TAPE ¤ ‹. REMAIN If ...
Page 30
Using the Timers There are four timers available—Daily Timer (Just Once, On the remote control ONLY: Every Day, Weekly), Recording Timer, Snooze Timer, and TIMER Sleep Timer. Press TIMER repeatedly to...
Page 31
Continued Each time you press the button, the timer repeat mode To change the timer, repeat steps 1 to 6 on pages 27 and this changes as follows: page. To activate the Daily Timer again without changi...
Page 32
Using Sleep Timer When you set the Sleep Timer after the Daily Timer starts playing the selected source With Sleep Timer, you can fall asleep to your favorite music The unit turns off with either time...
Page 33
Maintenance To get the best performance of the unit, keep your discs, tapes and mechanism clean. General Notes Handling cassette tapes In general, you will have the best performance by keeping If the ...
Page 34
Troubleshooting If you are having a problem with your unit, check this list for a possible solution before calling for service. If you cannot solve the problem from the hints given here, or the unit h...
Page 35
Specifications Design and specifications are subject to change without notice. Amplifier Section Output Power: 15 W per channel, min. RMS, driven into 4 Ω at 1 k Hz with no more than 10% total harmoni...
Page 36
-H IC 0804AIMMDWORI © 2004 Victor Company of Japan, Limited UX-HB4[B]cover2.p65 04.8.5, 4:02 PM2