# A B C D E F G H I J K L M N O P Q R S T U V W X Y Z

DURATRAX Maximum MT Pro Manual User Guide

Summary

Master your new nitro R/C stadium truck with this comprehensive operational and assembly guide for the DuraTrax Maximum MT Pro. The manual provides complete instructions on building, tuning, operating, and maintaining your durable racing model. Designed for avid hobbyists and racers, it covers everything from initial setup and performance adjustments to critical engine troubleshooting. Please review all safety precautions regarding poisonous fuel and high temperatures to ensure a successful and safe racing experience.
📄 Preview PAGE OF 20

Page 1 Text Content

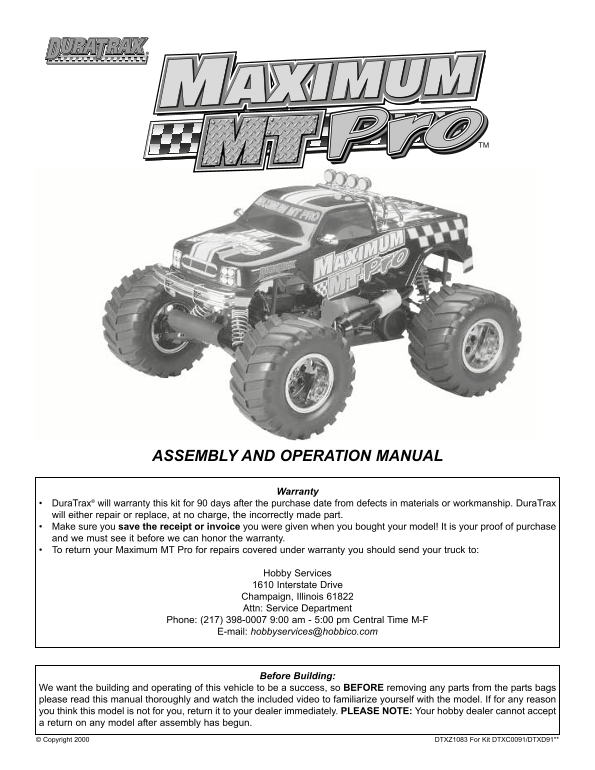
ASSEMBLY AND OPERATION MANUAL

Warranty

Dura Trax® will warranty this kit for 90 days after the purchase date from defects in materials or workmanship. Dura Trax will either repair or replace, at no charge, the incorrectly made part. Make sure you save the receipt or invoice you were given when you bought your model! It is your proof of purchase and we must see it before we can honor the warranty. To return your Maximum MT Pro for repairs covered under warranty you should send your truck to:

Hobby Services 1610 Interstate Drive Champaign, Illinois 61822 Attn: Service Department

Phone: (217) 398-0007 9:00 am - 5:00 pm Central Time M-F

E-mail: [email protected]

Before Building:

We want the building and operating of this vehicle to be a success, so BEFORE removing any parts from the parts bags please read this manual thoroughly and watch the included video to familiarize yourself with the model. If for any reason you think this model is not for you, return it to your dealer immediately. PLEASE NOTE: Your hobby dealer cannot accept a return on any model after assembly has begun. © Copyright 2000 DTXZ1083 For Kit DTXC0091/DTXD91**

Page Summary Contents For DURATRAX Maximum MT Pro Manual User Guide

Page 1 ASSEMBLY AND OPERATION MANUAL Warranty Dura Trax® will warranty this kit for 90 days after the purchase date from defects in materials or workmanship. Dura Trax will either repair or replace, at no ch...
Page 2 The engine and exhaust can become very hot. Avoid TABLE OF CONTENTS touching any of these parts during use and until they have cooled down. Introduction...................................................
Page 3 REPAIR SERVICE REQUIRED ITEMS FOR COMPLETION Repair service is available anytime. To operate the Maximum MT Pro these items are required: After the 90 day warranty, you can still have your Maximum MT ...
Page 4 FINISHING THE MAXIMUM MT PRO RTR VERSION (DTXD91**) 1. Remove the transmitter and truck from the box. 2. Remove the twist-tie from the receiver antenna. (The receiver antenna is a bundled thin wire th...
Page 5 6. Remove the receiver battery holder from the radio box. 9. Slide open the battery door on the bottom of the Install (4) “AA” (included) into the battery holder in the transmitter. Place 8 “AA” batte...
Page 6 13. Using the Dura Trax R/C body reamer, drill six 1/4" 16. Apply decals to body if desired. (6mm) holes in the body using the molded-in dimples as guides. Install the rollbar onto body as shown ...
Page 7 ASSEMBLY OF THE MAXIMUM MT PRO PRE-BUILT VERSION (DTXC0091) 1. Remove the Maximum MT Pro stadium truck PREPARING THE RADIO SYSTEM from the box. Antenna2 Before installing the radio Transmitter system ...
Page 8 5. Use the included servo saver. Install the metal rod connectors into the rod ends on the steering rod. Using a 3 x 20mm socket head screw and a 3mm lock nut, attach one end of the steering rod to th...
Page 9 ASSEMBLING THE RADIO TRAY 1. From bag PA002, remove all of the parts included; the 4. Attach the switch from your radio system so it is above radio tray, the (2) radio tray mounts, and the (8) 3 x 8mm...
Page 10 6. Remove from your radio system the 4-cell receiver battery holder and install (4) “AA” batteries (not included). The negative sides of the batteries are placed against the springs in the battery hol...
Page 11 Rod Connector 5/8" (16mm) 2. From your radio system remove a large, X-shaped servo arm. Remove two of the servo arms as shown. Install the rod connector in the last hole on the arm as shown in th...
Page 12 RADIO ADJUSTMENTS • Turn on the transmitter first, then the receiver. • Center the trims of the throttle and steering channels (see your radio system manual for the location of the trim adjustments). ...
Page 13 E) Push the throttle rod with your finger until the carb closes as far as possible (the carb will not close completely which is normal). F) Tighten the set screw on the outer collar and cut the thrott...
Page 14 4. Using the Dura Trax R/C body reamer, drill six 1/4" (6mm) holes in the body using the molded-in dimples as 7. Apply decals to body, if desired. guides. Install the rollbar onto body as shown u...
Page 15 idle, pinch the fuel line and listen to how the engine speeds RUNNING THE ENGINE up or slows down. If the engine increases its speed for about 2 or 3 seconds and then loses speed, the needle is set co...
Page 16 The First Tank 4. Do not overheat the engine. This goes along with Your first tank of fuel should be running the truck at a very keeping it clean and not over-leaning the engine. rich high-speed needl...
Page 17 Fuel line is susceptible to pinhole leaks. You cannot see the hole in the fuel line, but if you see air bubbles in the line going to the carburetor, replace the fuel line. Another symptom of a leak in...
Page 18 Toe-In/Toe-Out: This refers to the angle of the front tires Slipper Clutch: The slipper clutch is attached to the spur when viewed from above when the suspension arms are gear on your truck, the large...
Page 19 ENGINE TROUBLESHOOTING The engine starts It should be YES Does it run ready to go. continuously? Is the high NO speed needle setting 2 to Does the engine YES YESYESClear the engine YES Replace the Is ...
Page 20 ACCESSORIES AND OPTIONAL PARTS Dura Trax Nitro Starter Set Dura Trax Crankshaft Locking Tool Rapid Heat Glow Starter w/ Charger Rapid Heat's 1500m Ah Sanyo® Ni Cd sends This set includes everything yo...

Manual Details

Brand Maximum
Pages 20
File Size 807.08 KB
Published May 26, 2026
112 views

Enter the captcha to get the download link:

captcha

Frequently Asked Questions

What safety precaution must be taken when using the engine fuel?

Model engine fuel is poisonous and flammable; ensure it is kept out of reach of children.

Where do I send the model for warranty repairs?

You should send your truck to Hobby Services at 1610 Interstate Drive, Champaign, Illinois, Attn: Service Department.

What must be checked before powering on the transmitter?

Before turning it on, make sure that no one else is operating a radio on your frequency.

What surface should I use when assembling or maintaining the model?

Place a mat or towel over your work surface to prevent small parts from rolling off and to protect the area.