APPLE Mac Pro 073-1059 Rev. A Hard Drive Carrier Replacement Instructions
Summary
A comprehensive guide for safely replacing the hard drive carrier in a Mac Pro system. This manual provides detailed, step-by-step instructions covering proper shutdown procedures, static electricity prevention, and technical guidance for both removing an old carrier/drive and installing a new replacement unit. It is designed for users who need expert assistance in maintaining or upgrading their internal storage components while ensuring the equipment remains safe and operational.
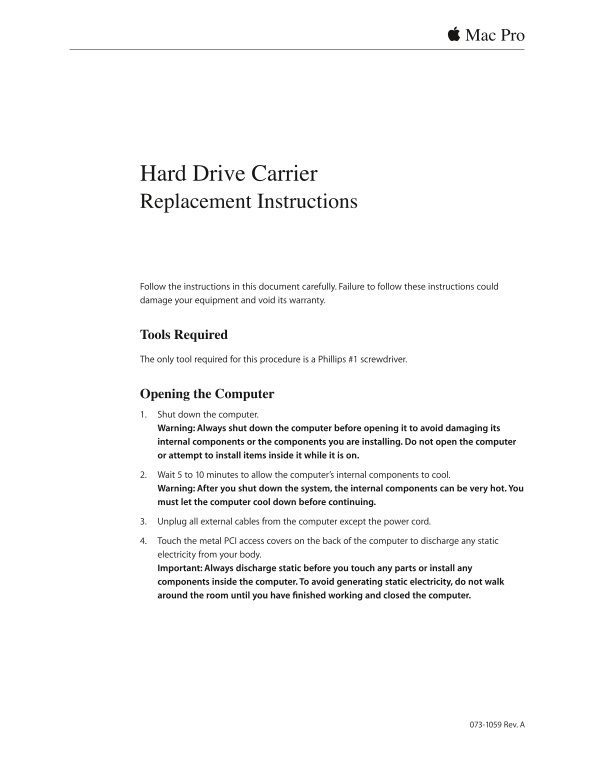
Page 1 Text Content
Mac Pro
Hard Drive Carrier Replacement Instructions
Follow the instructions in this document carefully. Failure to follow these instructions could damage your equipment and void its warranty.
Tools Required The only tool required for this procedure is a Phillips #1 screwdriver.
Opening the Computer 1. Shut down the computer. Warning: Always shut down the computer before opening it to avoid damaging its internal components or the components you are installing. Do not open the computer or attempt to install items inside it while it is on. 2. Wait 5 to 10 minutes to allow the computer’s internal components to cool. Warning: After you shut down the system, the internal components can be very hot. You must let the computer cool down before continuing. 3. Unplug all external cables from the computer except the power cord. 4. Touch the metal PCI access covers on the back of the computer to discharge any static electricity from your body. Important: Always discharge static before you touch any parts or install any components inside the computer. To avoid generating static electricity, do not walk around the room until you have finished working and closed the computer.
073-1059 Rev. A
Page Summary Contents For APPLE Mac Pro 073-1059 Rev. A Hard Drive Carrier Replacement Instructions
Manual Details
| Brand | Carrier |
|---|---|
| Pages | 5 |
| File Size | 699.03 KB |
| Published | May 30, 2026 |
Enter the captcha to get the download link:

Frequently Asked Questions
What is the first safety step before opening the Mac Pro for service?
Always touch the metal PCI access covers to discharge any static electricity from your body.
How long must I wait after shutting down the computer?
Wait 5 to 10 minutes to allow the internal components to cool fully.
What is important when removing the hard drive from the carrier?
Hold the drive by its sides and avoid touching the printed circuit board on the bottom.
Does the access panel need special attention when closing it up?
Ensure the latch is in the up position before replacing the panel, then push the latch down to close securely.