# A B C D E F G H I J K L M N O P Q R S T U V W X Y Z

WHIRLPOOL AKR3100 IX Chimney Hood Installation Manual & User Guide

Summary

Enhance your kitchen air quality with the Whirlpool Chimney Hood. This essential guide is designed for domestic users, providing complete instructions on how to maximize efficiency and safety. Detailed steps cover professional installation best practices, routine maintenance routines (including filter cleaning), and troubleshooting tips crucial for sustained high performance. By following this manual, you ensure proper operation and longevity when eliminating kitchen fumes.
📄 Preview PAGE OF 14

Page 1 Text Content

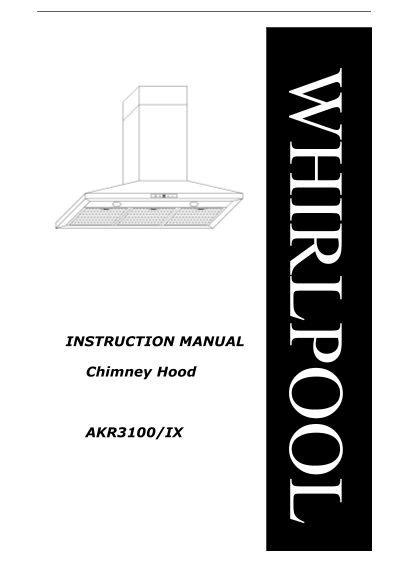
INSTRUCTION MANUAL

Chimney Hood

AKR3100/IX

Page Summary Contents For WHIRLPOOL AKR3100 IX Chimney Hood Installation Manual & User Guide

Page 1 INSTRUCTION MANUAL Chimney Hood AKR3100/IX
Page 2 Dear Customer, If you follow the recommendations contained in this Instruction Manual, our appliance will give you constant high performance and will remain efficient for many years to come. CONTENTS ...
Page 3 * Only a qualified and trained service technician can undertake the work of installation and servicing. * Check that the mains voltage corresponds to the one indicated on the rating plate fixed inside...
Page 4 on its correct usage. MAINTENANCE * Proper maintenance of the Range Hood will assure proper performance of the unit. * Disconnect the hood from the main supply before carrying out any maintenance work...
Page 5 person responsible for their safety. Children should be supervised to ensure that they do not play with the appliance. * There shall be adequate ventilation of the room when the range hood is used at ...
Page 7 COMPONENTS Ref Qty Components 1 2/3pcs Grease filter 2 1pcs Hood body 3 2pcs steel bolt 4 3pcs Cross self-drill bolt 5 1pcs Exhaust 6 1pcs Exterior chimney 7 1pcs Inner chimney 8 2pcs Cross discal thr...
Page 8 the wall units. 3. When the appliance has been adjusted, fix the hood using the screws A. For the various installations use screws and screw anchors suited to the type of wall (e.g. reinforced concret...
Page 9 Fig.4 Fig.5 DUCT FIXING Caution: To reduce the risk of fire, recommend use aluminium ductwork. 1. Attach an adequate length of φ150mm round duct into the recessed area of the air outlet adapter. 2. Th...
Page 10 Caution: To reduce the risk of fire, use metal ductwork only. 1. Decide where the ductwork will run between the hood and the outside. 2. A straight, short duct run will allow the hood to perform most ...
Page 11 OPERATION OF CONTROLS 1. Press „E‟ to turn ON / OFF the lamp Normal Mode Operation 1. Press „B‟ to turn ON at speed 1 / Adjust speed 2. Press „C‟ to turn ON at low speed 3 / Adjust speed 3. Press „D‟ ...
Page 12 dry before refitting. 3. To install the grease filter, press the latch on the filter again. Make sure the filter is securely engaged after assembly. WARNING: 1. Always switch off the electrical supply...
Page 13 Cleaning tips: * Hot water with soap or detergent is all that is usually needed. * Follow all cleaning by rinsing with clear water. Wipe dry with a clean, soft cloth to avoid water marks. * For discol...
Page 14 TROUBLE SHOOTING In case if the Cooker Hood is not working or working improperly, before calling the after sales service, switch off the appliance, unplug the power supply and refer to the guide below...

Manual Details

Brand Hood
Pages 14
File Size 445.23 KB
Published May 22, 2026
76 views

Enter the captcha to get the download link:

captcha

Frequently Asked Questions

What type of operating environment is the hood suitable for?

The cooker hood is designed only for domestic use to eliminate kitchen fumes.

Who should perform installation or servicing?

Only a qualified and trained service technician can undertake the work of installation and servicing.

How far away must the hood be placed from a gas hob?

A minimum distance of 750mm is required from the cooker hood to a gas hob (or 650mm for electric hobs).

What should I do if the cooker hood makes loud noise or doesn't work?

Unplug the unit and check the filter; cleaning and refitting the filters often resolves issues.