Page 1
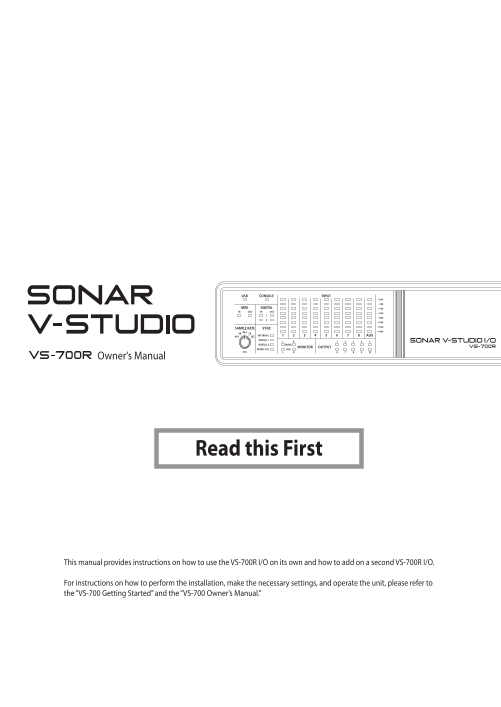
VS-700R_e1.book ページ 2010年6月15日 火曜日 午後4時59分 Owner‘s Manual Read this First This manual provides instructions on how to use the VS-700R I/O on its own and how to add on a second VS-700R I/O. For instruc...
Page 2
VS-700R_e1.book ページ 2010年6月15日 火曜日 午後4時59分 WARNING: To reduce the risk of fire or electric shock, do not expose this apparatus to rain or moisture. The lightning flash with arrowhead symbol, within an...
Page 3
ページ 2010年6月15日 火曜日 午後4時59分 VS-700R_e1.book USING THE UNIT SAFELY Used for instructions intended to alert The symbol alerts the user to important instructions the user to the risk of death or severe or...
Page 4
ページ 2010年6月15日 火曜日 午後4時59分 VS-700R_e1.book USING THE UNIT SAFELY Do not force the unit’s power-supply cord to share an The unit should be located so that its location or outlet with an unreasonable nu...
Page 5
ページ 2010年6月15日 火曜日 午後4時59分 VS-700R_e1.book USING THE UNIT SAFELY Always turn the phantom power off when connecting any device other than condenser microphones that require phantom power. You risk caus...
Page 6
ページ 2010年6月15日 火曜日 午後4時59分 VS-700R_e1.book IMPORTANT NOTES Power Supply Maintenance Do not connect this unit to the same electrical outlet that is For everyday cleaning, wipe the unit with a soft, dry...
Page 7
ページ 2010年6月15日 火曜日 午後4時59分 VS-700R_e1.book IMPORTANT NOTES Do not use this unit for purposes that could infringe on a copyright held by a third party. We assume no responsibility whatsoever with regar...
Page 8
ページ 2010年6月15日 火曜日 午後4時59分 VS-700R_e1.book Contents USING THE UNIT SAFELY............................................................................................................3 IMPORTANT NOTES ....
Page 9
ページ 2010年6月15日 火曜日 午後4時59分 VS-700R_e1.book Checking the Contents of the Package As soon as you open the package, check that you have all of the included items. If anything is missing, contact your dea...
Page 10
10ページ 2010年6月15日 火曜日 午後4時59分 VS-700R_e1.book Checking the Contents of the Package USB Cable Use this cable to connect the VS-700R I/O unit to your computer’s USB connector. Please use the included USB...
Page 11
11ページ 2010年6月15日 火曜日 午後4時59分 VS-700R_e1.book Using the VS-700R I/O in Standalone Mode To use the VS-700R I/O without connecting it to the VS-700C console, it needs to be set to “Standalone mode.” Whil...
Page 12
12ページ 2010年6月15日 火曜日 午後4時59分 VS-700R_e1.book Connecting Two VS-700R I/O Units The Advantages of Connecting VS-700R I/O Units By connecting two VS-700R I/O units, you'll be able to take advantage of th...
Page 13
13ページ 2010年6月15日 火曜日 午後4時59分 VS-700R_e1.book Connecting Two VS-700R I/O Units 3. Connect the WORDCLOCK. Use a BNC cable to connect the WORDCLOCK OUT connector of the first unit to the WORDCLOCK IN con...
Page 14
14ページ 2010年6月15日 火曜日 午後4時59分 VS-700R_e1.book Connecting the Power Cord Connect the power cord. fig.VS-700-connect04-e.eps VS-700C Rear Panel to Power Outlet Power Cord VS-700R Rear Panel Power Cord to...
Page 15
15ページ 2010年6月15日 火曜日 午後4時59分 VS-700R_e1.book Turning the Power On Once the connections have been completed, turn on power to your various devices in the order specified. By turning on devices in the w...
Page 16
16ページ 2010年6月15日 火曜日 午後4時59分 VS-700R_e1.book Connecting Recording Equipment Connections to the Analog Jacks fig.VS-700-rec01-mic-e.eps The VS-700R provides a balanced (XLR) type connector that Connect...
Page 17
17ページ 2010年6月15日 火曜日 午後4時59分 VS-700R_e1.book Connecting Recording Equipment Connections to the Digital Connectors fig.VS-700-rec02-digi-e.eps Connecting a Digital Audio Source If you want to digitally...
Page 18
18ページ 2010年6月15日 火曜日 午後4時59分 VS-700R_e1.book Switching the Sampling Rate Use the front panel [SAMPLE RATE] knob to select the sampling rate. To make the system reflect the new setting, you’ll need to ...
Page 19
19ページ 2010年6月15日 火曜日 午後4時59分 VS-700R_e1.book Switching the Sampling Rate Setting SONAR’s Sampling Rate In SONAR, you cannot change the sampling rate of a project that contains audio data. 1. Start up ...
Page 20
20ページ 2010年6月15日 火曜日 午後4時59分 VS-700R_e1.book Audio Clock Source You can choose one of four types of clock source. The current clock source is shown by the front panel SYNC indicator. In the case of an...
Page 21
21ページ 2010年6月15日 火曜日 午後4時59分 VS-700R_e1.book Installing the ARX Expansion Board Up to one optional Expansion Board (ARX series; sold separately) can be installed in the VS-700R. For details on ARX exp...
Page 22
22ページ 2010年6月15日 火曜日 午後4時59分 VS-700R_e1.book Installing the ARX Expansion Board How to Install an Expansion Board Install the Expansion Board after removing the panel cover. 1. Before installing the E...
Page 23
23ページ 2010年6月15日 火曜日 午後4時59分 VS-700R_e1.book Installing the ARX Expansion Board 4. Insert the board into the VS-700R’s non-latched board holders until you hear a click. fig.attach02.eps Board Connecto...
Page 24
24ページ 2010年6月15日 火曜日 午後4時59分 VS-700R_e1.book Installing the ARX Expansion Board Removing an Expansion Board To remove an expansion board, reverse the process by which you inserted it. 1. Unlatch the l...
Page 25
25ページ 2010年6月15日 火曜日 午後4時59分 VS-700R_e1.book Installation de la carte d’expansion (French Language for Canadian Safety Standard) Un maximum de un carte d’expansion optionnelles (serie ARX; vendues sep...
Page 26
26ページ 2010年6月15日 火曜日 午後4時59分 VS-700R_e1.book Installation de la carte d’expansion Installation d’une carte d’expansion Retirer le panneau inferieur avant d’installer les cartes d’expansion. 1. Avant d...
Page 27
27ページ 2010年6月15日 火曜日 午後4時59分 VS-700R_e1.book Installation de la carte d’expansion 4. Inserer la carte dans les supports non bloques jusqu’a ce qu’un clic se fasse entendre. fig.attach02f.eps Carte Con...
Page 28
28ページ 2010年6月15日 火曜日 午後4時59分 VS-700R_e1.book Installation de la carte d’expansion Retrait d’une carte d’expansion Pour retirer une carte d’expansion, suivre le processus inverse du processus d’inserti...
Page 29
29ページ 2010年6月15日 火曜日 午後4時59分 VS-700R_e1.book Attaching the Rackmount Brackets If you want to install the VS-700R I/O in a 19” rack, attach the included rackmount brackets. 1. Disconnect all connection...
Page 30
VS-700R_e1.book 30ページ 2010年6月15日 火曜日 午後4時59分 For EU Countries
Page 31
VS-700R_e1.book 31ページ 2010年6月15日 火曜日 午後4時59分 For the USA DECLARATION OF CONFORMITY Compliance Information Statement Model Name : VS-700R Type of Equipment : USB Audio Interface Responsible Party : Cak...
Page 32
VS-700R_e1.book 32ページ 2010年6月15日 火曜日 午後4時59分