Page 1
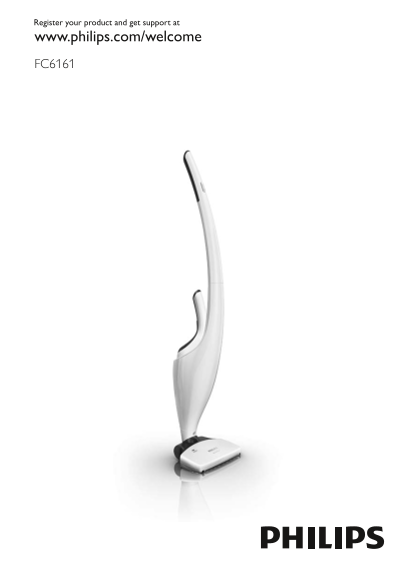
FC6161
Page 5
Table of contents English 6 FC 简体中文 16
Page 6
English introduction Congratulations on your purchase and welcome to Philips! To fully benefit from the support that Philips offers, register your product at www.philips.com/welcome. general descripti...
Page 7
English Warning Check if the voltage indicated on the adapter corresponds to the local mains voltage before you connect the appliance. Do not use the vacuum cleaner, the charging base or the adapter i...
Page 8
English8 3 Place the appliance on the charging base (Fig. 6). The charging light goes on to indicate that the appliance is charging. (Fig. 7) Note: The charging light does not give any information abo...
Page 9
English Note: If you remove the handheld vacuum cleaner when the appliance is switched on at normal speed, the handheld vacuum cleaner operates at reduced power when you take it out. To make sure the ...
Page 10
English10 3 Shake the dust compartment with your free hand to empty the contents into a dustbin (Fig. 19). 4 If necessary, clean the dust compartment with a damp cloth. 5 If necessary, clean the filte...
Page 11
English compartment (1) and then push the top of the dust compartment towards the vacuum cleaner (2) until it locks into place (‘click’). (Fig. 20) Cleaning the floor nozzle joint The joint of the flo...
Page 12
English12 storage 1 Put the accessories in the storage compartment of the charging base (Fig. 34). 2 Push the stick towards the floor nozzle to put it into parking position (Fig. 10). 3 You can store ...
Page 13
English 4 Undo the screws on the side of the handheld vacuum cleaner. (Fig. 39) 5 Press the dust compartment release button and separate the two housing parts. 6 Cut the wires connected to the recharg...
Page 14
English14 Problem Cause Solution If you can switch on the Take the appliance to your dealer or a appliance after a few hours service centre authorised by Philips for charging, the charging light is re...
Page 15
English Problem Cause Solution The ‘brush blocked’ light may In this case the roller brush is not blocked flash red because you use the and the suction power does not decrease. stick on deep-pile carp...
Page 16
简介 感谢您的惠顾,欢迎光临飞利浦!为了您能充分享受飞利浦提供的支持,请在 www.philips.com/welcome 上注册您的产品。 一般说明 (图 1) A 握柄 1 开/关按钮 2 最大吸力 MAX 按钮 3 把杆上半部分 4 将握柄上半部分旋接到握柄下半部分 5 把杆下半部分 6 吸嘴接合点 7 吸嘴拆卸按钮 8 “滚刷阻塞”指示灯 9 吸嘴 10 固定器 11 前轮 12 滚刷 1...
Page 17
警告 在将本产品连接电源前,务必检查当地的电压是否与电源适配器所标电压一致。 如果吸尘器、充电座或适配器已损坏,请勿再使用。 如果适配器或充电座损坏,必须用原装型号更换,以免发生危险。 电源适配器内含有一个变压器。切勿自行更换插头,否则将导致严重后果。 本产品不打算由肢体不健全、感觉或精神上有障碍或缺乏相关经验和知识的人(包括 儿童)使用,除非有负责他们安全的人对他们使用本产品进行监督或指导。 应...
Page 18
1 将手持式吸尘器正确插接到握柄上(可听到“咔哒”一声)。 (图 5) 2 按下握柄上的开/关按钮打开产品电源。 (图 8) 产品开始以正常速度工作。使用这种速度可以优化操作时间并减少噪音。这种速度下 的工作时间可超过 20 分钟。 如果要以最高速度工作,请按 MAX(最大)按钮。使用这种速度可以优化清洁效能。 这种速度下的工作时间为 11 分钟。 (图 9) 如果您要切换回正常速度,请再次按 M...
Page 20
震动装置会使过滤器内部的灰尘松动。 3 要重新安装集尘桶,可以将集尘桶的槽与手持式吸尘器的突出部分对齐。首先连接集 尘桶的底部 (1),然后将集尘桶的顶部推向吸尘器 (2),直到其锁定到位(可听到“咔 哒”一声)。 (图 20) 彻底清洁 您可以按照以下方法彻底清洁过滤器: 1 将吸尘器拿到垃圾箱上方,按下集尘桶拆卸按钮 (1),然后卸下集尘桶 (2)。 (图 17) 2 将过滤器从集尘桶中取出。...
Page 21
更换 在长时间使用之后或者无法再清洁干净时,我们建议您更换内层过滤器。 新的内层过滤器供应型号为 4322 004 93471 。请联系您的飞利浦经销商。 更换内层和外层过滤器 1 将过滤器从集尘桶中取出。 (图 18) 2 顺时针旋转外层过滤器 (1),将其从过滤器架上取下 (2)。 (图 22) 3 顺时针旋转内层过滤器 (1),将其从过滤器架上取下 (2)。 (图 23) 4 将新的内层过滤...
Page 22
保修与服务 如果您需要服务或信息,或者有任何疑问,请访问飞利浦网站:www.philips.com。您也 可以与所在国家/地区的飞利浦顾客服务中心联系(可从全球保修卡中找到其电话号码)。 如果您的所在地没有飞利浦客户服务中心,可与当地的飞利浦经销商联系。