Page 1
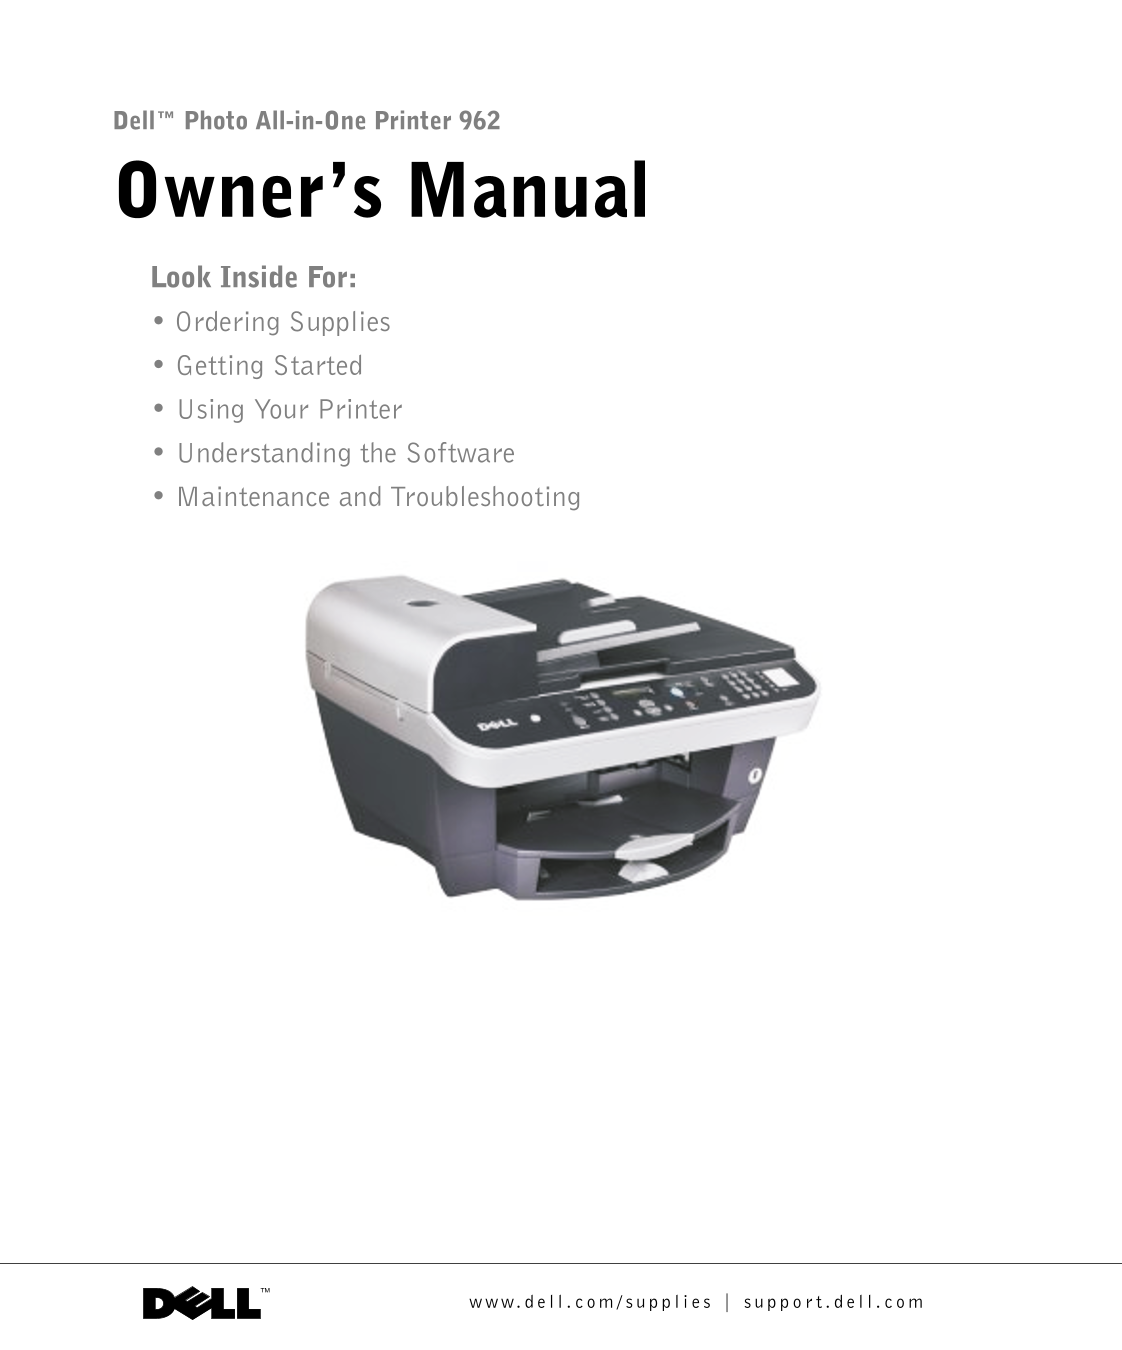
Dell™ Photo All-in-One Printer 962 Owner’s Manual Look Inside For: • Ordering Supplies • Getting Started • Using Your Printer • Understanding the Software • Maintenance and Troubleshooting
Page 2
Ordering Ink Cartridges and Supplies Your Dell™ Photo All-In-One Printer 962 includes software installed to detect the ink levels in the printer. During a print job, a screen appears on your computer ...
Page 3
Notes, Notices, and Cautions NOTE: A NOTE indicates important information that helps you make better use of your printer. NOTICE: A NOTICE indicates either potential damage to hardware or loss of data...
Page 4
.d ll .c /s li rt .d ll .c
Page 5
Contents Getting Started Understanding the Printer Parts Accessing Your User’s Guide Setting Up Your Printer Understanding the Operator Panel Installing the Operator Panel Using the Operator Panel Ope...
Page 6
Copying Copying Documents Using the Operator Panel Copying Documents Using Your Computer Copying Photos Using the Operator Panel Copying Photos Using Your Computer Collating Copies Using the Operator ...
Page 7
Using Printing Preferences Printing Preferences Tabs Using Dell Picture Studio v2.0 Ink Cartridge Maintenance Replacing Ink Cartridges Aligning Ink Cartridges Cleaning the Ink Cartridge Nozzles Troubl...
Page 8
Appendix U.S. Terms and Conditions of Sale Limited Warranties and Return Policy Limited Warranty for Dell-Branded Hardware Products (U.S. Only) Total Satisfaction Return Policy (U.S. Only) Dell Inc. I...
Page 9
CAUTION: SAFETY INSTRUCTIONS Use the following safety guidelines to help ensure your own personal safety and to help protect your printer and working environment from potential damage. Use only the po...
Page 10
.d ll .c rt .d ll .c CAUTION: SAFETY INSTRUCTIONS
Page 11
Getting Started Understanding the Printer Parts Number: Part: Description: Automatic Document Scan, copy, or fax multiple page documents and/or legal Feeder (ADF) sized documents. Operator panel Panel...
Page 12
.d ll .c rt .d ll .c Number: Part: Description: Paper input tray Where you load paper into the printer. ADF input tray Load original documents in the printer. Recommended for scanning, copying, or fax...
Page 13
PHONE jack connector Remove the plug to connect additional devices, such as a — left side data/fax modem, telephone, or answering machine to your printer. connector) LINE connector ( Connect your prin...
Page 14
.d ll .c rt .d ll .c Accessing Your User’s Guide Click Start→Programs or All Programs→Dell Printers→Dell Photo AIO Printer 962→View Dell User’s Guide. NOTE: You can also access the User’s Guide on you...
Page 15
Understanding the Operator Panel Installing the Operator Panel The following instructions apply only if you received an additional language operator panel with your printer. Remove the operator panel ...
Page 16
.d ll .c rt .d ll .c The display features: Printer status Messages Menus Number Part: Purpose: Power To turn your printer on or off. Fax LED Illuminates when machine is in Fax Mode. Scan LED Illuminat...
Page 17
Number Part: Purpose: Redial/Pause Recall the last number entered. Insert a three-second pause in the number to be dialed to wait for an outside line or get through an automated answering system. NOTE...
Page 18
.d ll .c rt .d ll .c Number Part: Purpose: Cancel Press to: Cancel a scan, print, or copy job in progress. Exit a menu. Clear a fax number or end a fax transmission and return the display to the fax d...
Page 19
Scan Mode Menu Items ORIGINAL SIZE POWER SAVE CLEAR SETTINGS Auto Detect After 30 min After 2 min Letter After 60 min Never B5 Never A4 Immediately A5 After 10 min A6 Wallet 3x5 SET DEFAULTS Use Facto...
Page 20
.d ll .c rt .d ll .c From this menu: You can: Power Save Select a time to begin reducing power: After 30 min (default) After 60 min Never Immediately After 10 min Clear Settings Select when you want y...
Page 21
Copy Mode Menu Items BLANK PAPER SIZE BLANK PAPER TYPE REPEAT IMAGE Letter Auto Detect 1x per page Legal Plain 4x per page B5 Coated 9x per page A4 Photo 16x per page A5 Transparency 3x5 ORIGINAL SIZE...
Page 22
.d ll .c rt .d ll .c From this menu: You can: Blank Paper Size Specify the size of the paper loaded in the paper tray: Letter (default) Legal B5 A4 A5 A6 3x5 4x6 2L NOTE: For other specialty sizes, se...
Page 23
From this menu: You can: Collate Scan multiple pages to memory and print them out in reverse order. Off (default) On Key Press Tone Turn on or off the sound that is made when you press a control panel...
Page 24
.d ll .c rt .d ll .c NOTE: You cannot fax with a DSL (digital subscriber line) or ISDN (integrated signature digital network) unless you purchase a digital line filter. Contact your Internet Service P...
Page 25
From this menu: You can: Pending Faxes Cancel any faxes that have not been sent. Print Reports Print: An Activity Report (the last 40 sent and received faxes) A Send log A Receive log A Settings list ...
Page 26
.d ll .c rt .d ll .c From this menu: You can: Edit Speed Dial Make the following changes to your speed dial list: Add to it Remove a number from it Modify it Print it NOTE: For more information, see “...
Page 27
Press < or > to scroll through the available items. Press Select when the menu item you want appears on the display to save the setting. Advanced Fax Mode Menu Items FAX CONFIRMATION REDIAL ATTE...
Page 28
.d ll .c rt .d ll .c From this Advanced You can select: Fax option: Redial Attempts The number of times you want the machine to try again if your fax does not go through: 0 times 1 time 2 times (defau...
Page 29
From this Advanced You can select: Fax option: Ring Pattern Any (default) Single Double Triple NOTE: You can choose distinctive rings if they are available from your local telephone service. If they a...
Page 30
.d ll .c rt .d ll .c From this Advanced You can select: Fax option: Max Send Speed A bps speed: 33,600 (default) 31,200 28,800 26,400 24,000 21,600 19,200 16,800 14,400 12,000 9,600 7,200 4,800 2,400 ...
Page 31
From this Advanced You can select: Fax option: Country Code Japan (continued) Jordan Korea Kuwait Latvia Lebanon Lithuania Luxembourg Malaysia Mexico Morocco Netherlands New Zealand Nigeria Norway Oma...
Page 32
.d ll .c rt .d ll .c From this Advanced You can select: Fax option: Country Code Turkey (continued) UK USA Uruguay US Virgin Islands Venezuela Vietnam Yemen Call Diagnostics Off (default) Audio on Pri...
Page 33
To choose paper size: With your document open, click File→Print. In the Print dialog box, click Preferences or Properties (depending on your program or operating system). The Printing Preferences scre...
Page 34
.d ll .c rt .d ll .c Loading Paper Load Plain Paper Into the Paper Support Lift the paper exit tray and extend the paper support. Insert paper into the paper support. Squeeze and slide the paper guide...
Page 35
Load up to: Make sure: 15 envelopes The print side of the envelopes faces down. The envelopes are centered in the paper support. The stamp location is in the lower left corner. The paper guides rest a...
Page 36
.d ll .c rt .d ll .c Load up to: Make sure: 150 sheets of The print side of the paper faces down. custom size Your paper fits within these dimensions: paper Width 76-216 mm 3.0-8.5 inches Length 127-4...
Page 37
Load up to: Make sure: 50 sheets of The document is loaded text side up. two-, three-, or The paper guide is against the edge of the paper. four-hole Your paper size fits within the dimensions allowab...
Page 38
.d ll .c rt .d ll .c Placing Your Original Document on the Scanner Glass Open the top cover. Place the original document face down on the scanner glass in the upper left corner. To get a copy with por...
Page 39
Using the Printer Printing Printing a Document Turn on your computer and printer, and make sure they are connected. Load paper with the print side facing down. For more information, see "Loading ...
Page 40
.d ll .c rt .d ll .c Click Properties, Options, Setup, or Preferences (depending on the program or operating system). The Printing Preferences dialog box appears along with the I Want To menu. From th...