Page 1
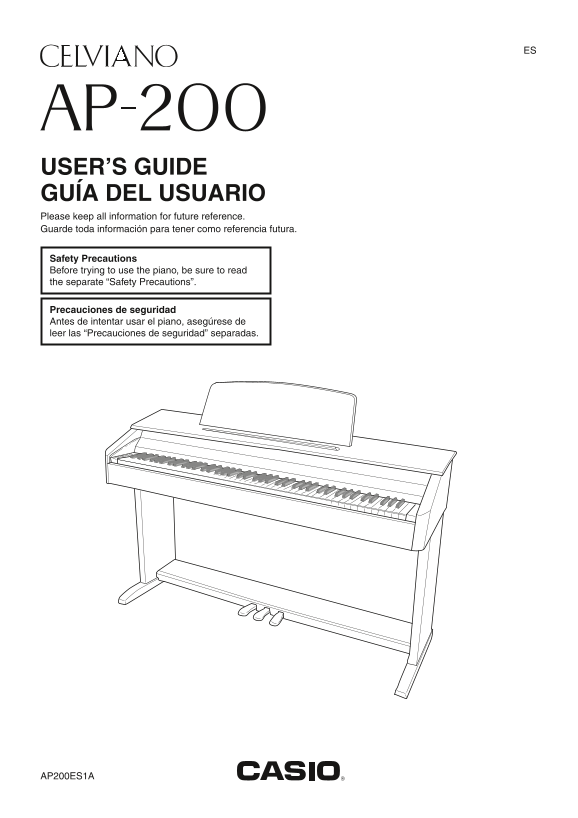
USER’S GUIDE GUÍA DEL USUARIO Please keep all information for future reference. Guarde toda información para tener como referencia futura. Safety Precautions Before trying to use the piano, be sure to...
Page 2
TO REDUCE THE RISK OF FIRE OR ELECTRIC SHOCK, REFER SERVICING TO QUALIFIED SERVICE PERSONNEL. IMPORTANT SAFETY INSTRUCTIONS 1. Read these instructions. 2. Keep these instructions. 3. Heed all warnings...
Page 3
Contents Assembling the Stand.............................................................................................. E-24 Unpacking.................................................................
Page 4
General Guide bk bp bl bm
Page 5
General Guide CAUTION Make sure that the cover is fully open whenever you are playing on the keyboard. A partially open cover can suddenly close unexpectedly and pinch your fingers. NOTE The names sho...
Page 6
Power Outlet Your digital piano runs on standard household power. * Using the Clip Be sure to turn off power whenever you are not using the digital piano. To fasten the clip As shown in the illustrati...
Page 7
Connections IMPORTANT! Audio amplifier AUX IN jack, etc. Pin plug Whenever connecting something to the digital piano, first use the VOLUME controller to set the volume to a low (Red) level. After conn...
Page 8
Playing with Different Tones VOLUME TONE/SETTING SONG �/ POWER METRONOME GRAND PIANO Selecting and Playing a Tone NOTE Grand Piano Tones (MODERN, CLASSIC) This digital piano has 11 built-in tones. You...
Page 9
Playing with Different Tones Selecting a Tone Using the Keyboard Keys MODERN CLASSIC VARIATION VIBRAPHONE STRINGS GRAND PIANO ELEC PIANO BASS (LOWER) HARPSICHORD PIPE ORGAN TONE/SETTING button Tone Se...
Page 10
Playing with Different Tones Adjusting the Brilliance of a Layering Two Tones Tone Use the following procedure to layer two tones, so they sound at the same time. 1. While holding down the TONE/SETTIN...
Page 11
Playing with Different Tones Using Effects Using the Digital Piano’s Reverb. . . .Makes your notes resonate. Pedals Chorus . . .Adds more breadth to your notes. Your digital piano comes equipped with ...
Page 12
Playing with Different Tones 4. Press the METRONOME button or SONG Using the Metronome button to turn off the metronome. 1. Press the METRONOME button. This starts the metronome. To return the tempo s...
Page 13
Playing with Different Tones Changing the Octaves of the Keyboards Playing a Piano Duet You can change the ranges of the left and right You can use the Duet Mode to split the piano’s keyboards in octa...
Page 14
Playing Back Built-in Songs TONE/SETTING SONG �/ IMPORTANT! Playing Back a Specific Music After you select a built-in song, it can take a number of Library Song seconds for the song data to be loaded....
Page 15
Playing Back Built-in Songs 3. Press the SONG / button. This starts the playback of the song. 4. To stop playback, press the SONG / button again. Playback will stop automatically when the end of the s...
Page 16
Recording and Play Back SONG �/ RECORDER METRONOME You can store the notes you play in digital piano Recorded Data Storage memory for later playback. Starting a new recording deletes any data that was...
Page 17
Recording and Play Back 4. Start playing something on the keyboard. Recording Your Keyboard Play Recording will start automatically. After recording to either of the tracks of a song, you can 5. To st...
Page 18
Recording and Play Back To record to one track of a song while To play back from digital piano listening to the playback of the other track memory 1. Press the RECORDER button so its lamp is 1. Press ...
Page 19
Recording and Play Back Deleting Recorded Data The following procedure deletes a specific track of a song. IMPORTANT! The procedure below deletes all of the data of the selected track. Note that the d...
Page 20
Configuring Settings with the Keyboard TONE/SETTING In addition to selecting tones and Music Library tunes, 4. Release the TONE/SETTING button to you also can use the TONE/SETTING button in complete t...
Page 21
Configuring Settings with the Keyboard Keyboard Keys Used for Configuring Settings The numbers 1 through br correspond to the same numbers in the “Parameter List” on page E-20. [Left keyboard] 1 Tone ...
Page 22
Configuring Settings with the Keyboard Parameter List Tones Operation Parameter Settings Type Description Remarks (page E-18) Tone selection See page E-6. Assigns a tone to the Default: GRAND keyboard...
Page 23
Configuring Settings with the Keyboard Keyboard Operation Parameter Settings Type Description Remarks (page E-18) bk Touch Response Off (OFF), 1 to 3 Specifies the relative touch (TOUCH Default: 2 of ...
Page 24
Configuring Settings with the Keyboard MIDI and Other Settings Operation Parameter Settings Type Description Remarks (page E-18) bn Send Channel 01 to 16 Specifies one of the MIDI Default: 01 channels...
Page 25
Configuring Settings with the Keyboard Connecting to the MIDI Terminal What is MIDI? MIDI is a standard for digital signals and connectors that allows musical instruments, computers, and other devices...
Page 26
Assembling the Stand CAUTION Unpacking Assembly of the stand should be performed by at least two people working together. PREPARATION This stand should be assembled on a flat surface. This stand does ...
Page 27
Assembling the Stand 3. Use the two screws I to secure the top left 6. Place the piano onto the stand. and right edges of the back panel C to the brackets 5 of side panels A and B. At location 6, slip...
Page 28
Assembling the Stand 8. Affix the adaptor cord clip K next to the To install the music stand power terminal (DC12V). For information about securing the cord, see “Power 1. Install the music stand by i...
Page 29
Reference Troubleshooting Problem Cause Action See Page No sound is 1. The VOLUME controller is set to 1. Rotate the VOLUME controller more E-6 produced when I “MIN”. towards “MAX”. press a keyboard 2...
Page 30
Reference Product Specifications Model AP-200 Keyboard 88-key piano keyboard, with Touch Response Maximum Polyphony 128 notes Tones Layer (excluding bass tones) Split (Low-range bass tones only) Effec...
Page 31
Reference Any reproduction of the contents of this manual, Operating Precautions either in part or its entirety, is prohibited. Except for your own, personal use, any other use of the Be sure to read ...
Page 32
Appendix/Apéndice Tone List/Lista de tonos Song List/Lista de canciones Bank Select No./Nº Song Name/Nombre de canciones Program Maximum Tone Name/ Change/ Polyphony/ Nocturne Op.9-2 MSB de Nombre de ...
Page 33
Model AP-200 Version : 1.0 MIDI Implementation Chart Function Transmitted Recognized Remarks Basic Default 1 - 16 1 - 16 Channel Changed 1 - 16 1 - 16 Default Mode 3 Mode 3 Mode Messages Altered Note ...
Page 34
This recycle mark indicates that the packaging conforms to the environmental protection legislation in Germany. Esta marca de reciclaje indica que el empaquetado se ajusta a la legislación de protecci...